
Jump to Recipe
I’ve been baking my liguria focaccia dolce recipe for family mornings and small gatherings, and the scent of warm bread, honey, and olive oil fills the kitchen like a memory.
This version keeps the classic dimples and a lightly salt-kissed brine while leaning gently sweet with honey and citrus. I use either a quick direct mix or an indirect sponge that rests 12–14 hours to boost aroma, flavor, and digestibility.
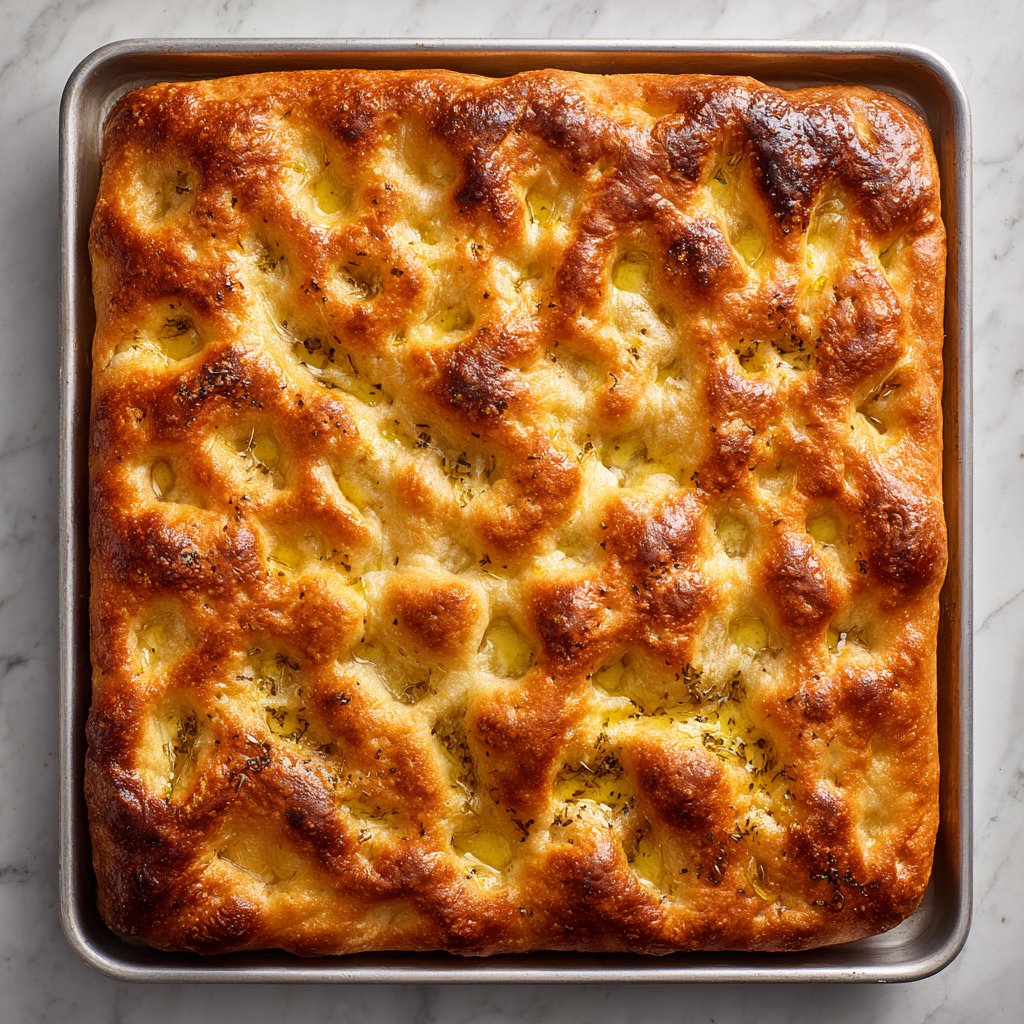
Bake on an 18×13 inch sheet (or two 13×9 pans) so the dough puffs to about 2 cm, then roast at 450°F for 15–18 minutes, rotating pans if you bake two. I pour a simple brine—200 ml water with 11 g salt—into deep dimples so the liquid stays on the surface.
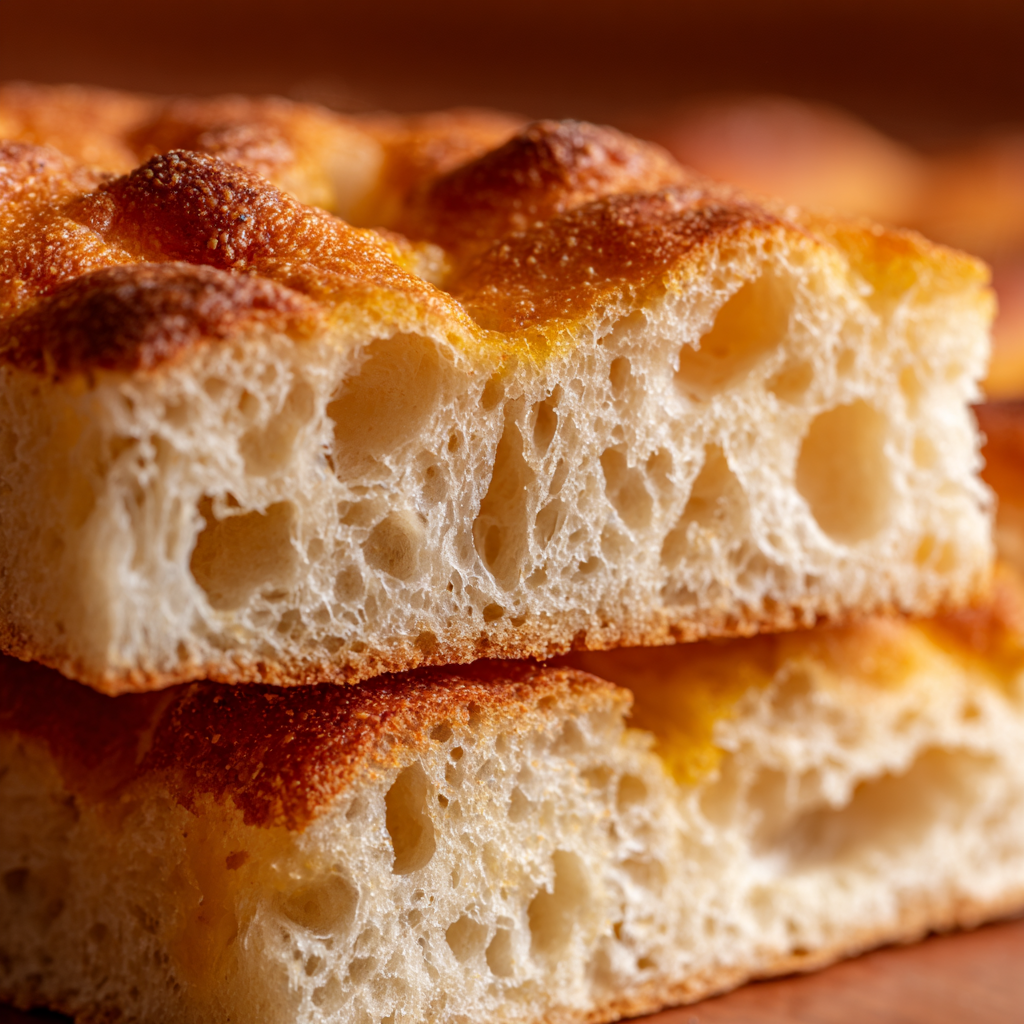
Finish with extra-virgin olive oil, cool on a rack for a crisp top and soft interior, and look for a hazelnut-colored crust with ivory holes as your cue it’s done.
Key Takeaways
- Use an indirect sponge for 12–14 hours to deepen aroma and texture.
- Choose an 18×13 inch pan for a 2 cm-high, plush crumb.
- Pour 200 ml water + 11 g salt into dimples to keep brine on top.
- Bake at 450°F for 15–18 minutes; rotate pans if needed.
- Brush with extra-virgin olive oil and cool on a rack for crispness.
Why this Ligurian sweet focaccia wins hearts today
I keep coming back to this gentle, olive-scented bread because it sings both at breakfast and as a snack. The top should be hazelnut-colored with ivory holes, and the contrast of crisp edges and a soft interior comforts every time.
What makes it special is balance. A touch of sweetness lifts the flavor but never hides the brightness of extra-virgin olive oil. That olive note lingers and pairs beautifully with fruit or a sharp cheese.
The method is forgiving and fits home rhythms. You can mix everything in one bowl, proof the dough under plastic wrap, and let patient hours do the work. A steady rise and a mindful bake yield an airy crumb and glossy crust.
- Family-friendly: a friendly centerpiece for coffee or light soup.
- Repeatable: mix, fold, rest, bake—consistent results each time.
- Textural joy: tender chew inside with crunchy, inviting edges.
Trust the process, respect the yeast and flour, and you’ll find this ligurian focaccia becomes a weekly habit you’ll cherish.
Ingredients that matter for authentic flavor
Good ingredients make an honest dough and guide every step from sponge to oven.
Core dough essentials
I keep the dough simple: measured flour, lukewarm water, yeast, fine sea salt, a touch of sugar, and fruity extra-virgin olive oil. For the indirect sponge start, mix 130 g flour, 60 g water and a pinch of active dry yeast in a bowl and rest 12–14 hours.
Sweet touch the Ligurian way
Plan 8–12% sugar by weight of flour for a gentle sweetness; add 2–4% honey for roundness. If using raisins, use 10–15% of flour weight—soak, drain, and pat dry before folding in.
Smart swaps and practical notes
- Final dough: add 500 g flour and about 310 g water, plus salt and olive oil. Measure by weight for consistent time and rise.
- All-purpose yields tenderness; bread flour gives more chew—choose by the texture you want.
- Active dry or instant yeast both work. If using active dry, bloom it in 95–105°F water until foamy before mixing.
Use extra-virgin olive oil inside the dough and on the pan for aroma and caramelization. Keep salt measured so the traditional brine (200 ml water + 11 g salt) balances the top once baked.
Tools, pans, and prep for bakery-level results
Simple prep and steady temperature are the quiet steps that make the top shine and the crumb light. Set up your work space so every move has a purpose and the dough never waits.
Best pan sizes and why thickness matters
I use either one sturdy 18×13 inch sheet pan or two 13×9 pans. That spread gives the dough room to rise to about 2 cm and keeps the crumb airy.
- A greased pan with extra-virgin olive oil ensures a crisp bottom without greasiness; pay extra attention to corners.
- Thickness matters: aim for roughly 2 cm after baking so the top browns evenly and the interior stays tender.
Temperature cues and room setup
Cover the dough with plastic wrap and place it in a warm, draft-free spot at room temperature. This steady environment helps the yeast work gently and predictably.
- Use a digital thermometer to note kitchen temperature rather than guessing; watch visual cues over strict minutes on the clock.
- A flexible bowl scraper, a large bowl, and a digital scale make mixing clean and accurate.
- Dissolve salt in lukewarm water for the brine so crystals don’t sit on the surface. A light film of oil on your hands helps when stretching the dough into the pan.
- Line up pan, oil, wrap, and tools before mixing so shaping flows without lost time.
These small choices — the right pan, steady temperature, and simple tools — create the reliable, bakery-style focaccia we love to share at the table.
Liguria focaccia dolce recipe: step-by-step you can trust
This hands-on guide walks you through both a slow sponge and a quick direct method so you can choose by time and taste. I give clear steps, reasons, and small cues so your loaf performs the same way every bake.
Indirect method (sponge) for deeper flavor and digestibility
In a bowl stir 130 g flour, 60 g lukewarm water, and a pinch of active dry yeast until smooth. Cover and rest at room temperature 12–14 hours; this slow phase deepens aroma and makes the dough gentler on the belly.
Direct method timing for busy days
If you’re short on time, mix all flour, water, yeast, sugar, salt, and oil at once. Let the mass rise until roughly doubled, then shape. This direct path saves hours while still giving a tender crumb and a golden top.
Mixing, kneading, and the “elastic window” you’re looking for
Next day, add 500 g flour, 310 g water, 9 g salt, 12 g sugar, and 30 g oil to the sponge and mix until shaggy. Knead until the dough stretches thin without tearing—think of a soft window you can almost see light through.
- Rest briefly, oil your hands, and shape to cover about 70% of a greased pan. Let relax for several minutes.
- Finish stretching to the corners, then dimple the surface and pour the brine into the hollows.
- Bake at 450°F for 15–18 minutes; rotate pans halfway if you use two. Look for pale holes inside and a warm golden top.
I fold in well-drained raisins after the initial mix so they don’t tear the gluten. Watch temperature and minutes, not the clock alone—feel the dough before you move it. Small pauses give you fuller dimples and a more even, glossy finish.
The signature technique: dimples, brine, and olive oil
The look and texture come from a simple, practiced rhythm: dust, press, pour, and rest. I show you how my hands find the right feel so every loaf has deep, even dimples that hold flavor and shine.
How to make deep, even dimples without tearing
Lightly dust the surface with flour so your fingers don’t tug the dough. Use three fingers—index, middle, ring—angled slightly and press firmly to make wells about 1 cm apart. Work in rows and keep a cushioned feel; the dough should spring back a little, not snap.
Salty-sweet brine: ratios, when to pour, and keeping it on top
Mix the brine in a small bowl: roughly 200 ml lukewarm water and 11 g salt. Pour into the center, add a ribbon of extra virgin olive oil, and feather it outward with your fingertips so each depression fills. Make sure the dough hugs the pan edges before you pour to avoid liquid slipping underneath.
- Give the pan a quiet rest 40–60 minutes after dimpling so the wells settle.
- Bake at 450°F for about 15 minutes for a golden top and crisp bottom.
- For shine, finish with a light drizzle of virgin olive oil or a teaspoon (or a few tablespoons if you like) right before the oven.
These hands-on steps — flour, fingers, brine, and gentle rest — create the classic focaccia surface we all aim to capture in photos and at the table.
Baking cues: oven temperature, timing, and rotation
Trusting your eyes and hands beats the clock when you bake at high heat for a crisp, tender loaf. Preheat your oven to 450°F so the top gets quick color while the center stays soft.
Bake about 15–18 minutes. Check visually: a hazelnut-colored top with pale, glossy holes is the primary signal. The dimples should remain defined; if they puff flat, the dough needed more time to let rise before going in.
If you load two pans, rotate top-to-bottom and front-to-back halfway through so both pans brown evenly. A rack in the lower third helps set the bottom without overbrowning the upper surface.
Brush a light coat of extra virgin olive oil just before the oven for sheen. Use your fingers to lift an edge and peek under the pan: the bottom should release cleanly, crisp and not greasy.
Quick visual and tactile guide
| Cue | What it means | Action (minutes) |
|---|---|---|
| Hazelnut top & pale holes | Crust set, interior tender | 15–18 |
| Dimples stay defined | Fully proofed, good oven spring | Ready to bake |
| Crisp bottom when lifted | Even bake; no grease | Final check before cooling |
Finish like a pro: oil, cooling, and that glossy crust
When the crust turns golden, your final moves decide the shine and snap of every slice. Slide a thin spatula under a corner and tip the pan onto a board the moment it’s done so residual heat won’t steam the bottom.
Brush the underside lightly with extra-virgin olive oil for aroma, then sweep the surface with a few tablespoons more for that classic sheen. Keep the amount modest — a soft glisten, not a puddle — so the bread stays balanced in salt and sweetness.
Move the loaf to a wire rack and let cool with air around the edges and surface. This step keeps the crust crisp and the crumb tidy. Avoid covering hot bread; trapped steam softens edges and dulls the finish.
- If raisins peek through, a gentle brush helps them shine without scorching.
- For extra gloss, whisper on a little oil after five minutes when the crust stabilizes.
| Step | Why it matters | Quick tip |
|---|---|---|
| Tip out immediately | Prevents soggy bottom from trapped heat | Use a thin spatula; be swift |
| Brush both sides with extra virgin oil | Adds aroma and glossy surface | 2–3 tablespoons total, brushed gently |
| Let cool on a wire rack | Keeps edges defined and crust crisp | Do not cover until cool |
Flavor variations that stay true to Liguria
Small, thoughtful changes can lift the classic loaf without stealing its quiet charm.
I keep additions modest so the olive and honey notes remain front and center. Use a medium-strength flour to hold shape when you add mix-ins.
Raisin, citrus zest, and rosemary-honey twists
Raisins: fold in 10–15% of the flour weight, well-drained and patted dry, for gentle pockets of sweetness.
Citrus zest: stir 1–2 teaspoons of finely grated lemon or orange into the bowl with the dough for a bright lift.
Rosemary-honey: drizzle 1–2 teaspoons warm honey into the brine or over the top after baking, then scatter 1 tablespoon finely chopped rosemary.
Ligurian olive ideas and cheese accents without overpowering sweetness
- Olives: dot a modest handful (about 30–40 g) of small, fruity olives into dimples so the bread stays balanced.
- Cheese: use thin shavings or a light sprinkle (10–15 g) so sugar and olive oil still lead the flavor.
- Keep toppings light; heavy add-ons can flatten rise and crowd dimples.
Maintain the same rise, brine, and 450°F bake. Finish with a light brush of virgin olive oil for harmony. Try one change at a time; the best variations whisper, not shout.
Serving ideas for breakfast, snacks, and gatherings
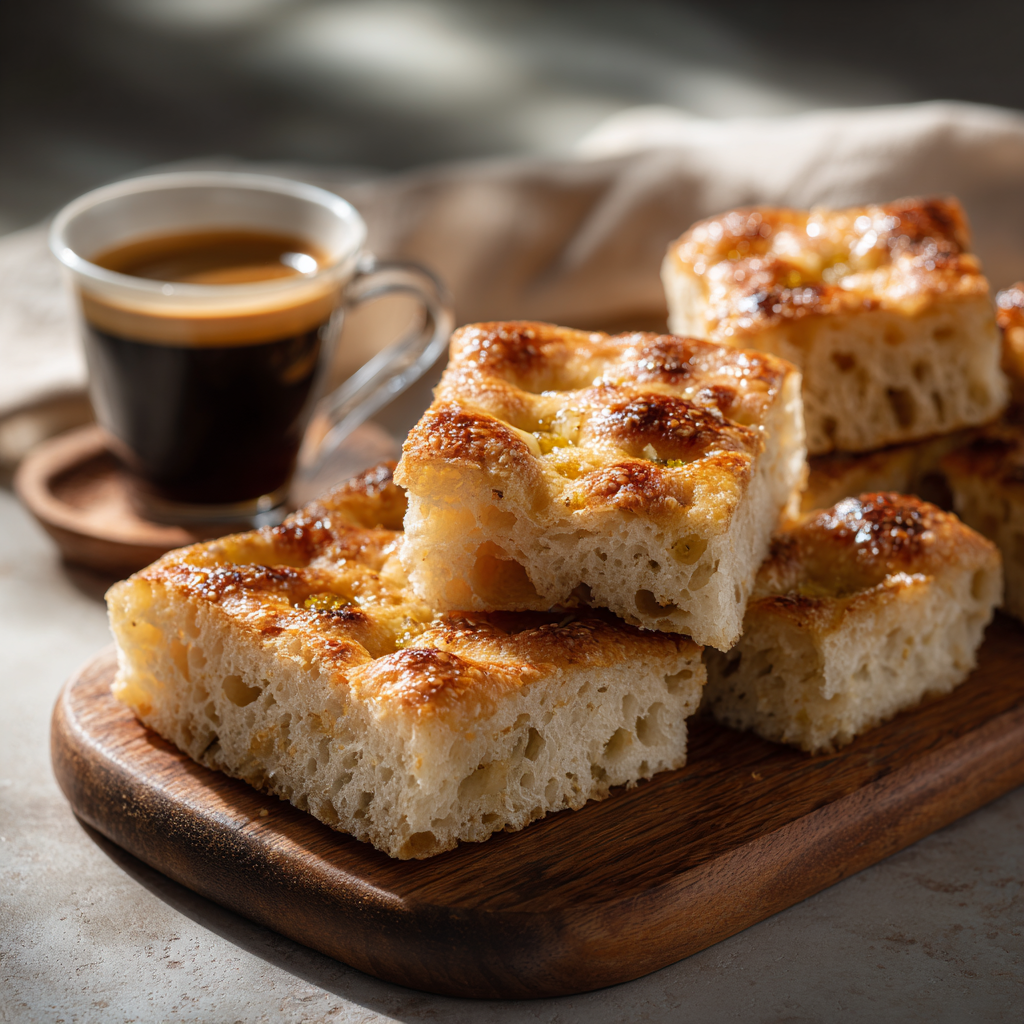
A warm pan straight from the oven makes simple meals feel celebratory and easy to share. I bring the tray to the table and cut squares so everyone helps themselves. This keeps the bottom crisp and the top glossy while the room fills with olive oil and honey aroma.
Pairings I love
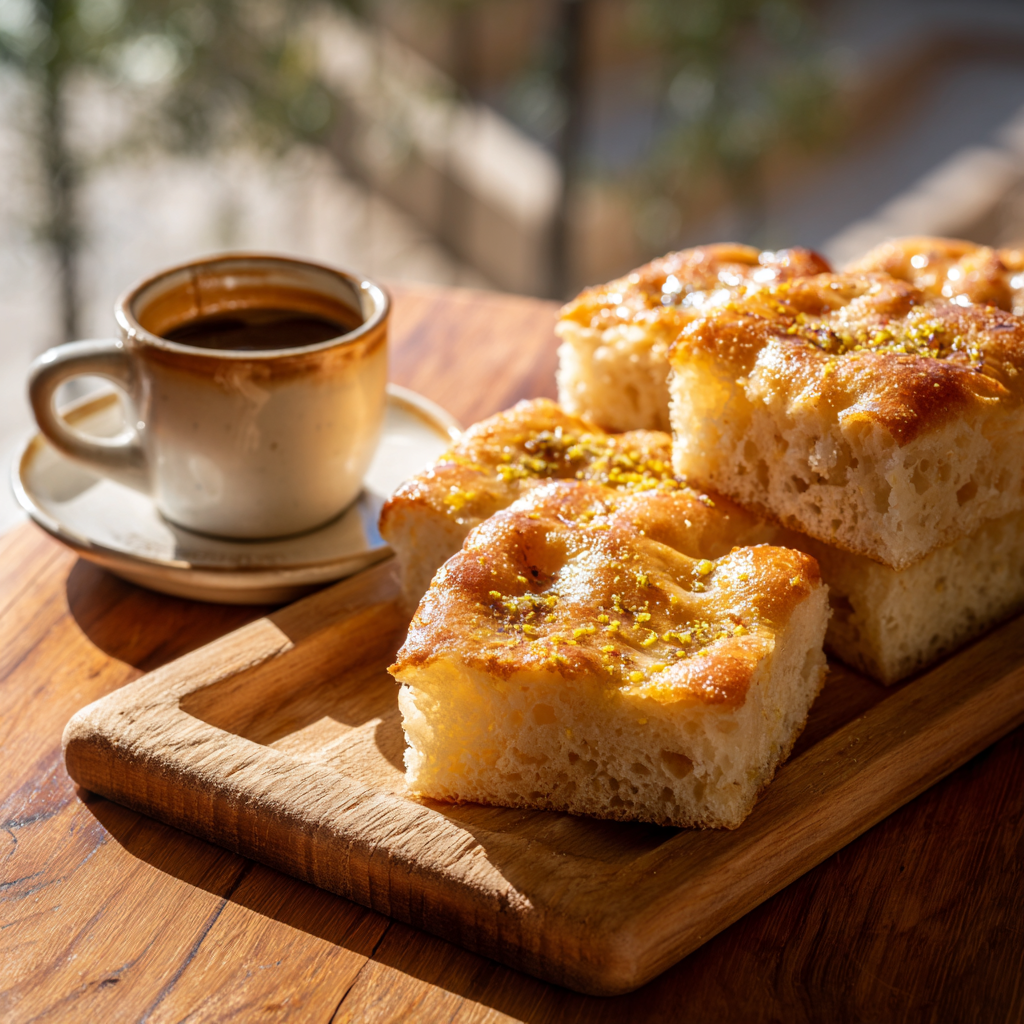
- Morning: warm slices with a strong espresso and seasonal fruit — the gentle sweetness pairs with coffee and bright fruit notes.
- Aperitivo: thin squares with aged cheese and a light drizzle of extra virgin olive oil — salty and sweet balance makes a small board sing.
- Lunchbox & snack: split for sandwiches with soft cheese or fruit compote; the crumb holds up well without crumbling in a lunch cup.
- Soup nights & brunch: serve with vegetable or tomato-based soups, or set a full sheet for guests to cut rectangles for sharing.
Practical tips for serving
Pre-cut into rectangles when hosting to keep the line moving. For family style, I place the loaf on a cooling rack and slice at the table so the bottom stays crisp.
| Format | Best pairing | Why it works |
|---|---|---|
| Warm square | Espresso + fruit | Sweetness and oil lift morning flavors |
| Thin rectangle | Aged cheese + olive oil | Compact bite balances salty and sweet |
| Sandwich split | Soft cheese or compote | Sturdy crumb holds fillings without sogginess |
Make-ahead, storage, and freezing without losing the crumb
Plan your timing the same way I do: a slow chill in the fridge gives more flavor and frees your morning. After mixing, cover the bowl with plastic wrap and cold-proof the dough for 12–48 hours. This controlled fermentation builds aroma and makes the dough easier to stretch.
Overnight cold rise, room temperature rest, and when to bake
When you’re ready, remove the dough from the fridge and bring it to room temperature on the counter. Let it puff until visibly soft and domed — usually 60–120 minutes depending on kitchen warmth. Then press or shape into the pan, let rest minutes to relax the gluten, dimple, pour the brine, and bake as directed.
How to wrap, reheat, and refresh to keep edges crunchy
Once baked, let cool on a rack fully before you wrap. To store short-term, wrap tightly in plastic and refrigerate up to 3 days. For long-term, slice into slabs, wrap in plastic, then seal in an airtight freezer bag for up to 3 months.
- Reheat from thawed or refrigerated on a hot sheet pan at 425–450°F for 4–8 minutes to re-crisp edges.
- A quick brush of olive oil after reheating restores aroma and sheen; avoid microwaving — it softens crust.
- If you shaped in the pan before chilling, allow enough minutes at room temperature so the dough will let rise and not tear when dimpling.
| Storage | Timing | Reheat tip |
|---|---|---|
| Fridge (shaped or in bowl, covered with plastic wrap) | 12–48 hours cold-proof | Bring to room temperature ~60–120 minutes, then bake |
| Refrigerated baked bread (wrapped) | Up to 3 days | 425–450°F on hot pan for 4–6 minutes |
| Frozen (portion slabs, airtight) | Up to 3 months | Thaw, then reheat 5–8 minutes at 425–450°F; brush olive oil |
| Quick tip for raisins or sugary spots | Check while reheating | Reduce time slightly where fruit caramelizes |
Troubleshooting common focaccia issues
A few clear fixes will rescue a flat, greasy, or uneven bake and help you improve the next one. Read these quick diagnostics and apply the one that fits your oven and timing.
Flat, dense, or greasy bottom: quick diagnoses and fixes
Flat or dense crumb usually means under-proofing or tight gluten. Let the dough relax longer before dimpling; it should feel airy and springy.
A greasy bottom often comes from brine slipping under the dough or too much oil. Press the dough firmly to the pan edges before pouring and keep the liquid on top of the surface.
If yeast activity seems slow, check water temperature and yeast freshness. For active dry, bloom it in a warm bowl so you’re sure it’s alive before mixing.
Uneven browning and stuck corners: pan and oven solutions
If the top is pale but the bottom is dark, lower the rack or use slightly less oil on the pan. Temperature balance between top and bottom matters more than minutes alone.
Uneven browning responds well to a mid-bake rotation and moving pans between racks. Note any hot spots and adjust placement next time.
Stuck corners mean the pan edges were under-oiled or the bread sat too long. Oil corners well and release the loaf to a wire rack immediately after baking.
- Lack of defined dimples: dust lightly with flour and press firmly with angled fingers; avoid timid taps.
- Overly salty top: weigh salt for the brine and dissolve it fully in water before pouring into wells.
- Topping overload (olives, raisins, cheese): keep additions light and evenly spaced to preserve rise and dimples.
| Problem | Likely cause | Action |
|---|---|---|
| Greasy bottom | Brine under dough or excess oil | Press dough to edges; pour brine carefully; reduce pan oil |
| Pale top, dark bottom | Rack too low or oven imbalance | Move to lower third or raise rack; rotate pan |
| Stuck corners | Dry pan edges | Oil corners thoroughly; tip out to rack right after baking |
If issues persist, keep a small baking log of hydration, room temperature, and minutes. Small, consistent tweaks build the confidence that turns problems into reliable results.
Bring a slice of the Riviera to your table
Bring the Riviera home with a warm, glossy pan that smells of olive and honey. The shiny, golden surface, deep dimples, and balanced crisp-soft crumb arrive from proper brine, firm dimpling, a hot bake, and a final brush of oil.
Bake with confidence: press the dough to the pan edges, pour measured brine into wells, and slide it into a hot oven. When it comes out, cool on a rack and finish with extra virgin olive oil so the crust glows and the aroma lifts the room.
I hope this ligurian focaccia becomes your weekend ritual — a simple set of steps that rewards patience and invites sharing. For the full, authentic method and tips, see my linked authentic ligurian olive focaccia.
Ligurian Focaccia Dolce
Ingredients
Method
- Mix flour, water, and a pinch of yeast in a small bowl.
- Cover and rest at room temperature for 12–14 hours until bubbly and fragrant.
- Add the sponge to a large bowl.
- Add flour, water, salt, sugar, and olive oil.
- Mix into a shaggy dough.
- Knead until smooth and elastic — the dough should stretch thin without tearing (windowpane stage).
- If adding raisins, fold them in gently.
- Cover the bowl with plastic wrap.
- Let rise at room temperature until soft, airy, and roughly doubled.
- Grease an 18×13 inch sheet pan (or two 13×9 pans) with olive oil.
- Place the dough in the pan and stretch it to cover about 70% of the surface.
- Let it relax for a few minutes.
- Finish stretching gently to all corners.
- Let rest 10–15 minutes so the gluten relaxes.
- Lightly dust the surface with flour.
- Use three fingers at a time and press firmly down in rows.
- Create deep, even wells all over the dough.
- Mix the water and salt until dissolved.
- Pour the brine over the surface, filling the dimples.
- Add a small drizzle of olive oil.
- Rest 40–60 minutes so the dimples settle.
- Preheat the oven to 450°F (232°C).
- Bake for 15–18 minutes until the top is hazelnut-golden and the holes inside look pale and glossy.
- Rotate pans halfway if using two.
- Slide a thin spatula under a corner and lift the bread out immediately to avoid steaming the bottom.
- Brush lightly with extra-virgin olive oil on top (and bottom if you like).
- Cool on a rack until edges stay crisp.
Notes
- Keep toppings light so the dough can rise properly and the dimples stay defined.
- Use extra-virgin olive oil with a fruity aroma—it's a big part of the flavor.
- Cooling on a rack is key. If the bread sits in the pan, the bottom turns soft.
- A hot oven is everything: don’t skip a full preheat.
- If your kitchen is cold, give the dough extra time — visual cues matter more than timing.