
Jump to Recipe
There’s a quiet magic to making fresh pasta. The simple act of mixing flour and eggs by hand transforms a weeknight meal into something deeply satisfying. It connects you to generations of Italian home cooks who understood that the foundation of a great dish is often made from scratch.
This particular dough creates noodles that are both tender and strong. They have a neutral flavor, allowing your chosen sauces and fillings to truly shine. You only need four basic ingredients to start. While store-bought options are convenient, crafting your own offers a superior texture and a real sense of accomplishment.
I’ve found these sheets work beautifully in any layered bake, from a classic meat ragù to one packed with roasted vegetables. The result is so authentic that even my family, who regularly eats traditional wheat pasta, enjoys this version without a second thought. It’s a reliable method for creating an authentic gluten-free lasagna Italian recipe that feels genuinely special.
This process isn’t difficult, but it does ask for a little patience. We’ll walk through each step together, focusing on the feel of the dough to ensure perfect results every time.
Key Takeaways
- Creating pasta from scratch elevates a simple meal into a rewarding culinary experience.
- This dough yields noodles that are soft yet sturdy, with a delicate flavor.
- You only need four common ingredients, emphasizing simplicity and accessibility.
- Homemade sheets provide a better texture and sauce absorption than most store-bought alternatives.
- The final dish is so convincing that it pleases everyone, regardless of dietary preferences.
- This versatile pasta can be used in various classic Italian preparations.
Discovering Homemade Gluten-Free Pasta
Handcrafting your own pasta connects you to the tactile experience that defines authentic Italian cooking. The dough responds to your touch, rolling smoothly to create delicate sheets perfect for layering.
The charm of handmade noodles
Fresh noodles offer a tenderness that boxed versions struggle to match. This is especially true for gluten-free options where texture matters most.
The flavor difference is subtle but noticeable. Homemade sheets taste cleaner and less starchy. They allow your sauces and cheeses to shine as the stars of the dish.
Why homemade beats store-bought
Store-bought gluten-free noodles have improved significantly. They work well for quick weeknight meals. However, fresh pasta elevates special occasions.
After making this a few times, the process becomes intuitive. It transforms from a project into a realistic option for busy cooks. The effort-to-reward ratio strongly favors homemade when cooking for guests.
This versatile dough extends beyond lasagna applications. You can cut it into fettuccine or shape it into ravioli. One technique opens doors to many Italian classics.
Essential Ingredients and Measurements
The foundation of great homemade pasta begins with understanding your ingredients. Precise measurements ensure consistent results every time.
Gluten-free flour blend choices
Your flour selection impacts the dough’s texture significantly. Cup4Cup multipurpose flour works well for beginners. The dough holds together nicely.
Note that Cup4Cup changed their formula in October 2024. You may need extra water with the new blend. Caputo Fioreglut performs beautifully but costs more. It contains gluten-free wheat starch.
King Arthur Measure for Measure is another reliable option. The dough may be slightly softer. Adjust water as needed for proper consistency.
Eggs, salt, and water: balancing perfection
The egg combination creates ideal richness and binding. Use two whole eggs plus three yolks. This provides excellent color without making the dough too wet.
Weigh your eggs first, then add water to reach 185 grams total liquid. Egg sizes vary, so this precision prevents issues. Use table salt or fine sea salt for even distribution.
The right flour blend already contains necessary binders. No extra xanthan gum is needed. Your ingredients will create perfect pasta every time.
Gathering Your Kitchen Tools
Good equipment is a helper, not a requirement, for crafting excellent homemade pasta. You can absolutely create this entire dish by hand with just a large mixing bowl and a sturdy rolling pin. The technique itself is straightforward, and the dough is forgiving.
Food processor and pasta roller benefits
A food processor cuts mixing time dramatically. It brings ingredients together into a cohesive mass quickly, ensuring a more consistent texture. I find a Cuisinart model to be a reliable workhorse for this task; it handles the dough easily and cleans up without fuss.
For rolling, a pasta machine is a fantastic investment. The KitchenAid stand mixer attachment works beautifully, attaching quickly and storing compactly. If you don’t have a stand mixer, a Marcato hand-crank machine is a quality, durable Italian alternative.
Alternatives for hand rolling
When rolling by hand, use parchment paper to prevent sticking. Work with small portions of dough at a time. Aim for sheets as thin as you can manage, even if they are thicker than machine-rolled versions.
Don’t overlook a simple kitchen scale. It’s essential for measuring flour and liquid accurately, which is key to dough success. While this equipment makes the process faster, your own hands are the most important tool you have.
Understanding Dough Texture and Consistency
The difference between good pasta and great pasta comes down to one critical element: texture. Getting this right ensures your final dish has the perfect bite and structure.
Achieving a firm, smooth dough
Your ideal dough should feel like stiff play dough when you press it. It should be smooth to the touch and hold together without crumbling.
Slightly tacky is perfectly acceptable. The mixture should feel pliable and alive, not dry or chalky. However, it shouldn’t stick to your hands or work surface.
Adjusting for humidity and flour variations
If your dough feels very sticky and clings to your fingers, add one tablespoon of flour at a time. Mix thoroughly between additions until it firms up.
When the mixture is crumbly and won’t form a ball, add water gradually. Use just a few drops, then let the food processor run for 30-60 seconds.
Different flour blends absorb moisture at varying rates. Some adjustment is normal and expected. Once the texture feels correct, the rest of the process flows smoothly.
Crafting the Gluten Free Lasagna Sheets Recipe
Creating pasta dough requires both precision and intuition. We’ll walk through two reliable methods to achieve perfect results.
Mixing and kneading the dough
Start by combining your flour and salt in the food processor bowl. Pulse them briefly to ensure even distribution. This simple step prevents clumps in your final mixture.
Place a measuring cup on your kitchen scale and reset it to zero. Add your eggs and yolks first, then pour in water until the total liquid reaches 185 grams. Whisk everything together until well combined.
Pour the egg mixture into the flour while the processor runs. Watch as coarse crumbs form, then suddenly clump into a ball within about 60 seconds. Open the lid and touch the dough—it should feel firm but slightly tacky.
If the mixture seems too wet, add one tablespoon of flour and process again. For dough that won’t come together, add water drop by drop. Always process between adjustments.
| Method | Time Required | Equipment Needed | Best For |
|---|---|---|---|
| Food Processor | 2-3 minutes | Processor, scale | Quick preparation |
| Hand Mixing | 8-10 minutes | Bowl, wooden spoon | Traditional experience |
| Stand Mixer | 4-5 minutes | Mixer with paddle | Large batches |
For hand mixing, create a well in your flour mixture. Pour the eggs into the center and gradually incorporate the flour from the edges inward. Once combined, knead on a floured surface until smooth.
Wrap your finished dough in plastic and refrigerate for at least 30 minutes. This resting period allows the flour to fully hydrate, making rolling much easier.
Step-by-Step Guide to Rolling Out the Dough
The transformation from a simple ball of dough to delicate pasta sheets is where the real craft begins. This process requires patience but yields beautiful results that make your final dish exceptional.
Initial passes with the pasta roller
Start by dividing your chilled dough into four equal portions. Keep unused pieces covered to prevent drying. Flatten one portion into a half-inch thick disc.
Set your pasta machine to the widest setting. Feed the disc through the rollers. The first pass may produce a shaggy, uneven sheet—this is completely normal.
Fold the dough like a business letter into thirds. Pass it through the same setting again. Repeat this 2-3 times until you achieve a smooth, rectangular sheet.
Transitioning to thinner sheets with increased settings
Move to the next narrower setting without folding the dough. Feed it through once or twice. Watch as the sheet lengthens and becomes more delicate.
Continue progressing through settings 3, 4, and 5. Handle the growing sheet gently to prevent tearing. By setting 5, you’ll have a long, thin pasta ready for cutting.
For hand rolling, use a floured surface and rolling pin. Apply steady pressure to create rectangles about ⅛-inch thick. Cut pieces to fit your baking pan comfortably.
Hand-Rolled Versus Machine-Made Techniques
When it comes to rolling out your pasta dough, you have two main paths to consider. Each approach has distinct advantages that suit different kitchen situations and personal preferences.
Pros and cons of each method
Hand rolling requires only basic tools like a rolling pin and some patience. This method connects you directly to the craft of pasta making. The physical effort involved can be quite satisfying.
Machine rolling uses specialized equipment to create uniform results quickly. This approach saves significant time and reduces physical exertion. The consistency achieved is difficult to match by hand.
Thickness varies noticeably between methods. Hand-rolled noodles tend to be thicker and may need pre-boiling before baking. Machine-made versions cook evenly in the oven without extra steps.
| Method | Time Required | Equipment Needed | Sheet Thickness | Preparation |
|---|---|---|---|---|
| Hand Rolling | 45-60 minutes | Rolling pin, surface | Thicker, uneven | Pre-boil recommended |
| Machine Rolling | 20-30 minutes | Pasta machine | Thin, uniform | Oven-ready |
Your choice depends on available equipment and desired results. Both methods produce excellent pasta when the dough texture is correct. Consider your available time and cooking goals when deciding.
Tips for Storing and Freezing Fresh Pasta
Proper storage transforms your homemade pasta from a single meal into a versatile kitchen staple. Making noodles ahead of time spreads out the prep work, making holiday cooking more manageable.
For short-term storage, refrigerate your fresh pasta for up to three days. Lightly dust the top of each sheet with flour to prevent sticking. Stack them carefully in a container large enough to lay flat.
Cover the tray tightly with plastic wrap. This method preserves the texture beautifully. The flour layer between sheets ensures easy separation when you’re ready to assemble your dish.
Freezing extends the shelf life significantly. Arrange sheets in a single layer on a baking pan. Freeze until solid, about two hours.
Once frozen, stack the sheets and transfer to an airtight container. They’ll keep well for three months. Use them directly from the freezer—just add a few extra minutes to your baking time.
| Storage Method | Time Limit | Preparation Needed | Best Use Case |
|---|---|---|---|
| Refrigeration | 3 days | Flour dusting, flat storage | Weekly meal prep |
| Freezing | 3 months | Initial single layer freeze | Batch cooking, holidays |
Remember food safety with this egg-based dough. Don’t leave it at room temperature longer than one hour during prep. Frozen homemade pasta tastes nearly identical to fresh, making batch preparation a smart strategy.
Integrating Versatile Gluten-Free Pasta in Lasagna Dishes
Your beautiful homemade pasta finds its true purpose in a layered bake. These delicate noodles adapt to any style of preparation you choose.
They work with rich meat ragù or lighter vegetable fillings. The neutral flavor lets your chosen ingredients shine.
Pairing with meat sauce or vegan options
The key to success is generous sauce coverage. This provides the moisture needed to cook the pasta perfectly in the oven.
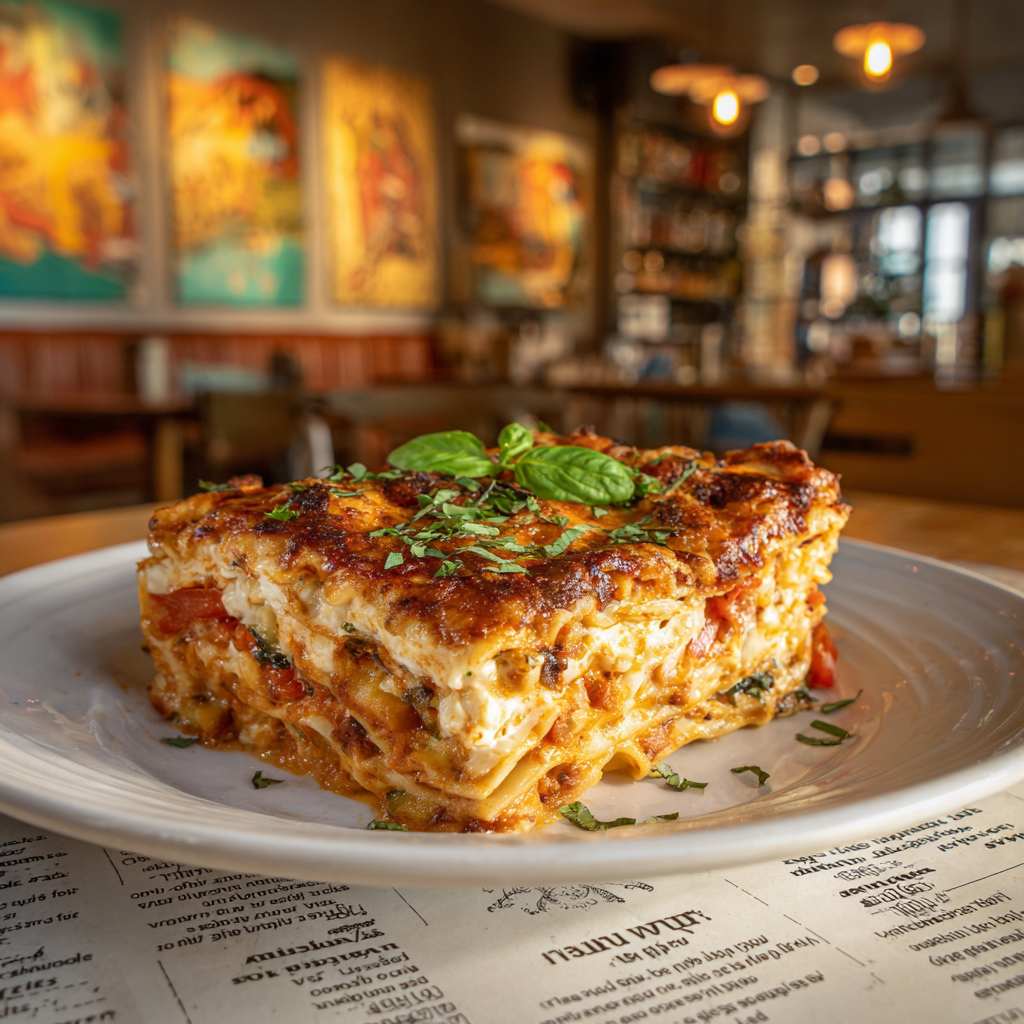
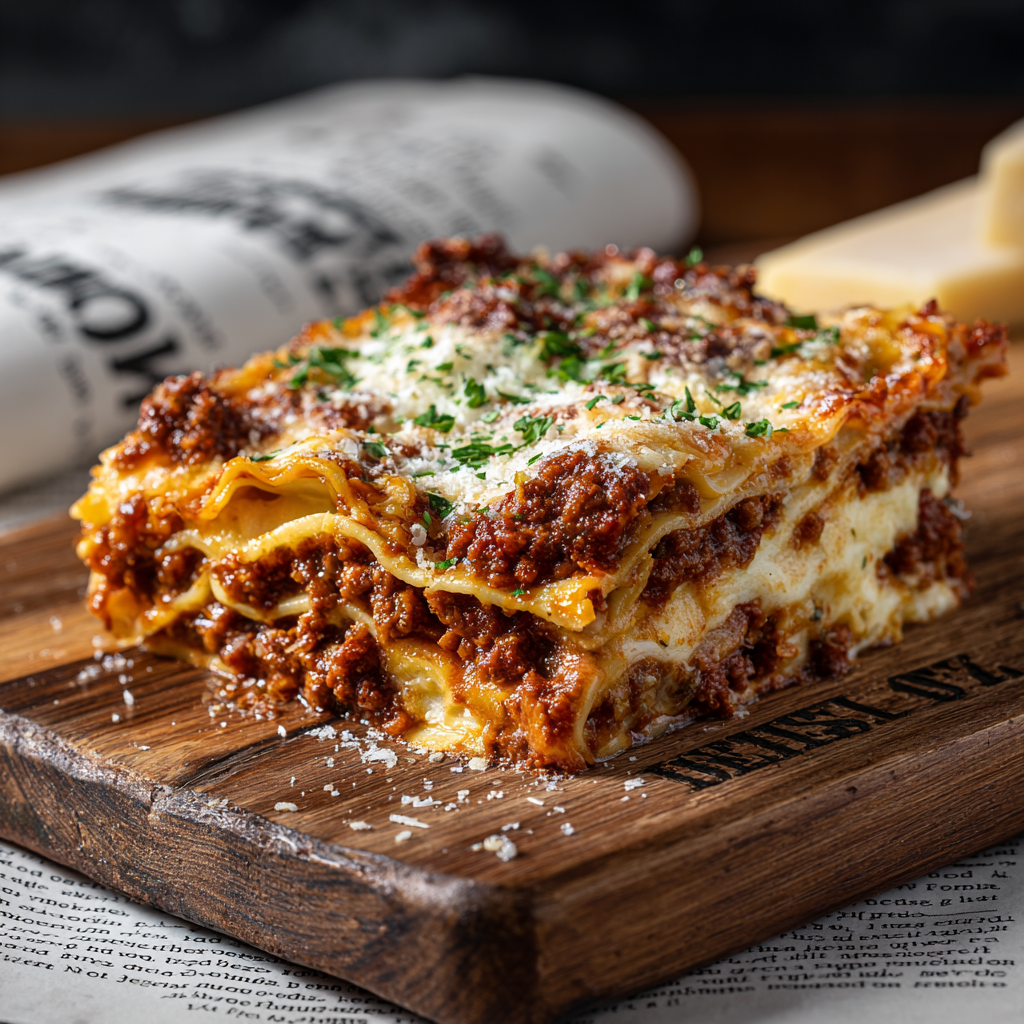
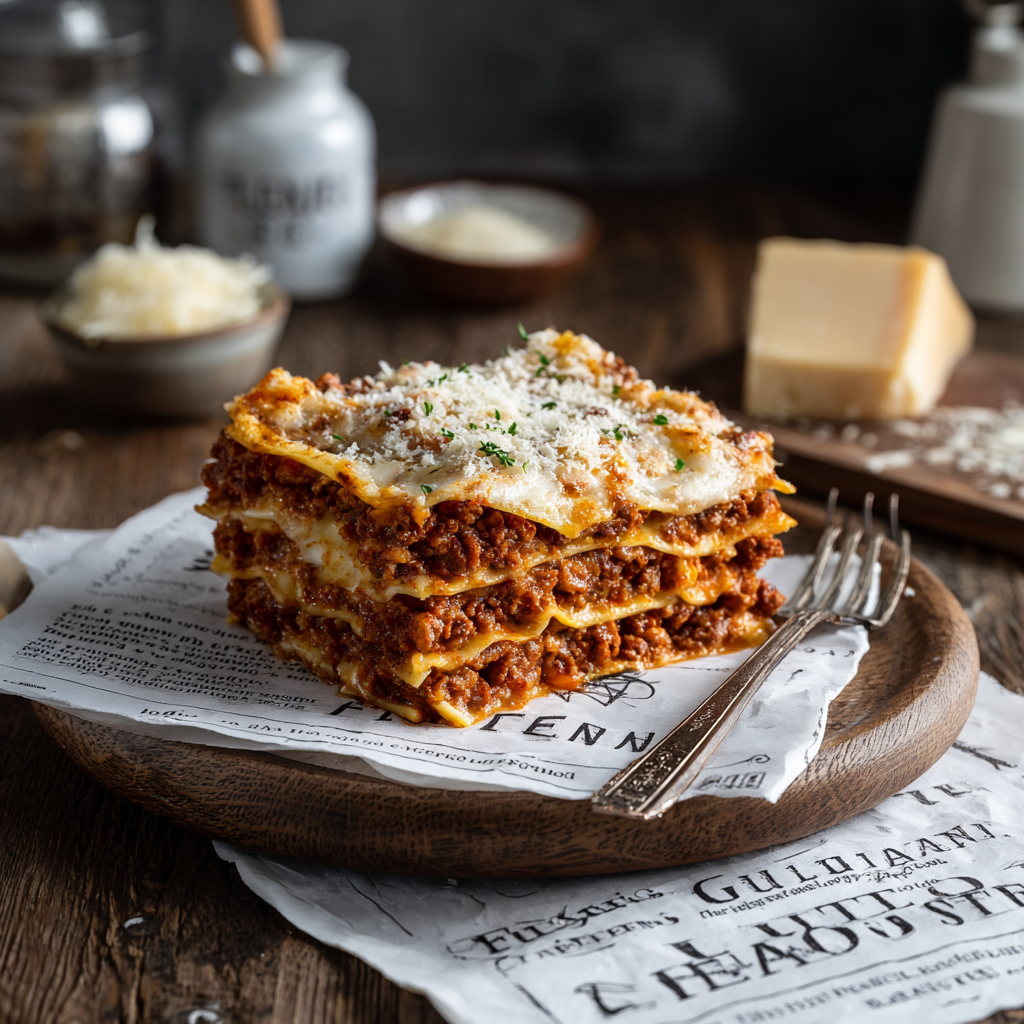
I find a slow-simmered meat sauce with ground beef offers incredible depth. It complements the delicate texture without overwhelming it.
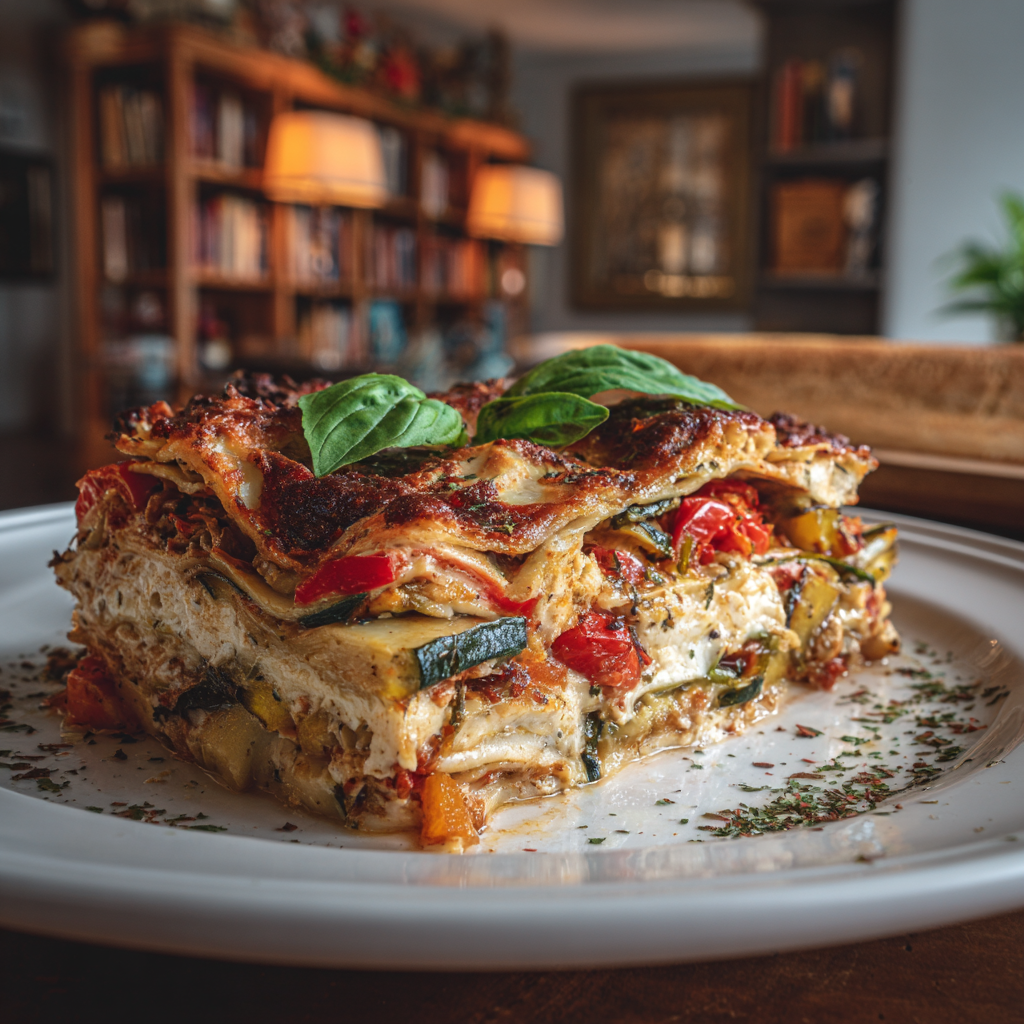
For a vegetable-forward dish, roasted mushrooms and wilted spinach create wonderful layers. Vegan preparations using lentil ragù and cashew cream are also excellent.
| Style | Key Components | Baking Time | Final Texture |
|---|---|---|---|
| Classic Meat | Beef ragù, bechamel, Parmesan | 50-60 minutes | Rich and hearty |
| Vegetable | Roasted veggies, ricotta, mozzarella | 45-55 minutes | Lighter but satisfying |
| Fully Vegan | Lentil ragù, cashew sauce, plant-based cheese | 50-60 minutes | Creamy and robust |
Start assembly with a thin layer of sauce in your pan. This prevents sticking. Alternate pasta, thick sauce, creamy elements, and cheese.
A standard 9×13-inch dish typically holds three layers comfortably. Bake at 350°F until the top is golden and the sauce bubbles.
Let the finished dish rest for 15-30 minutes before slicing. This allows the layers to set for clean serving. This homemade pasta truly elevates the final result.
Frequently Encountered Challenges and Creative Solutions
Even experienced cooks can encounter dough that doesn’t behave as expected. The good news is that most issues have simple fixes. We’ll walk through common problems and their solutions.
What to do if the dough is too sticky or crumbly
If your mixture feels very sticky and clings to your fingers, add one tablespoon of flour. Mix thoroughly before checking the texture again. Repeat this process until the dough firms up.
When the mixture appears crumbly and won’t form a ball, add water gradually. Use just a few drops at a time. Let the food processor run for about 30 seconds between additions.
Patience is key when adjusting hydration. Different flour blends absorb moisture at varying rates. Some adjustment is completely normal and shows you’re learning to read the dough’s needs.
| Problem | Cause | Solution | Timing |
|---|---|---|---|
| Sticky Dough | Too much liquid or humid conditions | Add 1 tbsp flour, mix, repeat | During initial mixing |
| Crumbly Dough | Insufficient liquid or dry flour blend | Add drops of water, process 30 sec | Before kneading |
| Sticking During Rolling | High humidity or insufficient flour | Light dusting of gluten-free flour | Any point during rolling |
Environmental factors like humidity affect your results. On damp days, you might need less water. In dry climates, a bit more moisture helps.
Remember that these adjustments don’t mean failure. They’re part of developing skill with gluten-free ingredients. Each batch teaches you more about working with this special blend.
A Heartfelt Send-Off for Your Italian Cooking Journey
This dish has become legendary in our family because it delivers authentic Italian comfort that everyone can enjoy together. The extra time invested in making pasta from scratch transforms an ordinary meal into something truly memorable.
When you taste that first bite of lasagne crafted completely by hand, the effort reveals its true worth. It becomes the meal people request for birthdays and holidays. The satisfaction stays with you long after the table is cleared.
I encourage you to try this method for a special Sunday supper or celebration. After a few attempts, the process becomes familiar and even meditative. You’ll gain confidence with each batch you create.
This skill opens doors to many other pasta preparations beyond just lasagna. I hope this recipe brings as much joy to your table as it has to ours. May it become a cherished tradition in your home too.
Homemade Gluten-Free Lasagna
Ingredients
Method
- In a food processor, combine flour and salt. Pulse briefly.
- Weigh eggs, then add them with the water to total 185 grams of liquid. Whisk them together.
- Slowly add the egg mixture to the flour while the processor runs. It should form coarse crumbs and then clump into a ball within a minute.
- If too sticky, add one tablespoon of flour; if too dry, add water drop by drop.
- After the dough forms, knead it by hand on a floured surface for about 5 minutes. Wrap the dough in plastic wrap and refrigerate for 30 minutes to rest.
- Divide dough into four equal pieces. Flatten one portion into a half-inch disc.
- Use a pasta roller to roll the dough starting from the widest setting. Fold like a business letter, then run it through 2-3 more times until smooth.
- Gradually reduce the thickness by rolling through narrower settings until the sheet is thin (about 1/8-inch).
- Layer a thin layer of sauce (meat, vegetable, or vegan) at the bottom of your baking dish.
- Place a sheet of pasta over the sauce. Add sauce, cheese (ricotta, mozzarella), and any other fillings you prefer.
- Repeat the layering process with pasta, sauce, and cheese, finishing with a final layer of sauce and cheese.
- Preheat oven to 350°F (175°C). Bake for 50-60 minutes, until the top is golden and bubbly.
- Let the lasagna rest for 15-30 minutes before slicing.
Notes
- If you don't have a pasta roller, you can use a rolling pin for hand-rolled pasta sheets.
- Store the uncooked pasta in the refrigerator for up to 3 days or freeze it for up to 3 months.
- This recipe is versatile, allowing you to use a variety of sauces, from classic meat ragù to vegan lentil ragù.