
Jump to Recipe
There’s a quiet satisfaction in crafting a meal from scratch, especially one that fills the kitchen with the warm, toasty scent of baking dough. It’s a simple pleasure that feels like a small celebration, connecting us to generations of home cooks.
Creating an authentic Italian-style pie at home is entirely achievable, even when working with alternative flours. Many believe a wheat-free base is either overly complicated or results in a disappointing, cardboard-like texture. That reputation, however, doesn’t hold when you follow a properly formulated method.
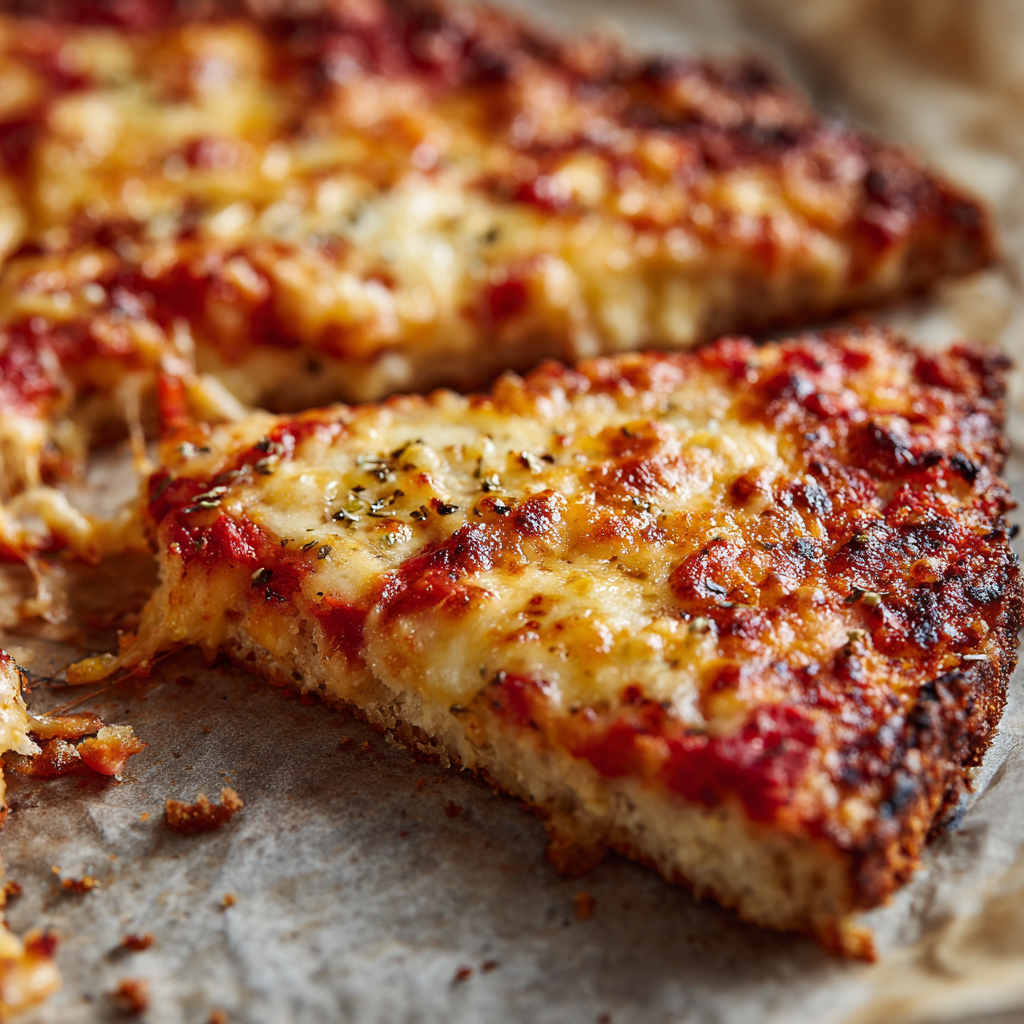
This particular approach delivers a thin, crisp result with a nice snap and genuine chew. It isn’t a thick, bready substitute trying to hide its nature. The process is surprisingly straightforward, though it requires attention to specific flour types and precise measurements rather than guesswork.
We respect traditional pizza-making principles while adapting them intelligently. You’ll notice the mixture feels different—wetter and less elastic than standard dough. These differences are normal and lead to an excellent final product that works for both weeknight dinners and special occasions.
It’s an opportunity to make something everyone at the table can enjoy without any compromise on flavor or texture.
Key Takeaways
- Making a great wheat-free pizza at home is completely possible with the right knowledge.
- The texture of the dough will be different, which is normal and leads to good results.
- This method focuses on a thin, crisp crust with authentic Italian character.
- Success depends on using specific flour types and measurements.
- The recipe is designed to be simple and efficient for any home cook.
- It produces a result that is perfect for both casual meals and entertaining guests.
- Everyone can enjoy the final dish, with no sacrifice in quality.
Gathering Your Ingredients and Tools
Having the proper tools and ingredients ready before you start ensures a smooth baking experience from beginning to end. Careful preparation prevents mid-process surprises and leads to consistent results.
Essential Ingredients and Flour Choices
The foundation of your dough depends on selecting the right flour. Not all alternative flours behave the same way. Each absorbs water differently and requires specific ratios.
King Arthur Gluten-Free Pizza Flour works beautifully for this method. It’s formulated with the right balance of starches and binders. You can find it at most major supermarkets.
Bob’s Red Mill Gluten Free 1-to-1 Baking Flour serves as an alternative option. However, it requires adjustments to water measurements. Some cooks prefer custom flour blends using millet and brown rice flour.
| Flour Type | Best For | Water Adjustment | Availability |
|---|---|---|---|
| King Arthur Pizza Flour | Direct recipe use | None needed | Major supermarkets |
| Bob’s Red Mill 1-to-1 | Experienced bakers | Reduce by 1-2 tbsp | Widely available |
| Custom blend (millet/brown rice) | Customization | Varies by ratio | Specialty stores |
Right Equipment and Accurate Measurements
A kitchen scale provides essential precision. Volume measurements using cups and spoons often lead to inconsistent results. Weight measurements ensure accuracy every time.
Supporting ingredients include instant yeast, lukewarm water, and olive oil. Use about a teaspoon of salt for flavor balance. A tablespoon of sugar or honey helps with browning.
Essential tools include a large mixing bowl, sturdy spatula, and parchment paper. A pizza stone or Baking Steel creates proper heat distribution. These tools make the process efficient and reliable.
The Science Behind Gluten-Free Flour and Hydration
Working with wheat-free ingredients means learning new rules about how flour and water interact. Traditional dough relies on gluten protein for its stretchy texture and structure. Alternative flours lack this natural network, requiring different approaches.
Understanding Flour Blends and Xanthan Gum
Commercial flour blends compensate for the missing protein structure. They combine various flours with binders like xanthan gum. This ingredient creates the elasticity that gluten would normally provide.
Xanthan gum works by creating viscosity in the mixture. It helps the dough hold together during shaping and baking. The right flour blend ensures consistent results every time.
Water Ratios and Achieving the Perfect Texture
Hydration levels differ significantly from traditional recipes. Alternative flours absorb moisture at varying rates. This requires more water to prevent a dry, crumbly final product.
The initial mixture will seem unusually wet, resembling thick batter. This consistency is normal and necessary for proper texture development. As the dough rests, it thickens and becomes more manageable.
Different flour brands have unique absorption characteristics. Following specific measurements ensures the ideal dough consistency. Proper hydration leads to that desirable crisp yet chewy result.
Mixing the Dough: Step-by-Step Techniques
This stage bridges preparation and creation, turning measured components into a living mixture ready to rise. The process feels different from traditional methods but follows a logical sequence.
Combining Dry and Wet Ingredients
Start by activating your yeast. Combine it with warm water and a small amount of sugar. Wait 5-10 minutes until the mixture becomes foamy and fragrant. This proofing step confirms the yeast is alive and active.
In a large bowl, whisk together your flour blend, salt, and any additional dry ingredients. This ensures even distribution before adding liquids. Add the activated yeast mixture first, followed by olive oil for flavor and texture.
The resulting mixture will be very wet and smooth, resembling thick batter rather than traditional dough. This consistency is normal and necessary for proper texture development.
Tips for Using a Spatula and a Kitchen Scale
Use a sturdy spatula to combine everything with more vigor than you might expect. Really work the ingredients together until fully incorporated. Some bakers prefer using a stand mixer with a dough hook on medium speed for several minutes.
Accurate measurements matter more here than in traditional baking. Weigh everything on a kitchen scale rather than using volume measurements. The dough will thicken and become more structured as it rises, so the initial wet consistency shouldn’t cause concern.
Gluten Free Pizza Crust Recipe: Let Rise and Rest
This waiting period allows the ingredients to harmonize, developing both flavor and structure in the dough. Just like traditional versions, your mixture needs time for the yeast to work its magic. The visual cues will be slightly different, but the principle remains the same.
Monitoring the Rise for Optimal Texture
Start by covering your bowl completely. Use a lid, bowl cover, or plastic wrap to prevent the surface from drying out. This creates the ideal environment for fermentation.
Place the covered bowl in a draft-free area of your kitchen. Look for a warm spot away from direct heat sources. The dough is ready when it has roughly doubled in volume.
You’ll notice small bubbles forming across the surface. This indicates active yeast and proper development. Unlike wheat-based versions, this type often rises faster, so check earlier than expected.
Temperature and Timing Considerations
Room temperature rising typically takes 2-3 hours. For faster results, try the oven light method. Simply turn on your oven light and place the covered bowl inside.
This creates a consistent 80-85°F environment perfect for yeast activity. Alternatively, preheat your oven to 170°F, turn it off, then place the bowl inside. This method reduces rising time to about one hour.
For advance preparation, refrigerate the mixture for a slow rise. This develops more complex flavors while allowing flexible baking schedules.
Parbaking and Shaping Your Pizza Dough
Shaping the dough is where you truly connect with the artisan process of pizza making. This hands-on stage transforms your risen mixture into the foundation for your Italian creation.
Rolling Out the Dough Evenly
Begin by turning your risen mixture onto a work surface lightly dusted with rice flour. This prevents sticking while maintaining the proper texture. Divide the mass into two equal portions for consistent results.
Gently shape each portion into a rough ball, using additional flour as needed. The mixture remains quite sticky at this stage. You can refrigerate these portions in a covered container for up to a week.
Roll from the center outward to create an even round about 11-12 inches across. Work gradually and handle carefully as the dough becomes more delicate when thin. Small tears are normal and easily repaired.
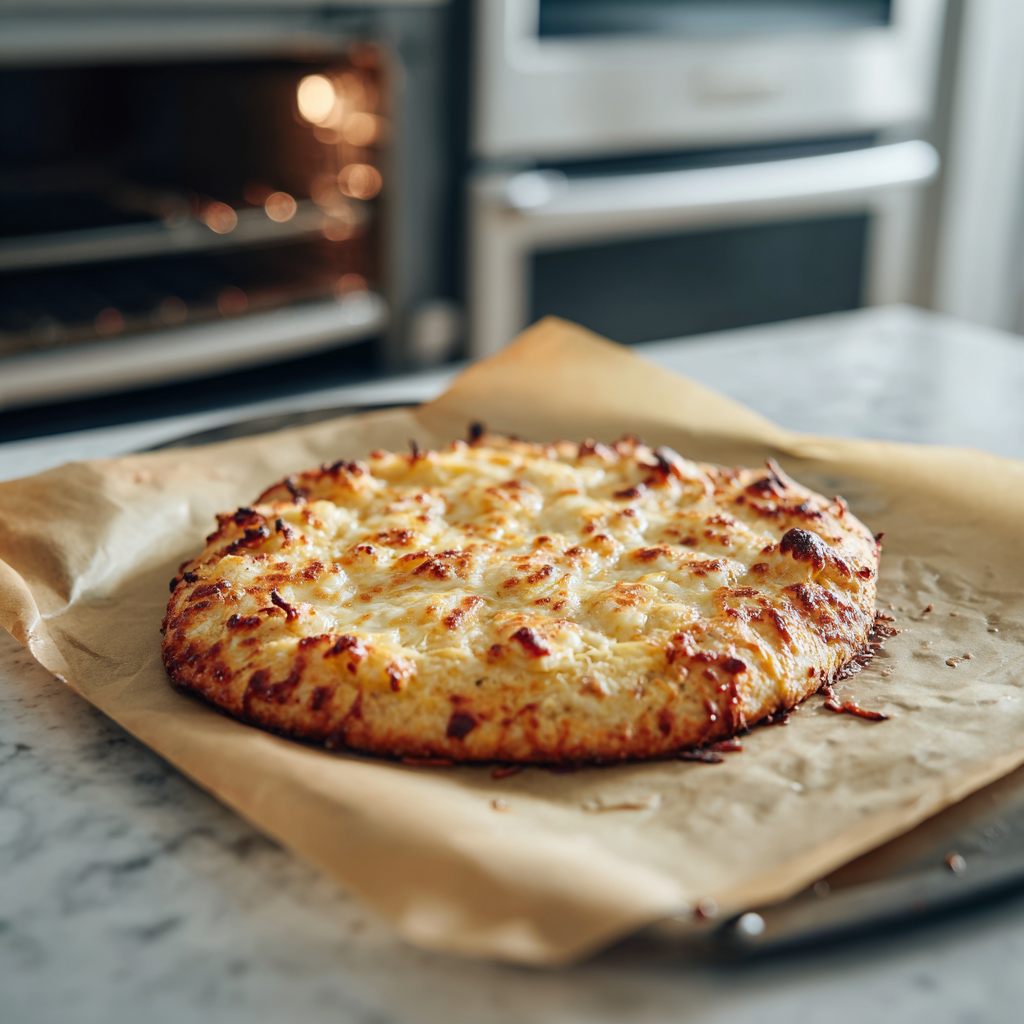
Place a sheet of parchment paper on your pizza peel. Spread a teaspoon of olive oil across it before transferring your shaped base. Pinch the outer edge firmly to create a thin rim that will crisp beautifully.
Slide the prepared base onto your preheated pizza stone or Baking Steel. Bake at 450-550°F for 2-5 minutes until it sets and puffs slightly. Gently deflate any large bubbles that form during this parbaking stage.
This partially baked foundation can be stored or frozen for later use. The parbaking process ensures your final result will have that desirable crisp texture.
Topping Ideas for a Flavorful Italian Experience
Choosing the right toppings is where personal expression meets Italian culinary tradition. The approach here respects the delicate nature of your prepared base while celebrating authentic flavors.
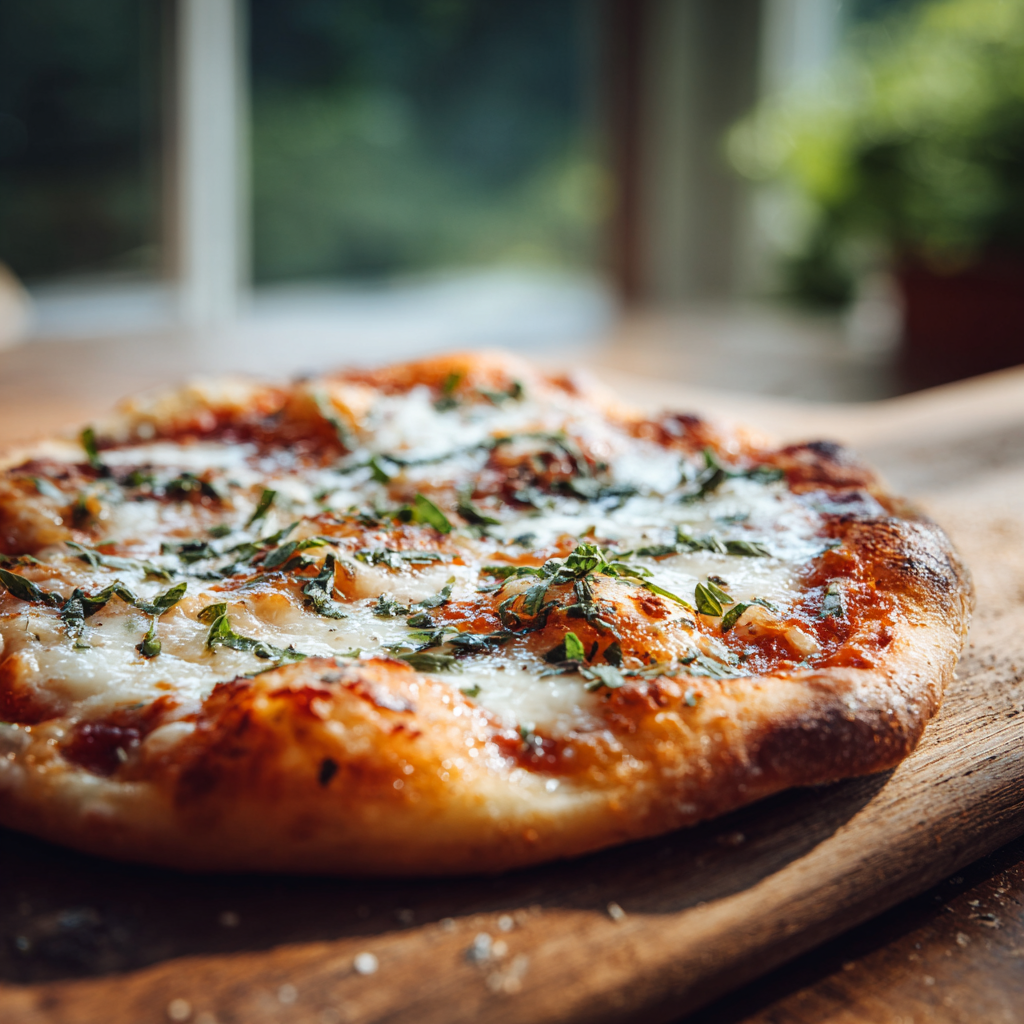
Classic Margherita and Creative Variations
Begin with the timeless Margherita to understand proper topping technique. Its simplicity allows the base to shine while delivering pure Italian character.
For the sauce, purée San Marzano tomatoes with raw garlic, salt, and extra-virgin olive oil. This no-cook method creates a fresh, bright flavor without stovetop time. Spread about three tablespoons evenly across the surface.
Apply low-moisture mozzarella in small, torn pieces rather than one heavy layer. This ensures even melting without weighing down the structure. A light drizzle of oil and flaky sea salt before baking adds richness.
After baking, finish with torn basil leaves and shaved Parmigiano Reggiano. For creative variations, consider roasted wild mushrooms with wilted greens or quality Italian sausage. Remember that restraint prevents a soggy result.
These methods honor Italian principles while working beautifully with your carefully prepared base. The right balance creates that perfect crisp yet flavorful experience.
Baking to Perfection: Oven Settings and Techniques
The final transformation happens in the intense heat of your oven. This stage turns your prepared base into a crisp, golden masterpiece. Proper technique here makes all the difference.
Preheating Strategies and Baking Times
Start by turning your oven to its hottest setting. Most home ovens reach between 450°F and 550°F. Place your Baking Steel or pizza stone in the top third of the oven.
Let it preheat for a full hour. This builds crucial heat mass for a crisp bottom. If available, use the convection roast setting for better browning.
After parbaking and adding toppings, return the pie to the oven. At 550°F, this takes about 4-5 minutes. At 450°F, plan for 10-15 minutes.
Getting a Thin, Crispy, and Delicious Crust
Watch for visual cues rather than relying solely on the clock. The cheese should bubble and develop brown spots. The edges will turn golden with some darker blistered areas.
You can leave the parchment paper underneath during baking. This makes handling easier without affecting the result. Every oven behaves differently, so consider the first bake a learning experience.
Adjust the time for subsequent pies based on your initial results. Remove your creation when the bottom is crisp and the top is melted to your preference.
Troubleshooting and Expert Tips for Gluten-Free Pizza
Mastering any new baking technique involves learning to recognize and correct common mistakes along the way. When your mixture doesn’t behave as expected, understanding the underlying causes helps you adjust effectively.
Common Pitfalls and How to Avoid Them
Using a different flour blend than specified often requires hydration adjustments. Each alternative flour absorbs moisture differently. A kitchen scale ensures consistent measurements for reliable results.
If your mixture seems too wet to shape, you may need more flour. If it’s dry and crumbly, add water gradually. Proper rising time creates the right texture without collapsing.
Tears during shaping are normal and easily patched. Large bubbles during parbaking should be gently pressed down. Insufficient preheating leads to a soft bottom rather than crisp results.
Advanced Techniques for a Better Dough Texture
For improved structure, try a longer, cooler rise in the refrigerator. This develops more complex flavors while making the mixture easier to handle.
When using King Arthur’s blend, note it contains wheat starch safe for celiacs but not wheat allergies. Different brands require recipe adjustments rather than simple substitution.
Remember that delicate bases work best with lighter toppings. Heavy ingredients can make the final result soggy rather than crisp. Plan to enjoy your creation fresh for the best eating experience.
Final Thoughts and Serving Suggestions
The real beauty of this method lies in its adaptability to busy schedules while maintaining quality. With minimal hands-on time—about 20 minutes—you can create a foundation that stores beautifully for quick meals later.
This approach requires only basic tools like a kitchen scale. The flours we recommend are widely available at regular supermarkets. Your first attempt may feel unfamiliar, but the process quickly becomes intuitive.
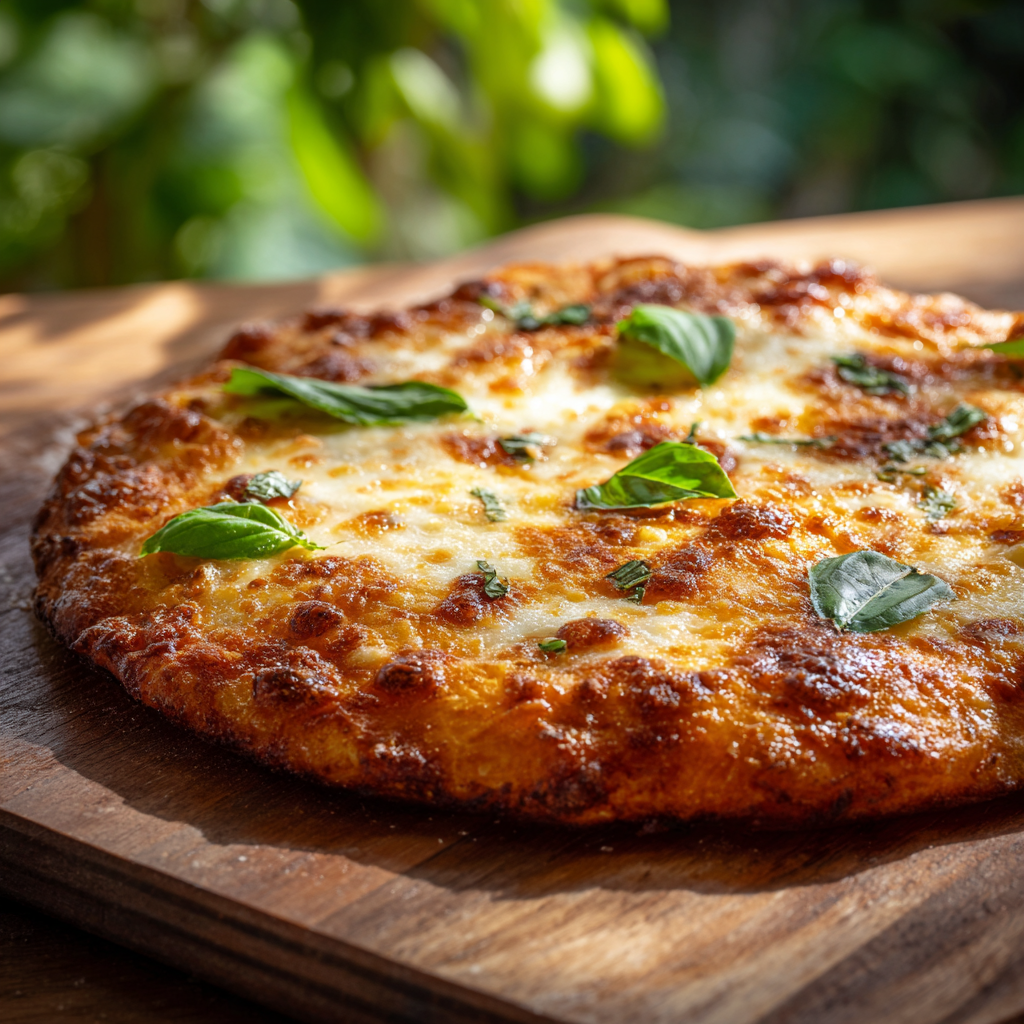
Serve your creation with a simple green salad dressed with olive oil and lemon. The thin, crisp result holds up perfectly when eaten by hand. Once you’re comfortable with the basic technique, feel free to experiment with toppings.
This isn’t a compromise—it’s genuinely delicious Italian-style baking that stands on its own merits. The satisfaction of sharing something made with care makes every minute worthwhile.
Thin & Crispy Italian-Style Gluten-Free Pizza Crust
Ingredients
Method
- In a small bowl, mix warm water and sugar. Stir in the yeast and let it sit for 5–10 minutes until foamy.
- In a large bowl, whisk together the gluten-free flour and salt.
- Pour the yeast mixture into the flour. Add olive oil and mix well using a sturdy spatula or stand mixer.
- The dough will look very wet and smooth, more like thick batter. This is correct. Mix until fully combined.
- Cover the bowl tightly and place it in a warm spot. Let rise until puffy and bubbly, about 1–2 hours.
- Lightly dust your work surface with rice flour. Divide dough into two equal portions.
- Gently roll each portion into a thin round, about 11–12 inches wide. Patch small tears as needed.
- Place the crust on oiled parchment paper. Bake on a preheated pizza stone or steel at 450–550°F for 2–5 minutes until just set.
- Remove crust, add sauce and toppings lightly.
- Return pizza to oven and bake until the cheese bubbles and the edges turn golden, about 4–10 minutes depending on oven temperature.
- Finish with basil, olive oil, and cheese. Slice and enjoy immediately.
Notes
- The dough will feel wetter than normal pizza dough. Do not add extra flour unless absolutely necessary.
- Use a kitchen scale for best results. Volume measurements can throw off hydration.
- Light toppings work best to keep the crust crisp.
- Parbaked crusts freeze well and make weeknight meals easy.
- King Arthur Gluten-Free Pizza Flour contains wheat starch, which is safe for celiac diets but not wheat allergies.