
Jump to Recipe
There’s a certain magic in the simplicity of Italian baking. It’s the warmth of the oven filling the kitchen, the gentle crackle of a perfectly baked treat cooling on the rack, and the deep, satisfying flavor that comes from just a few good ingredients.
This approach honors traditions passed down through generations, focusing on quality over complexity. We can achieve authentic results right in our own kitchens, using straightforward methods that respect the food.
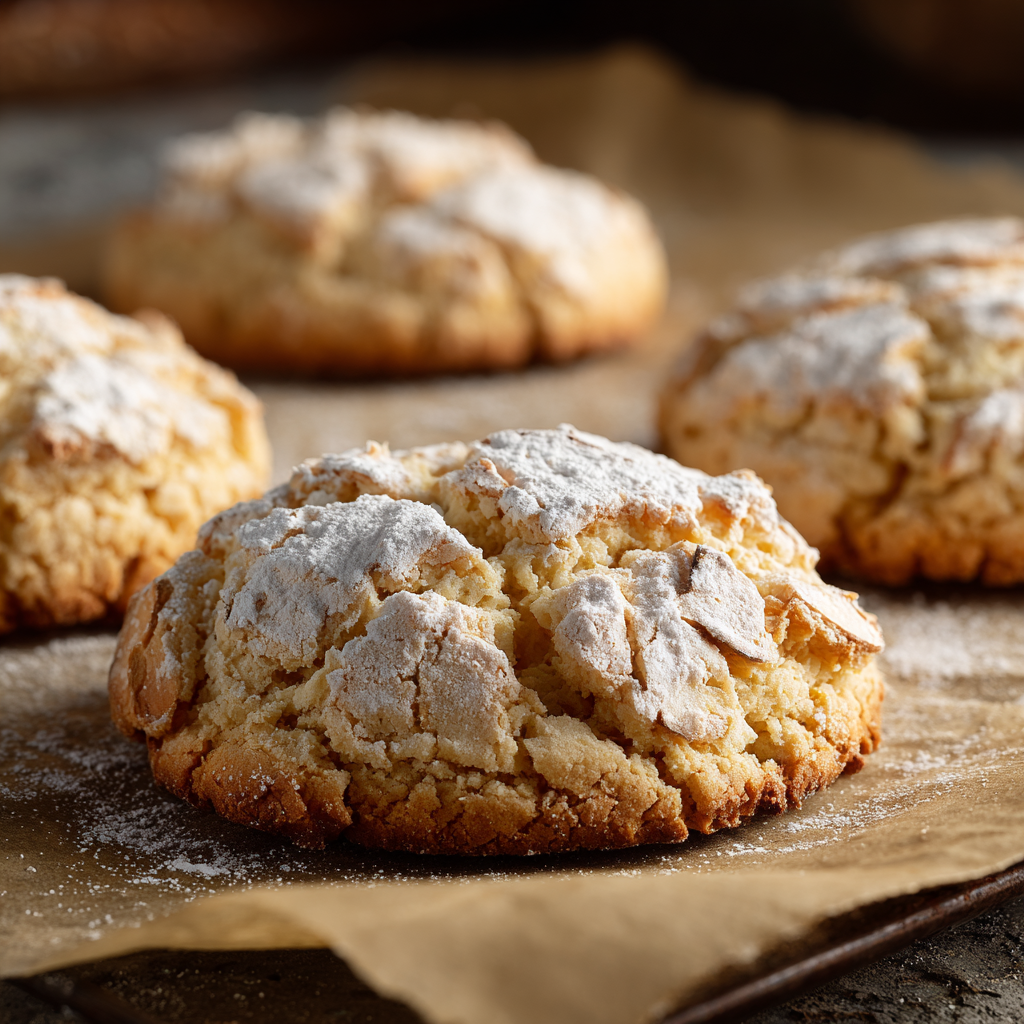
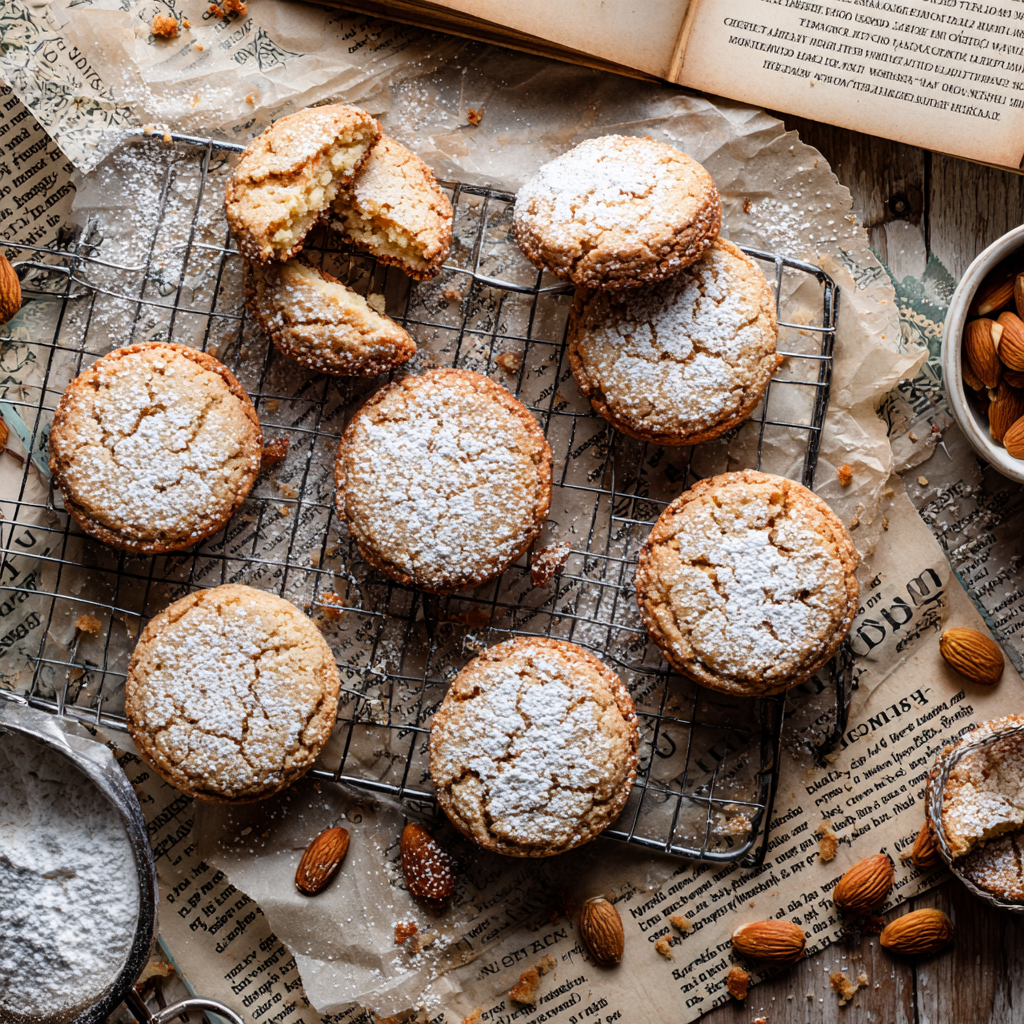
These particular treats combine a light, crisp meringue-like exterior with a wonderfully chewy and moist center. The pronounced, nutty flavor is a hallmark of well-made Italian pastries, especially from regions where nuts are a staple.
Best of all, this method requires no special equipment. You can mix everything in one bowl without a stand mixer. The hands-on time is under ten minutes, making it an accessible project for any home baker.
Whether you follow a specific diet by necessity or choice, these baked goods don’t taste like a compromise. They deliver the genuine experience of an authentic Italian bakery offering, celebrating flavor first.
Key Takeaways
- This method uses simple, traditional Italian baking techniques adapted for modern kitchens.
- The recipe requires just one bowl and no electric mixer, emphasizing ease and accessibility.
- You can expect a delightful texture contrast: a delicate, crisp shell with a tender, chewy interior.
- The flavor profile is rich and nutty, staying true to its roots without complicated steps.
- Clear guidance and practical tips are provided to ensure success for bakers of all levels.
- This approach respects dietary needs while delivering a result that tastes completely authentic.
Celebrating Traditional Italian Techniques in a Modern Twist
The secret to authentic Italian baking isn’t complexity but understanding how ingredients work together. This approach values quality above all else, creating results that feel both timeless and accessible.
The charm behind classic almond cookies
Italian bakers have long recognized that almonds need little enhancement. The nut itself provides enough richness to stand as the main component. Traditional versions from regions like Sicily and Tuscany depend on almond quality rather than long ingredient lists.
The appeal lies in restraint. A few components combined carefully create something greater than their parts. This philosophy has been passed down through generations by observation and practice.
How a simple method transforms flavor and texture
Whisking egg whites incorporates air, then gently folding them into ground almonds creates the distinctive texture. The transformation happens during baking. Egg whites form a delicate crust while the almond mixture stays moist inside.
This creates the contrast that defines well-made treats. It’s not about fancy techniques but understanding ingredient behavior. How egg whites set, how almonds release oils, how sugar caramelizes at the edges.
Adapting this tradition for contemporary needs actually simplifies the process. Almonds naturally work well for various dietary preferences without sacrificing authenticity. The method respects the ingredients while delivering genuine flavor.
Essential Ingredients and Their Role in Flavor
The difference between a rustic and a refined treat often comes down to the choice of a single component. In this case, that component is the type of ground nut you use. Understanding this distinction is the first step toward achieving your desired result.
Understanding almond flour vs. almond meal
Almond flour is made from blanched almonds, with their skins removed. They are ground to a very fine, powdery consistency. This creates a light texture similar to traditional wheat flour.
Almond meal, however, uses whole almonds with their skins on. The grind is coarser, giving the meal a heartier feel. You will see tiny brown specks from the skins in the final product.
For a smooth, delicate crumb and a lighter color, almond flour is the ideal choice. It yields a texture reminiscent of fine shortbread. If you prefer a more robust, earthy flavor and a visibly rustic character, almond meal works beautifully.
The significance of each ingredient in gluten free baking
Beyond the base, each component has a specific job. Sugar provides more than sweetness; it helps the egg whites set and contributes to a crisp exterior.
Egg whites act as the binder and provide a light structure. This allows the nutty flavor to shine without heaviness. A pinch of salt is crucial for balancing sweetness and enhancing the overall taste.
A drop of almond extract can intensify the flavor, but it is optional. The natural taste of high-quality nuts is often enough.
For sourcing, warehouse clubs offer almond flour at good value. You can also make your own almond meal at home using a powerful blender.
Crafting Your Gluten Free Almond Cookies Recipe
Good baking begins with thoughtful preparation, where the right tools and techniques set the stage for success. Having everything ready before you start makes the process smooth and enjoyable.
Gathering equipment and measuring tips
You’ll need just a few basic items: one medium mixing bowl, standard measuring cups and spoons, a simple fork or small whisk, and baking sheets lined with parchment paper. A cookie scoop measuring 1 to 1.5 tablespoons helps create uniform portions.
When measuring your dry ingredients, gently scoop them into your measuring cup and level it off with a flat edge. Avoid packing the flour down, as this can lead to a dense result. For the egg whites, I measure by volume rather than counting whole eggs. Five tablespoons gives consistent results regardless of egg size.
Mixing techniques that bring out the best texture
Start by whisking the egg whites vigorously for about 45 seconds with your fork. You want them frothy but not stiff. This incorporates just enough air without needing special equipment.
Combine your dry ingredients in the bowl first, then gradually add the whisked egg whites. Stir with your fork until the mixture comes together into a thick, smooth dough. You’ll know it’s ready when no dry pockets remain, but the mixture isn’t sticky. This hands-on approach gives you better control over the final texture.
Detailed Step-by-Step Baking Instructions
The final stage of preparation is where simple actions yield beautiful results. Careful attention here ensures your baked goods have the ideal texture and classic look.
Preparation tips from preheating your oven to dough consistency
Begin by turning on your oven. I recommend setting it to 325°F for a chewier center or 350°F for a slightly crisper finish. Both temperatures work well.
Line your baking sheets with parchment paper. This prevents sticking and makes cleanup simple. If you don’t have paper, a light coating of oil will also work.
Use a tablespoon to scoop uniform portions of dough. Aim for golf ball-sized balls. Place them on your prepared sheet, spacing them about two inches apart. They will spread a little during the bake.
Now, shape the tops. Lightly wet your fingers and press three together to dimple each ball. This creates a traditional appearance. For variety, use a fork to make a crosshatch pattern.
Timing guidelines for achieving the perfect bake
The baking time is brief but crucial. Place your sheet in the preheated oven and set a timer for 10 minutes.
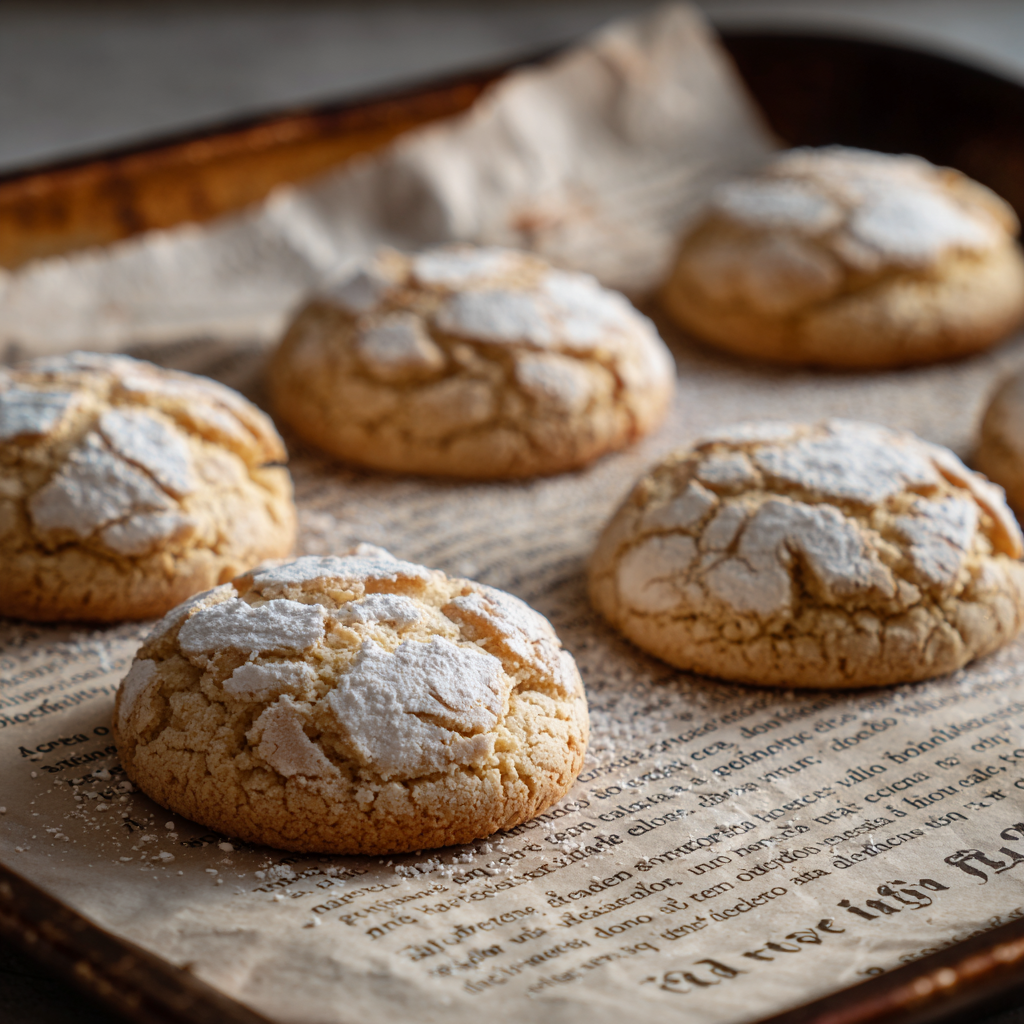
Check the treats then. You want the tops lightly golden and the edges a bit darker. They continue to cook from the pan’s heat after removal, so taking them out just as they look done is key. Overbaking makes them dry.
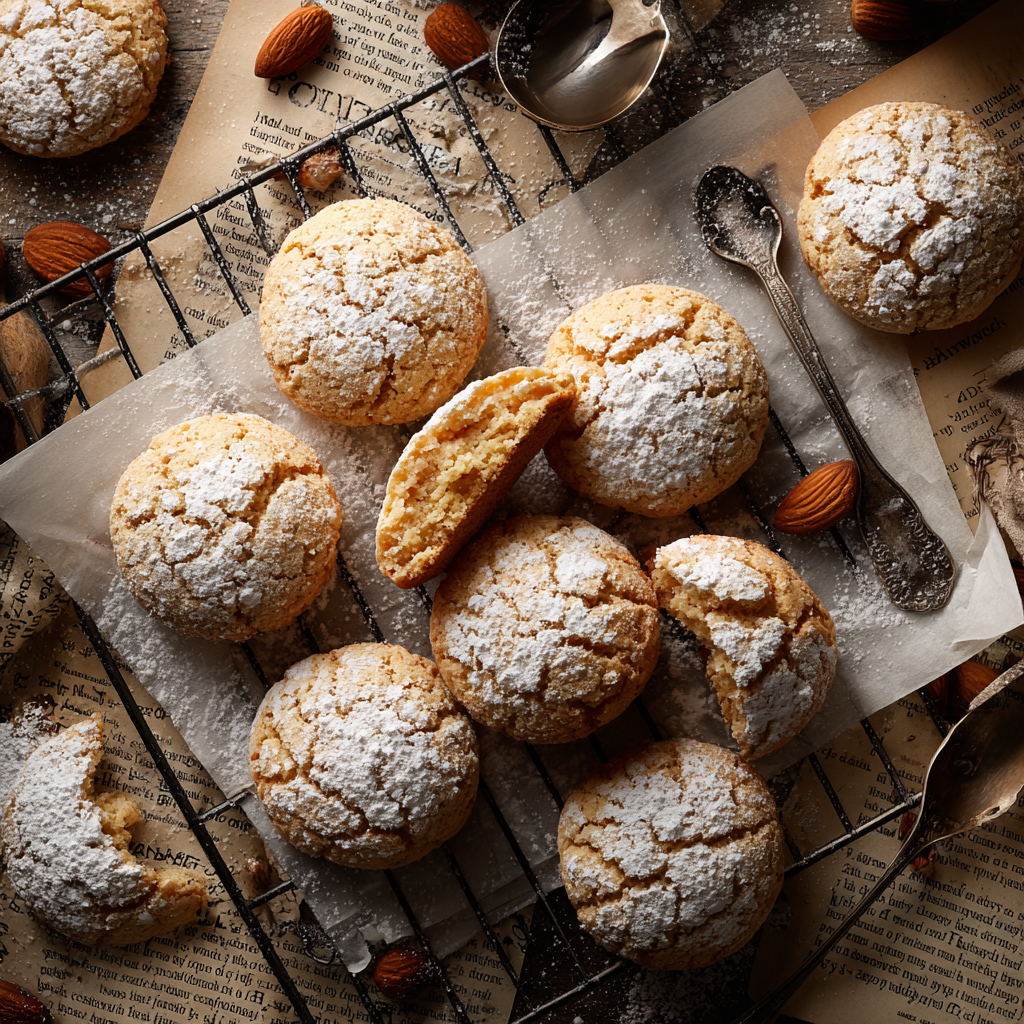
Let them rest on the hot sheet for five minutes. This allows them to firm up. Then, move them to a cooling rack.
While they are still slightly warm, dust them generously with powdered sugar. This final touch adheres well and completes the look, much like in a classic Italian Christmas cookie tradition.
Personal Insights and Kitchen Tips for Success
Consistency in baking often hinges on mastering a few key variables. Through many batches, I’ve learned which adjustments make the difference between good and exceptional results.
Adjustments for egg whites and sweetness balance
I discovered that egg white volume varies significantly, even from eggs in the same carton. This explains why some batches spread too thin while others stay overly thick. Measuring exactly five tablespoons of whisked whites eliminates this inconsistency.
When the ratio is off, texture suffers. Too much liquid causes excessive spreading and loss of chewiness. Too little makes the treats dry and dense. Getting this measurement right ensures reliable success every time.
The sweetness balance also matters. Reducing sugar by a quarter cup from some recipes creates better harmony. This adjustment doesn’t affect structure since there’s still plenty to help the exterior crisp nicely.
A tiny amount of almond extract—just an eighth of a teaspoon—enhances flavor without overwhelming the natural taste. It adds subtle depth while letting the primary notes shine through.
Oven knowledge is crucial. Temperatures can vary by twenty-five degrees or more from the dial setting. Watch your first batch closely for that light golden color indicating perfect doneness. This attention lets you adjust timing for consistent results.
For variation, a handful of mini chocolate chips creates a delicious twist. It respects the original while offering something new for different occasions.
Creative Variations to Elevate Your Cookies
Once you’re comfortable with the basic preparation, you might enjoy experimenting with different flavor combinations. The foundation remains the same reliable technique we’ve established.
Optional Mix-ins for Enhanced Texture
Mini chocolate chips stirred into the dough create a classic Italian combination. Press slivered almonds onto the tops before baking for added crunch.
For a thumbprint variation, press your thumb into each portion before baking. Fill the indentation with about ¼ teaspoon of jam. It caramelizes beautifully during the baking process.
Consider a chocolate-pistachio version by substituting two tablespoons of almond flour with cocoa powder. Add chopped pistachios for color and texture.
Serving Suggestions for Different Occasions
These treats pair naturally with espresso or tea, following Italian tradition. They also work beautifully alongside vanilla gelato for a simple dessert.
A drizzle of raspberry coulis over ice cream creates an impressive finish. The treats are substantial enough to satisfy with a glass of cold milk.
| Variation | Key Ingredients | Flavor Profile | Best Occasion |
|---|---|---|---|
| Thumbprint | Jam filling | Fruity and sweet | Afternoon tea |
| Chocolate-Pistachio | Cocoa powder, pistachios | Rich and nutty | Dessert course |
| Cranberry-Orange | Orange zest, dried cranberries | Bright and festive | Winter holidays |
| Maple-Pecan | Maple syrup, pecans, cinnamon | Warm and comforting | Autumn gatherings |
The cranberry-orange version brings brightness through fresh zest and dried fruit. It works especially well during winter holidays.
Maple-pecan offers warm cinnamon and real maple syrup with diced pecans. This combination respects the Italian technique while leaning toward American flavors.
How to Store and Enjoy Your Gluten Free Almond Cookies Recipe
Proper storage is what separates a fleeting treat from one that can be savored over time. The care you take after baking determines how long your creations will maintain their quality and flavor.
Best practices for airtight container storage
Always let your baked goods cool completely on the rack before storing. Trapped heat creates moisture that affects texture.
An airtight container at room temperature keeps them fresh for about three days. This maintains the balance of crisp exterior and chewy interior.
Refrigerator storage extends freshness to a full week. The cooler environment keeps them slightly crisper, though the texture becomes firmer.
Many find these treats taste even better the next day. Flavors have time to develop and meld together beautifully.
Freezing and reheating tips to maintain flavor
Both baked items and raw dough freeze well for up to six weeks. Layer baked goods in your container with parchment paper between layers.
For freezing dough, form golf ball-sized portions first. Chill them in the refrigerator for thirty minutes so they hold their shape.
Store the chilled dough balls in a ziplock bag with air pressed out. They can go directly from freezer to oven if needed.
Let frozen dough sit at room temperature for thirty minutes before baking. Add three to four extra minutes to the baking time for proper texture.
Parting Thoughts and Final Inspirations
This style of baking connects us to generations of home cooks who valued simplicity and quality. The method becomes almost automatic once you understand how the dough should look and feel.
Whether you follow specific dietary needs or simply appreciate good food, these treats don’t feel like a compromise. They deliver genuine flavor using straightforward techniques that honor Italian traditions.
Trust the process, especially the egg white measuring and baking time guidance. These elements make the difference between good results and consistently excellent ones. The basic method opens doors to creative variations while staying true to fundamental principles.
Keeping almond flour in your pantry means you’re always minutes away from homemade delights. This approach reflects the heart of Italian food culture—sharing good food as an expression of care. For another wonderful traditional option, explore this classic almond biscotti recipe.
Good baking requires attention to detail and respect for ingredients. With practice, this reliable method becomes second nature in your kitchen.
Gluten-Free Italian Almond Cookies
Ingredients
Method
Notes
- If you prefer a more rustic texture, you can use almond meal instead of almond flour, though it will make the cookies slightly denser.
- The cookies can be stored at room temperature in an airtight container for up to 3 days, or refrigerated for up to a week.
- You can freeze both the baked cookies and raw dough for later use.