
Jump to Recipe
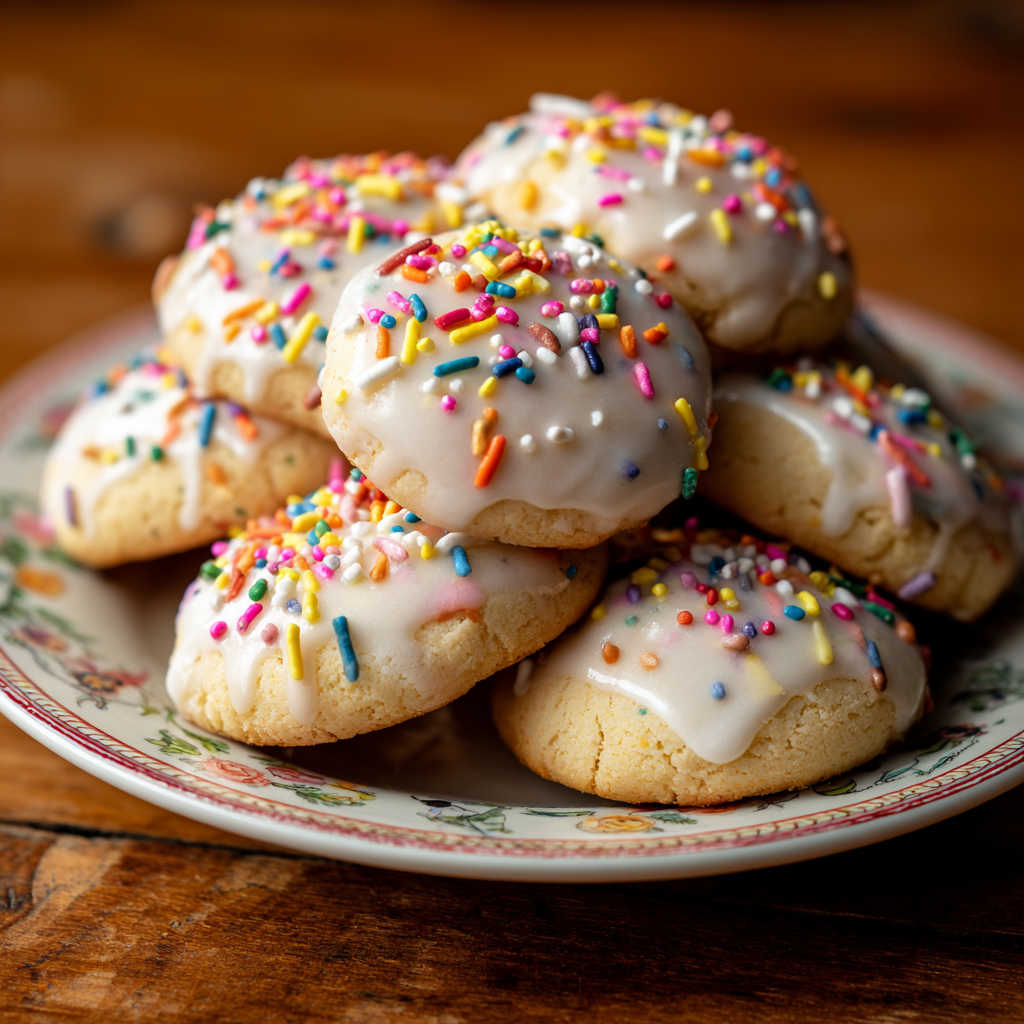
The italian christmas cookies recipe I learned at my grandmother’s kitchen fills the house with almond and warm sugar, and it still brings everyone to the table.
I write from my cucina with short, clear steps so you can bake in about twenty minutes when you have your ingredients and tools ready. Watch the bake time—eight to ten minutes is often just right—so the tops stay pale and tender.
The classic flavor leans on a splash of almond extract and a thick, opaque glaze added slowly. Double glazing while the rounds are warm keeps them soft and gives that bakery finish that holds rainbow nonpareils.
I’ll share simple tips on shaping, the best butter to use for a cakey texture, and the one step that prevents overworking the dough. Follow these cues, and you’ll make italian christmas treats that feel like home.
Key Takeaways
- Prep tools and ingredients first to hit the twenty-minute time window.
- Watch for pale tops; pull at 8–10 minutes for tender texture.
- Add glaze slowly and double-glaze warm cookies for a smooth finish.
- Use almond extract and good butter for authentic flavor.
- Use a small scoop for even sizes and faster baking.
Why these Italian Christmas cookies feel like home
These small rounds carry a soft perfume of almond that turns an ordinary afternoon into something warm and familiar.
The hallmark is a tender, cakey texture that welcomes every age at the table. They are not overly sweet, so a tiny pinch of salt and a whisper of extract add balance and depth to each bite.
Across many regions and Italian-American homes they go by names like sciamellis or anginette, but the soft center and pale glaze tie them together. The glaze is optional, yet double glazing is a Nonna-approved step that keeps the cookie tender and gives a bakery-like finish.
- Soft, not cloying—great with coffee or tucked into lunchboxes.
- Simple steps make this a fun activity with kids and beginners.
- Adaptable flavor: swap extract or add citrus for a fresh twist.
| Characteristic | What to expect | Why it matters |
|---|---|---|
| Texture | Tender, cakey | Invites everyone to nibble and share |
| Sweetness | Moderate | Allows glaze and sprinkles to shine |
| Aroma | Almond-forward | Creates that familiar, homey feeling |
Ingredients you’ll need for bakery-style results
Start with fresh staples and simple measurements to get a pale, tender bake every time. I keep ingredients at room temperature and line a sheet so the bake moves smoothly from bowl to oven.
Cookie dough essentials
Use 4 cups all-purpose flour, 1 cup granulated sugar, 1/2 cup whole milk, 2 large eggs at room temperature, 1 tablespoon baking powder (fresh), 3/4 cup vegetable oil, and 1 tablespoon almond extract. Add a pinch of salt to balance the sweetness.
Glaze and garnish
For the glaze sift 3 cups powdered sugar, add 1 tablespoon almond extract, then stir in 1 1/2 tablespoons hot water slowly until the mixture is thick and opaque. Top warm rounds with glaze and press rainbow nonpareil sprinkles so they stick.
Room temperature notes and fresh leavening
Room-temperature eggs and milk mix smoothly and reduce the need to overwork the dough. Fresh baking powder gives gentle lift; if it’s old, cookies bake flat and dense.
- Use a small scoop for uniform size; oil-based dough spreads less than butter-based dough. This lets you fit more on each baking sheet.
- Measure flour by fluffing, spooning, and leveling to avoid a heavy dough.
| Ingredient | Amount | Purpose | Pro tip |
|---|---|---|---|
| All-purpose flour | 4 cups | Structure | Fluff, spoon, level to prevent density |
| Granulated sugar | 1 cup | Sweetness and browning control | Keep as written for best balance under glaze |
| Vegetable oil | 3/4 cup | Moisture, limits spread | Neutral oil keeps crumb soft and yields more per sheet |
| Powdered sugar (glaze) | 3 cups | Opaque bakery finish | Sift and add hot water slowly for thick glaze |
Helpful tools for a smooth bake
When tools are organized, the dough comes together and the oven timing becomes easier. I set out my work the same way each time so the process feels calm and steady.
Mixing basics and the right prep
Use one large mixing bowl for the dough and a smaller bowl for the glaze. A whisk blends dry ingredients and a sturdy wooden spoon, or a stand mixer with a paddle, brings the mix together without overworking it.
Pan setup, scoops, and cooling
A small cookie scoop gives uniform sizes so all cookies bake at the same rate. Line sheet pans with parchment paper or silicone mats to prevent sticking and to keep bottoms even.
- Keep an extra piece of parchment under a wire rack to catch glaze drips.
- Measuring cups and a kitchen scale help hit ratios, especially for flour and powdered sugar in the glaze.
- An oven thermometer guides pull time; rotate pans mid-bake for even color and set centers.
| Tool | Why it helps | Tip |
|---|---|---|
| Wire rack | Cooling and glazing | Elevates air flow for smooth set glaze |
| Cookie scoop | Consistent size | Use a small scoop for soft centers |
| Oven thermometer | Accurate heat | Know when to pull for pale, tender tops |
Italian Christmas Cookies Step-by-Step
Follow these clear steps to turn pantry staples into soft, pale rounds that set perfectly under a glossy glaze.
Make the dough
Whisk 4 cups flour, 1 tablespoon baking powder, and 1 cup sugar so the mixture is even. Make a well in the center.
Add 3/4 cup oil, 1/2 cup milk, 1 tablespoon almond extract, and 2 room-temperature eggs into the well. Stir just until smooth; stop before the dough turns elastic.
Scoop and shape
Use a small cookie scoop to portion 1-inch balls. Place them 1 inch apart on parchment-lined sheets.
Gently flatten each ball so tops are slightly pressed for even baking and soft centers.
Bake: minutes and temperature
Preheat the oven to 375ºF and bake 8–10 minutes. Pull when tops are set and not browned.
If you chill the dough, bake at 350ºF for 8–10 minutes and still remove before color appears.
Glaze twice and finish
Whisk 3 cups powdered sugar with 1 tablespoon almond extract and 1 1/2 tablespoons hot water until thick and opaque. Dip warm cookies, let the first coat set briefly, then dip again.
Add sprinkles immediately after the second dip so they stick. Work in batches so the glaze stays thick and coverage is glossy.
- Whisk dry ingredients well so baking powder distributes evenly.
- Stop mixing wet and dry when smooth to protect tenderness in the dough.
- Bake on the middle rack; aim for pale tops, not browned edges.
For a related twist on filled treats, see our take on a cannoli-style variation here: cannoli cookie inspiration.
The secret to tender, not-dry texture
A tender bite starts with timing: the moment you pull the tray matters more than any single ingredient. The main cause of dryness is overbaking, so learn the look of a set top that still reads pale.
Many bakers find nine minutes at 375ºF gives the best balance, but your oven and its true temperature will decide the final call. I always test one small tray first to confirm how my oven behaves.
Watch the clock: pull when set; tops should not brown
Pull cookies when the tops are set but still white. Any browning means the crumb has begun to lose moisture.
Carryover heat keeps them firm for a minute or so after they leave the oven, so remove them at the first sign of set.
Oven variance: calibrate expectations, test a small batch first
- Tender texture depends on timing, not guessing; check the first tray early.
- Ovens run hot or cool; a thermometer helps but a test batch teaches fastest.
- The milk and oil in the dough supply moisture—avoid extra minutes that drive it off.
- Middle-rack placement and rotating pans keep temperature even; two pans may need 30–60 extra seconds without browning.
- Thicker glaze can lock in moisture after baking, preserving that soft bite for a day or two.
Perfecting the glaze and getting sprinkles to stick
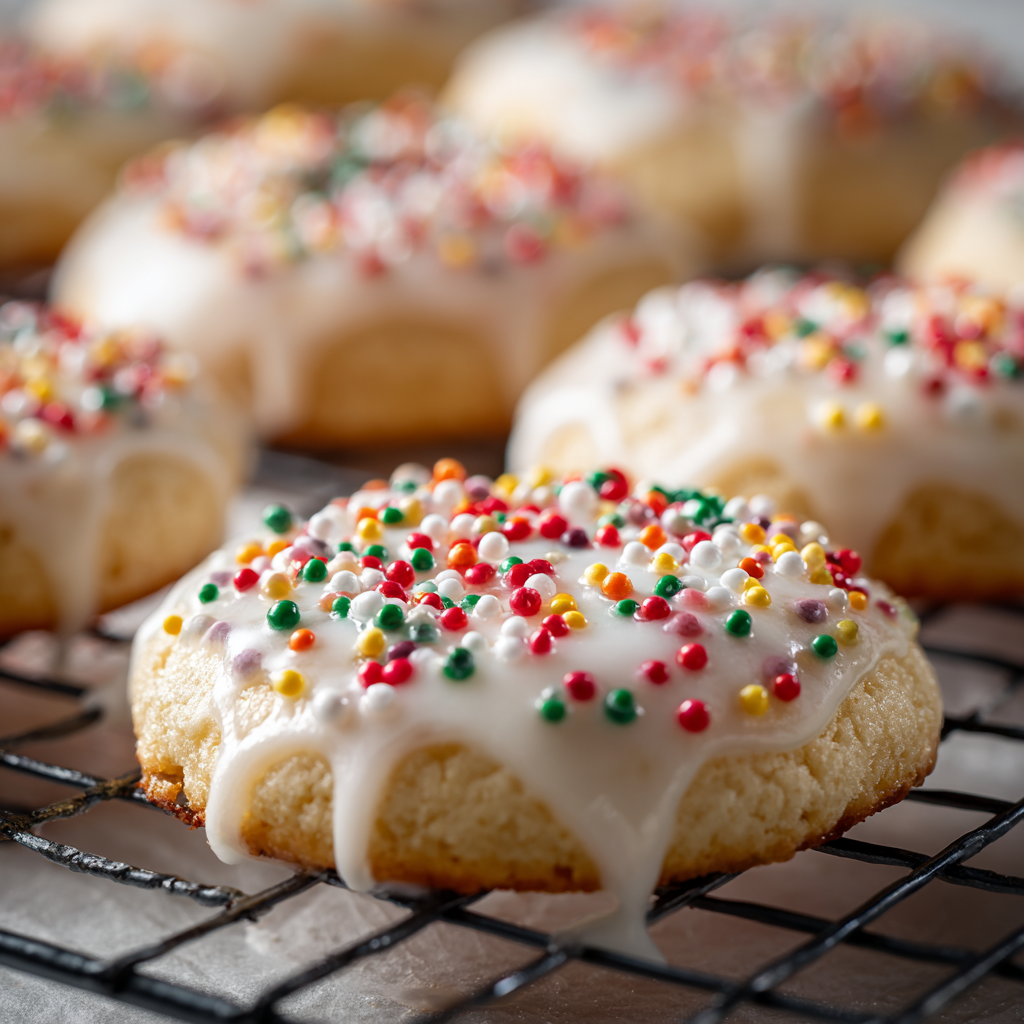
A proper glaze seals in moisture and gives the top a white, even finish that holds sprinkles.
Start by sifting powdered sugar into a bowl to remove lumps. Add a teaspoon of warm milk or water at a time while whisking. Stop when the mixture ribbons off the whisk and settles slowly back into itself.
A touch of extract brightens the flavor and ties the glaze to the dough. Keep the glaze thick and pourable; too thin and it will not dry opaque. If it thins, whisk in more powdered sugar. If it thickens, loosen with drops of warm milk.
Timing and technique
Dip warm rounds for the first coat to seal moisture. Let them set briefly. Then double-dip for a smooth, bakery-like finish. Add sprinkles immediately after the second dip so they embed into the surface before it firms.
- Work over parchment for quick cleanup and to catch stray sprinkles.
- Let glazed pieces dry fully on a wire rack so the texture hardens with a clean sheen.
- If you want a very smooth look, let excess glaze run off for a few seconds before placing on the rack.
| Step | Action | Why it works |
|---|---|---|
| Sift | Sift powdered sugar into a bowl | Removes lumps for a smooth, predictable glaze |
| Thin slowly | Add warm liquid teaspoon by teaspoon | Prevents a runny mixture and keeps opaque finish |
| Double-dip | First dip warm, second dip after brief set | Seals moisture and builds a flawless coat |
| Top | Add sprinkles immediately after second dip | Ensures sprinkles stick and stay embedded |
Shape, size, and spacing for even bakes
Consistent scooping and neat placement on the sheet help each piece finish at the same time. I use a small scoop for 1-inch balls and press the tops slightly flat so the center sets evenly during the bake.
Use a small scoop for consistency and minimal spread
A small scoop gives uniform weight and height so every cookie reaches doneness together. Because this oil-based dough spreads less than butter versions, place items about 1 inch apart to fit more per sheet without crowding.
Mini to jumbo: how to adjust bake time
For chilled dough, I set the oven to oven 350 and bake about 8–10 minutes. For room-temperature dough, 375°F works well with similar bake minutes; pull when tops are still white.
- Line pans with parchment paper so bottoms bake evenly and release cleanly.
- Minis need a minute or two less; jumbos need a couple extra minutes—still remove before browning.
- Use one size per pan; darker pans may shave a minute off your usual time.
- For make-ahead, freeze shaped balls and bake from frozen, adding 1–2 minutes to your normal bake minutes.
- If one batch runs a touch long, glaze while warm to help keep the interior tender.
| Size | Typical weight | Bake guidance |
|---|---|---|
| Mini | ~10–12 g | Reduce minutes by 1–2; watch closely |
| Standard (1″) | ~16–18 g | 8–10 minutes; pull while tops are white |
| Jumbo | ~28–35 g | Add 2–3 minutes; avoid browning on top |
Decorating ideas that look straight from an Italian bakery
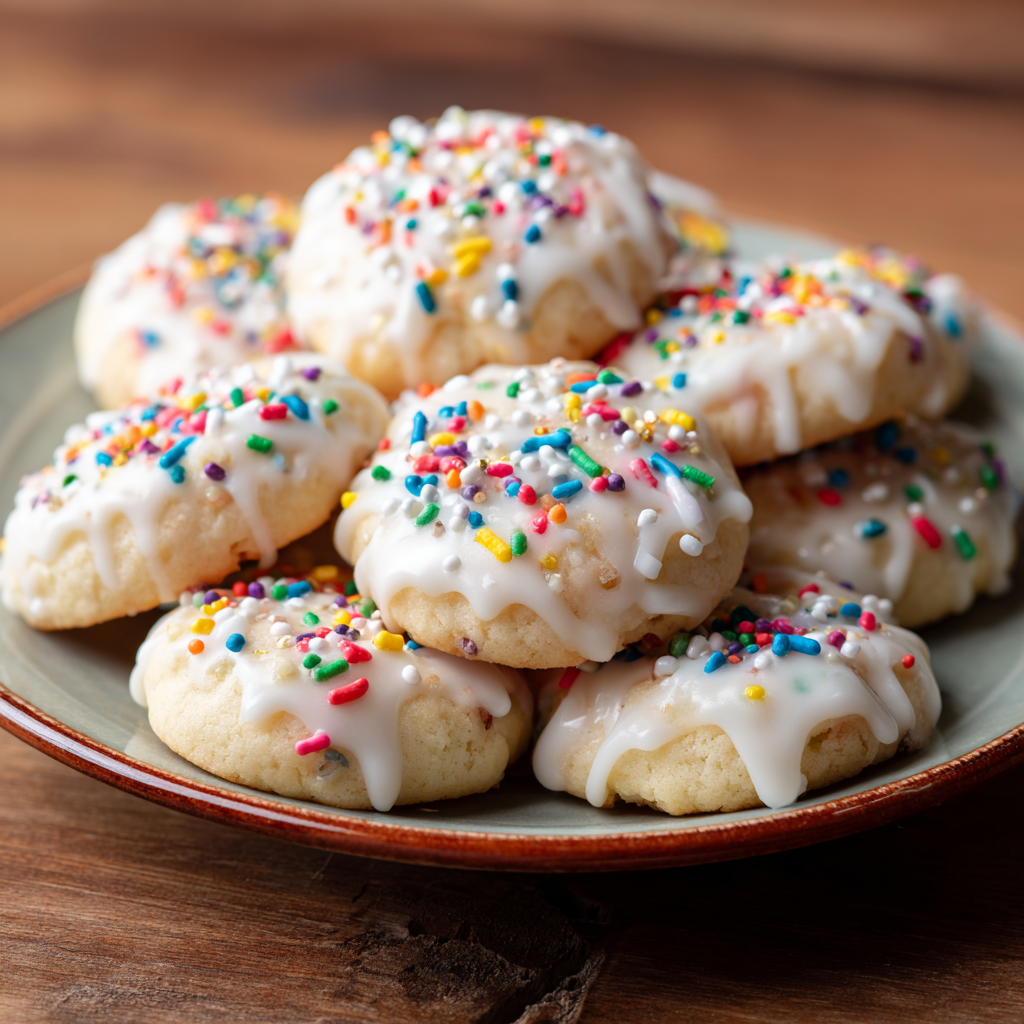
I love quick finishing touches that make each bite feel special and store-bought. Start simple: while the glaze is still tacky, press classic rainbow nonpareils for that timeless, cheerful look.
For contrast, dip half the cooled cookie in melted chocolate and add sprinkles before the chocolate sets. The snap of chocolate gives a nice textural flip to the soft interior.
Classic nonpareils, chocolate dip, or citrus zest
Add a whisper of vanilla or almond to the glaze to deepen flavor. For brightness, microplane fine orange or lemon zest over freshly glazed pieces so the oils bloom on top.
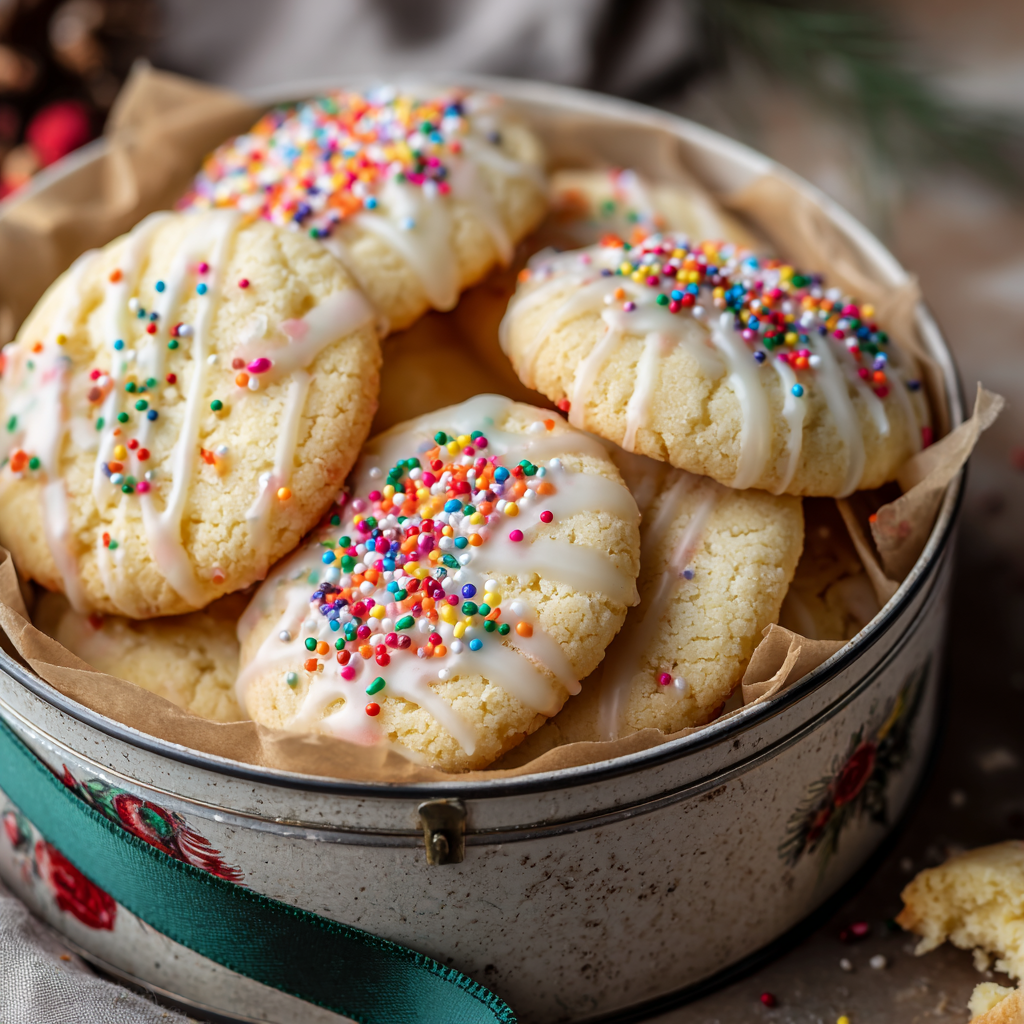
Holiday colorways and giftable cookie box tips
Mix sprinkle sizes—nonpareils for even color and jimmies for playful texture—to keep each layer in a box interesting. Dust set glaze with a light sprinkle of powdered sugar for a soft, snow-kissed finish.
- Keep it classic with rainbow nonpareils, or switch to red, green, and white sprinkles for a festive palette.
- Dip halves in chocolate, then add nonpareils for color contrast and a crisp edge.
- Pack in a sturdy container or clear gift bag tied with ribbon; include a small label noting flavor.
- If shipping, line tins with parchment and pack tightly so glaze stays intact.
| Finish | How to do it | Why it works |
|---|---|---|
| Rainbow nonpareils | Press into wet glaze | Traditional look; bright, even coverage |
| Chocolate-dipped half | Dip cooled cookie, add sprinkles on wet chocolate | Provides snap and visual contrast |
| Citrus-zested glaze | Stir zest into glaze or dust on top | Adds fresh aroma and bright flavor |
| Gift packing | Layer with parchment in a tight container or clear bag | Protects glaze and presents beautifully |
Storage, room temperature keeping, and freezing
A little care after baking preserves the soft texture and glossy finish we all love. Follow simple steps so your batch is ready to share, gift, or freeze without losing that fresh-baked feel.
Room temperature storage
Once the glaze has fully set, layer the pieces in an airtight container. Keep them at room temperature for 2–3 weeks for easy, ready-to-share treats.
Refrigerator and freezer tips
For longer keeping, refrigerate in an airtight container for up to two months. Separate layers with parchment so the glaze stays intact.
- To freeze baked goods: firm them on a tray, then slip into a 1-gallon bag with as much air removed as possible.
- Label each bag with date and variety so you track freezer time (8–12 months recommended).
- Thaw in a single layer at room temperature so the glaze reconditions without sticking.
Best make-ahead method
Freeze shaped dough balls on a tray, then move them to a bag. Bake from frozen and add a minute or two to your usual time for the best fresh-baked result.
| Storage | Where | Length |
|---|---|---|
| Glazed, ready | airtight container (room) | 2–3 weeks |
| Refrigerated | airtight container | Up to 2 months |
| Frozen baked | 1-gallon bag | 8–12 months |
| Frozen dough | bag, tray | Bake from frozen; +1–2 min |
Keep stored pans away from strong odors and, in humid climates, tuck a small cup of rice in the container to manage moisture. For serving, chilled pieces pair nicely with a glass of cold milk or a short pull espresso—let them sit a few minutes so the flavors relax.
Troubleshooting dry cookies and other common pitfalls
When a batch turns out dry, the fix is almost always about timing and handling rather than a missing ingredient. I keep this short and practical so you can correct the next bake quickly.
Overbaking is the most common cause. Ovens vary, so check trays early and pull when tops look set but still pale. A single minute can make a big difference.
Checks before you bake
- Use an oven thermometer to confirm true heat and adjust minutes based on how your oven behaves.
- Replace baking powder every few months; stale leavening flattens the rise and alters texture.
- Mix wet and dry only until the mixture is smooth—stop before the dough gets elastic to keep the crumb tender.
- Keep portions uniform with a scoop so all cookies finish together on the same sheet.
- Line the sheet with parchment for even bottoms and easier release.
Quick fixes and final tips
If a pan browns faster, move it to a higher rack or use a lighter pan next time. Don’t crowd the oven; good air flow helps items set evenly from edge to center.
If the glaze looks transparent, whisk in more powdered sugar until it coats a spoon opaquely. And remember a tiny pinch of salt in the dough brings depth—missing it can make the batch taste flat.
| Problem | Likely cause | Practical fix |
|---|---|---|
| Dry texture | Overbaked or too long in oven | Reduce bake by 1–2 minutes; pull when tops are pale and set |
| Flat, dense pieces | Old baking powder or overmixed dough | Replace leavening; mix only until smooth |
| Uneven browning | Crowded sheet or hot spots | Use single layer, rotate pans, or try a lighter pan |
| Runny glaze | Too thin mixture | Add powdered sugar until opaque and thick |
Follow these checks and you’ll see better results the next time you bake. Small adjustments at the oven door often save an entire batch and keep family sharing the joy of this old recipe.
Flavor swaps and variations to try next time
A few simple ingredient changes refresh the flavor without altering the gentle texture you love. These swaps are small but meaningful; test one at a time so you learn how each change behaves during mixing, baking, and glazing.
Extracts and bright lifts
Swap almond for anise or vanilla extract to shift aroma while keeping the same soft crumb. Add orange or peppermint extract sparingly; taste the glaze as you go so the new flavor complements, not overpowers.
Chocolate and nut add-ins
For a chocolate glaze, whisk 2 tablespoons cocoa into the glaze dry mix, then loosen with warm milk to reach a thick, glossy pour. Stir finely chopped toasted nuts into the dough for subtle crunch without changing spread.
- Grate citrus zest into dough or glaze for fresh oils that lift the overall flavor.
- Adjust bake minutes for mini or jumbo sizes so tops stay white and centers remain soft.
- Freeze shaped dough balls in a single layer, then bag and label; bake from frozen with +1–2 minutes.
- Always bake a test cookie from a new batch to fine-tune extract levels for your household.
| Swap | How to do it | Why it works |
|---|---|---|
| Almond → Anise or Vanilla | Use same amount of extract in dough and glaze | Alters aroma while keeping texture intact |
| Chocolate glaze | Add 2 tbsp cocoa to powdered sugar, thin with warm milk | Creates glossy cocoa coating that sets like the original glaze |
| Toasted nuts | Fold 1/4 cup finely chopped nuts into dough | Adds crunch without changing bake performance |
| Freeze option | Freeze shaped balls up to 3 months; bake from frozen | Convenience for busy days; preserves dough quality |
Bake a batch, share the love, and carry on the tradition
Make a double batch so one tin stays at home and one travels to neighbors or teachers. Double-glazing while pieces are warm helps keep the interior tender and gives a bakery finish that holds sprinkles.
Pull trays before any browning so the centers stay soft. Jot your perfect minute mark and repeat it next year to nail the texture every time. Pack glazed rounds carefully with parchment or wax paper to protect the finish on the move.
Teach a friend or younger baker the steps. Keep a plate with espresso nearby for drop-in guests. These small acts—baking, sharing, and passing on the method—are the way we carry the italian christmas spirit forward, one warm cookie and one shared memory at a time.
Italian Christmas Cookies (Soft Almond-Glazed Cookies)
Ingredients
Method
- In a large bowl whisk together flour, baking powder, sugar, and a pinch of salt.
- Make a small well in the center.
- Add oil, milk, almond extract, and the room-temperature eggs.
- Stir just until smooth. Stop as soon as the dough comes together so the cookies stay tender.
- Use a small cookie scoop to portion 1-inch dough balls.
- Place them on a parchment-lined baking sheet about 1 inch apart.
- Gently press the tops so they’re slightly flattened.
- Heat the oven to 375°F.
- Bake for 8–10 minutes, pulling them as soon as the tops are set but still pale.
- Do not let them brown — pale tops mean soft centers.
- In a bowl whisk sifted powdered sugar and almond extract.
- Add hot water slowly until the glaze is thick, smooth, and opaque.
- While the cookies are still warm, dip each one for the first coat.
- Let them set for a minute, then dip again for that bakery-style finish.
- Add rainbow nonpareils right after the second dip so they stick.
- Set cookies on a wire rack until the glaze firms up and the tops look smooth and white.
Notes
- These cookies should stay pale—if they brown, they’ll dry out.
- Fresh baking powder matters. Old leavening makes them flat and dense.
- Room-temperature eggs and milk help the dough mix without overworking it.
- The glaze should be thick and opaque. If it looks see-through, whisk in more powdered sugar.
- Let the cookies cool completely before storing so the glaze doesn’t smudge.