
Jump to Recipe
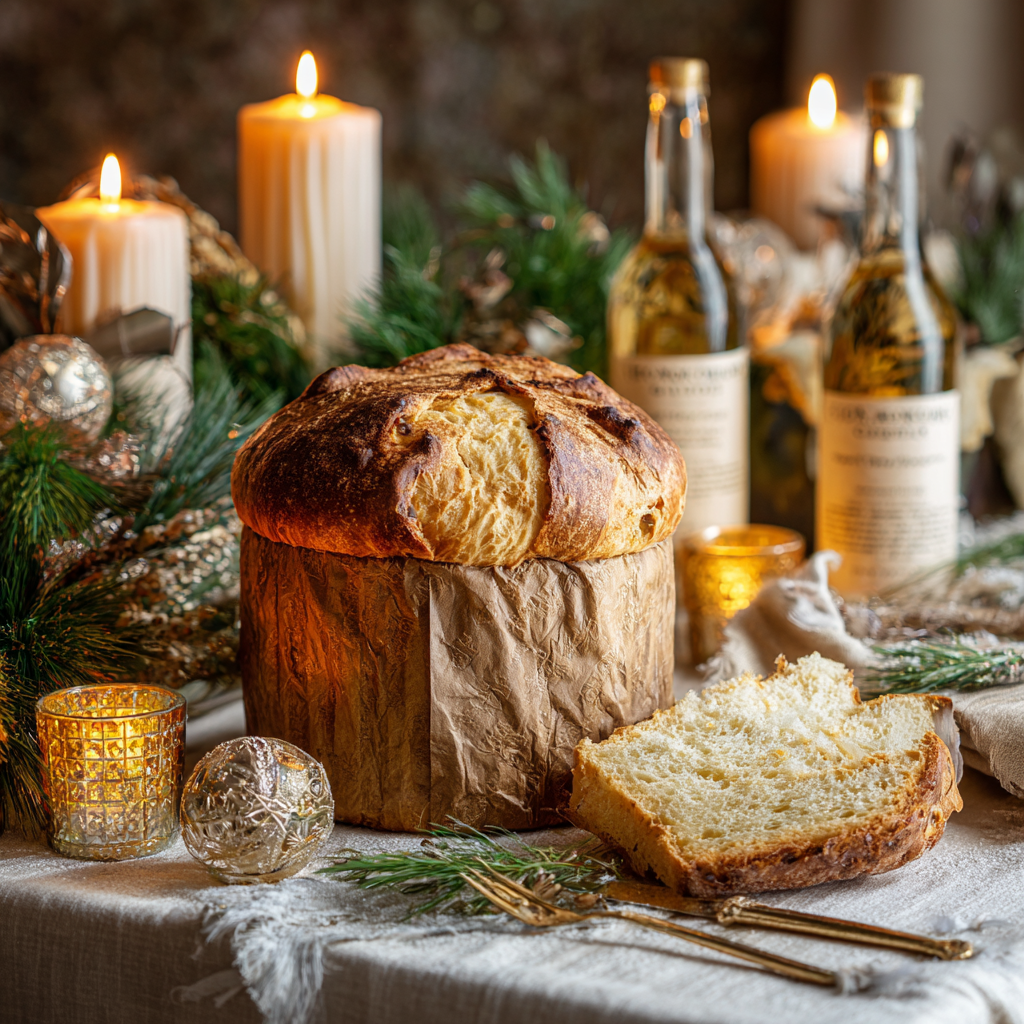
There’s a certain quiet magic that fills the kitchen during the holidays. It’s in the scent of citrus zest and the gentle warmth of yeast working its way through a rich dough. For generations, this feeling has been central to our celebrations.
This particular holiday loaf holds a special place. Its origins trace back centuries, yet it remains a cherished part of the festive table. The process is a commitment, a slow dance of fermentation and careful rising that rewards patience with an incredibly light and fragrant result.
While the name might vary, the tradition is shared. This guide will walk you through creating this masterpiece at home. You won’t need professional gear, just time and attention. The steps are clear, born from years of testing.
Understanding the fundamentals of yeast doughs, like those used in a classic rustic Italian bread, is helpful. This recipe builds on those principles but for a sweeter, more celebratory creation. Let’s begin this rewarding baking journey together.
Key Takeaways
- This recipe is deeply rooted in centuries-old holiday traditions.
- The process requires patience for proper fermentation and rising.
- No specialized professional baking equipment is necessary.
- Clear, tested instructions make the complex process manageable.
- The result is a light, fragrant centerpiece for your celebrations.
- Understanding basic yeast dough principles is beneficial.
A Taste of Italian Christmas Tradition
The stories behind this festive loaf are as rich as its flavor, woven into Milan’s history centuries ago. These tales reflect how simple ingredients can become symbols of celebration.
Legendary Origins and Heartwarming Stories
One charming legend tells of a young baker’s assistant named Ughetto who worked for Toni, a master baker years ago. Hoping to win Toni’s daughter’s hand, Ughetto created an extraordinary recipe.
He enriched the dough with candied fruits and raisins, creating something sweeter than Milan had ever tasted. The success was so remarkable that customers flocked to Toni’s shop asking for “pan di Toni.”
Another version involves a kitchen mishap at a noble’s feast. A resourceful cook named Toni saved the day using leftover ingredients. Both stories highlight creativity born from necessity.
Regional Variations and Modern Adaptations
While Milan claims the original panettone, different regions developed their own interpretations. Local bakers incorporated available ingredients, creating unique versions of this tradition.
Today’s home cooks continue this innovative spirit. Some add chocolate chips or substitute dried figs for traditional raisins. Others experiment with different citrus zests.
These adaptations honor the fundamental structure while allowing personal expression. The essence remains—a celebratory treat that brings people together.
The Rich History Behind Italian Sweet Breads
The roots of this celebratory loaf stretch deep into history, connecting us to communal rituals that began long ago. Historian Pietro Verri documented a ninth-century custom where families shared a large ceremonial bread during the holidays.
This act of breaking bread was a powerful symbol of unity. It set the stage for the special loaves to come.
From Ancient Legends to Beloved Festive Treats
By the 1400s, bakers’ guilds in Milan created a distinction. They forbade making white bread except for one day a year. This made the Christmas loaf, called “pan de ton,” exceptionally precious.
It was a luxury item made with pure wheat, butter, and raisins. For one day, everyone enjoyed the same fine bread.
Centuries later, this treat became a diplomatic gift. The Austrian governor of Milan offered it to Prince Metternich. This showed its rise in prestige.
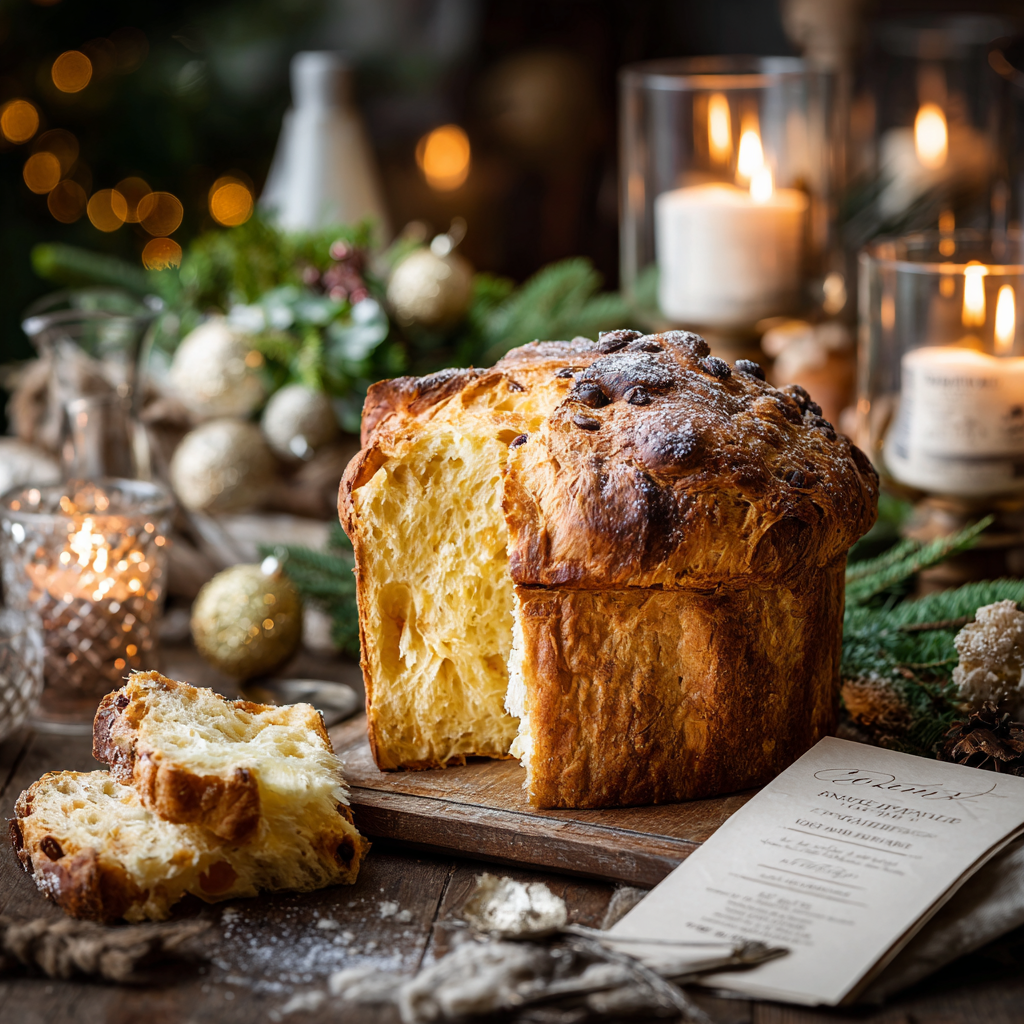
The modern shape we recognize came from baker Angelo Motta in 1919. His triple-rising technique created the tall, domed panettone. This innovation defined its texture.
I find it meaningful that we continue this living tradition. Our baking connects us to centuries of refinement. Each loaf carries this rich history forward.
Essential Ingredients and Kitchen Must-Haves
Before we begin mixing, it’s essential to gather and prepare the key ingredients that define this celebratory loaf. Quality matters significantly here, as each component’s flavor comes through clearly in the final result.
Key Components: Flour, Yeast, and Candied Citrus
All-purpose flour works successfully for this recipe. Italian 00 flour creates a slightly more delicate crumb if you can source it. The choice affects the final texture.
Active dry yeast works reliably for home bakers. Traditional recipes used natural starter, but the biga pre-ferment bridges both approaches effectively.
Butter must be at room temperature for proper incorporation. Quality butter directly affects the richness and keeping qualities. Eggs provide structure and color, with extra yolks creating that characteristic golden interior.
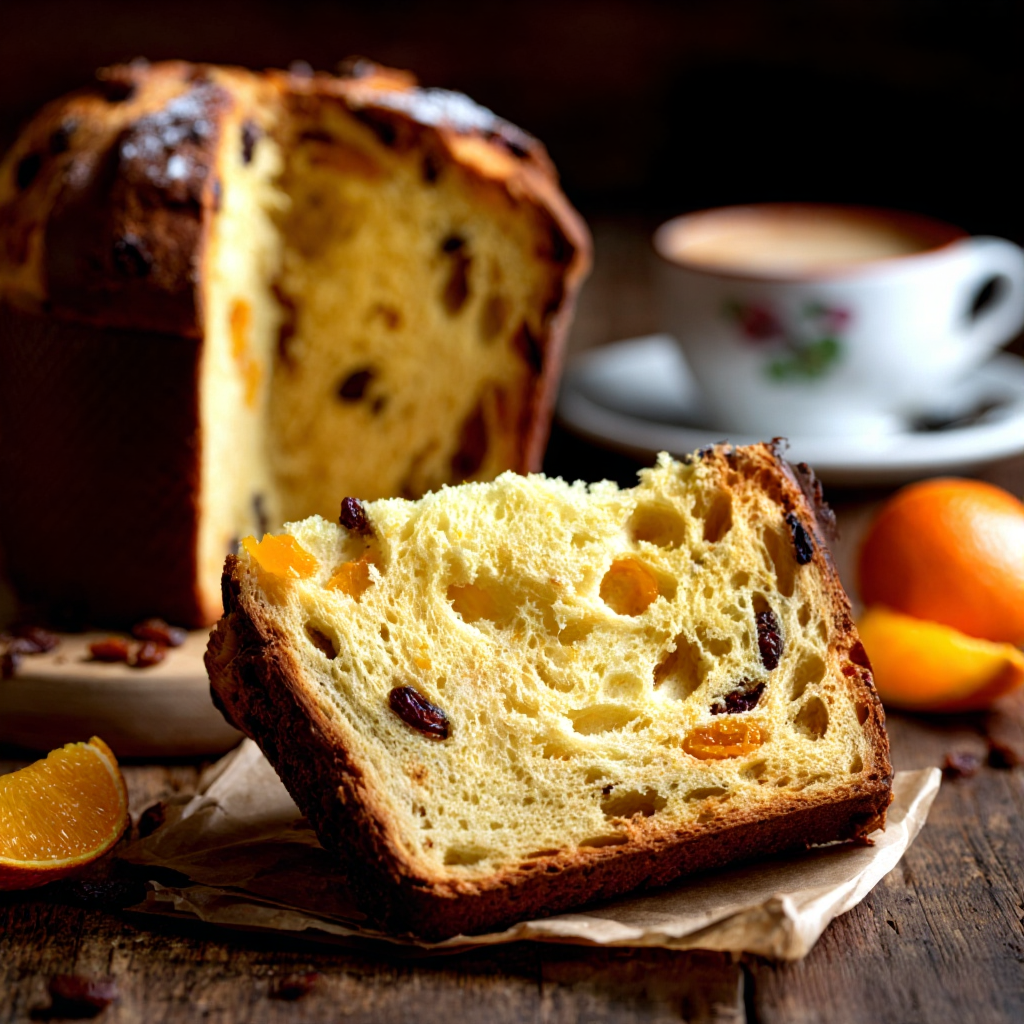
Candied orange peel and lemon peel are non-negotiable. Their flavor defines the authentic taste. You can buy quality versions or make your own.
Raisins benefit from soaking in rum or grappa. This plumps them and adds complexity. The alcohol bakes off, leaving only flavor behind.
Real vanilla extract or vanilla bean paste matters here. Honey contributes to moisture and shelf life. These subtle touches make a noticeable difference.
Tools and Techniques for a Perfect Crust
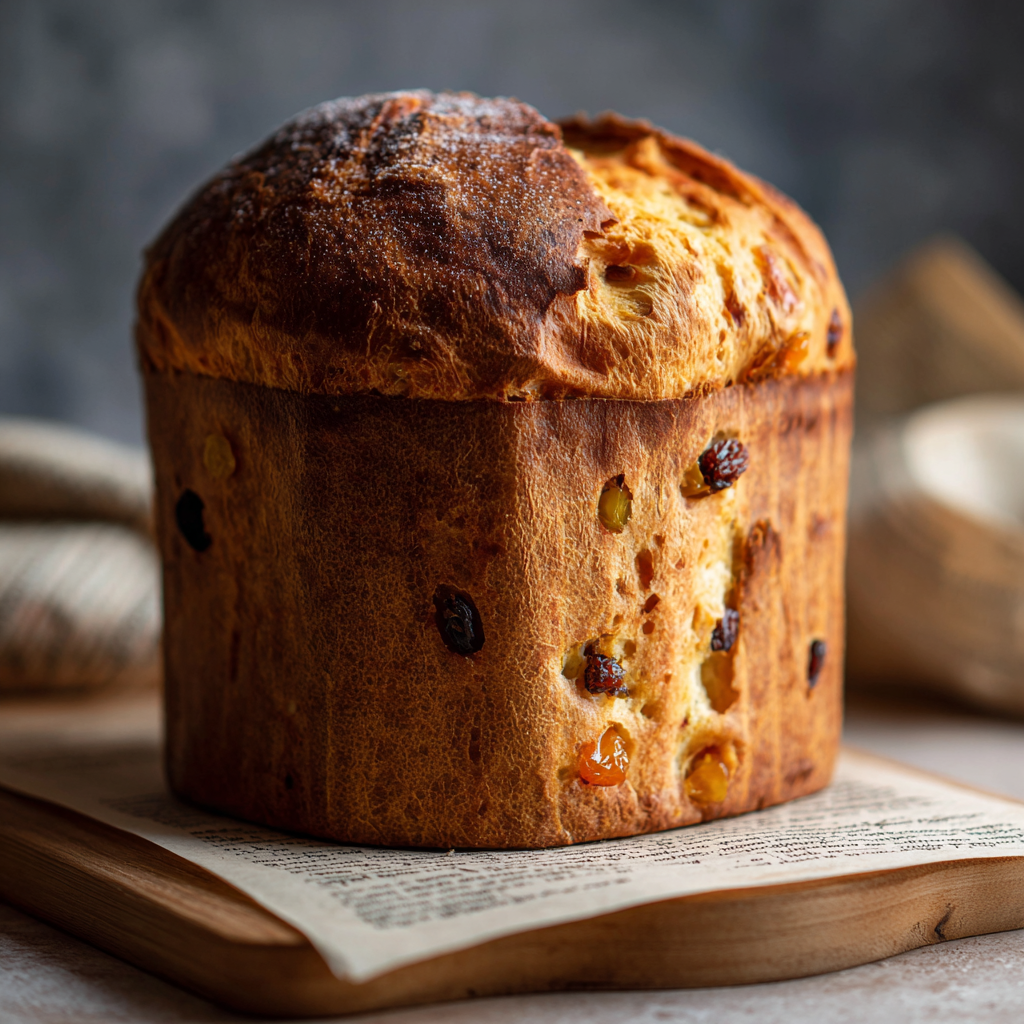
Traditional paper molds create the characteristic tall shape. You can use a makeshift setup with parchment paper in a deep pot. The right mold ensures proper rising.
The technique for incorporating butter is crucial. Add it gradually once the dough has developed strength. This prevents greasiness and ensures proper texture.
Understanding yeast doughs is helpful, much like when making our family’s garlic herb bread. The principles transfer well to this sweeter creation.
| Ingredient | Purpose | Quality Tip |
|---|---|---|
| Flour | Structure base | Italian 00 preferred |
| Yeast | Rising agent | Active dry works well |
| Butter | Richness | Room temperature |
| Eggs | Color & structure | Extra yolks for gold |
| Orange Peel | Signature flavor | High-quality candied |
Mastering the Dough: Step-by-Step Process
This part of the recipe focuses on the hands-on work. We will build the dough from its foundational elements. Each step contributes to the final texture and flavor.
Patience is your most important tool here. Rushing can compromise the delicate structure we are creating.
Preparing the Biga and Activating the Yeast
Begin by making the biga, a simple pre-ferment. Dissolve one teaspoon of yeast in a quarter cup of warm water. The water temperature is critical; aim for 110°F.
Stir in one cup of flour to form a stiff mixture. Cover the bowl and let it rise until it doubles in size. This process develops complex flavors.
Soak one cup of raisins in half a cup of rum. You can do this the night before or even a week ahead. Soaking plumps the fruit and adds moisture.
For the main dough, sprinkle two tablespoons of yeast over three-quarters of a cup of warm milk. Let it stand for about five minutes until foamy. This confirms the yeast is active.
Kneading, Proofing, and Achieving the Ideal Texture
Combine the biga with three cups of flour, three-quarters of a cup of sugar, the milk mixture, and the eggs. Use a stand mixer to knead the dough for about ten minutes.
The dough should pull cleanly from the sides of the bowl. Now, add one teaspoon of salt. Continue mixing for another seven to ten minutes.
The dough will become soft, shiny, and elastic. This is the sign of proper gluten development.
Tips for Incorporating Raisins, Butter, and Zest
With the mixer running, add one-third of a cup of room-temperature butter little by little. Gradual incorporation prevents greasy streaks.
Finally, fold in the drained raisins, one teaspoon of vanilla, and the grated zest of one lemon and one orange. Mix just until distributed.
Cover the bowl and let the dough rise until doubled. This can take two to three hours at room temperature. You can also refrigerate it overnight.
After the first rise, gently punch down the dough. Place it into a prepared mold. Cover it and let it proof again until doubled.
Bake at 375°F for 45 to 50 minutes. The baked loaf is done when a skewer inserted into the center comes out clean.
Crafting pane di natale italian christmas bread with Traditional Techniques
Understanding the why behind each step transforms baking from following instructions to true mastery. The traditional methods developed over generations create the distinctive character we appreciate.
Insights into Authentic Methods and Fermentation
Multiple fermentation stages build complex flavors over time. This process requires patience but rewards you with exceptional depth.
The scarpatura technique involves cutting a cross pattern on top before baking. This allows the dough to expand upward dramatically, creating the characteristic cracked crust.
Cooling the baked loaf upside down is crucial. It prevents the delicate crumb from collapsing while still hot. Some bakers skewer the bottom and hang it inverted.
Timing varies with your kitchen’s temperature and humidity. The recipe gives specific hours, but watch the dough’s size and texture instead of the clock.
Professional bakers judge doneness by color, internal temperature around 200°F, and a clean skewer test. These techniques work equally well in home ovens when you understand the principles.
Wrapping Up Your Holiday Baking Journey
Your freshly baked creation is a testament to your patience and care. Wrapped well in plastic or paper, it will stay fresh for about a week. I find the flavors often improve after a day, allowing them to meld beautifully.
This recipe yields a generous loaf, perfect for sharing as a heartfelt gift. If you have leftovers, they make exceptional French toast. Simply soak slices in a mixture of milk and eggs before cooking.
You can also bake your panettone ahead of time. Wrap it tightly and freeze for up to a month. Thaw it at room temperature the day before you need it.
Your first attempt is a significant learning experience. It teaches you about dough behavior and the value of slow fermentation. This holiday tradition connects your kitchen to generations of bakers.
I encourage you to make notes on what worked well. Mastering this special bread is a journey that rewards repeated baking. Each loaf brings you closer to the heart of the craft.
Panettone (Italian Christmas Bread)
Ingredients
Method
- Mix 1 teaspoon of yeast and ¼ cup warm water. Stir in 1 cup of flour. Let it rise until doubled in size (about 2 hours).
- Sprinkle 2 tablespoons of yeast over ¾ cup of warm milk. Let stand for 5 minutes until foamy.
- Combine the biga, 3 cups of flour, ¾ cup sugar, milk mixture, and eggs. Knead the dough for 10 minutes until it pulls clean from the sides of the bowl.
- Add salt and continue mixing for another 7-10 minutes.
- Gradually incorporate the room-temperature butter into the dough, mixing until smooth.
- Fold in the soaked raisins, vanilla extract, lemon zest, and orange zest. Let the dough rise for 2-3 hours until doubled in size.
- Punch down the dough, then place it in a prepared mold. Let it rise again until doubled.
- Preheat oven to 375°F (190°C). Bake the loaf for 45-50 minutes, until a skewer inserted comes out clean.
- After baking, cool the loaf upside down (by hanging or skewering) to maintain its airy structure.
Notes
- You can prepare the dough ahead of time and refrigerate it overnight after the first rise.
- The bread keeps well for up to a week when wrapped tightly.
- Leftovers make excellent French toast!