
Jump to Recipe
I invite you into our kitchen to make a loaf that smells like Sunday at Nonna’s — warm crust, olive oil sheen, and an herb-scented crumb that pulls apart easy. I’ll speak like a friend at the counter and share the exact cues we trust so you bake with calm and confidence.
Expect a soft, tender crumb and a golden crust. We bloom active dry yeast for 5–15 minutes in warm water with a pinch of sugar or honey. Bake at 375–400°F for 20–30 minutes, aiming for about 200°F internal temperature. Create steam with a pan of boiling water on the lower rack for extra crust, and brush the loaves with extra-virgin olive oil or an egg wash before scoring and baking.
Store at room temperature in an airtight container for 2–3 days, or freeze well-wrapped for 1–3 months. Every step here has a reason so your loaf rises and tastes reliably wonderful.
Key Takeaways
- Bloom yeast 5–15 minutes for best rise.
- Bake 375–400°F until internal temp hits ~200°F.
- Add steam (hot water dish) for a crisp crust.
- Brush with olive oil or egg wash and score before baking.
- Store airtight 2–3 days or freeze 1–3 months.
What makes this loaf special in your kitchen right now
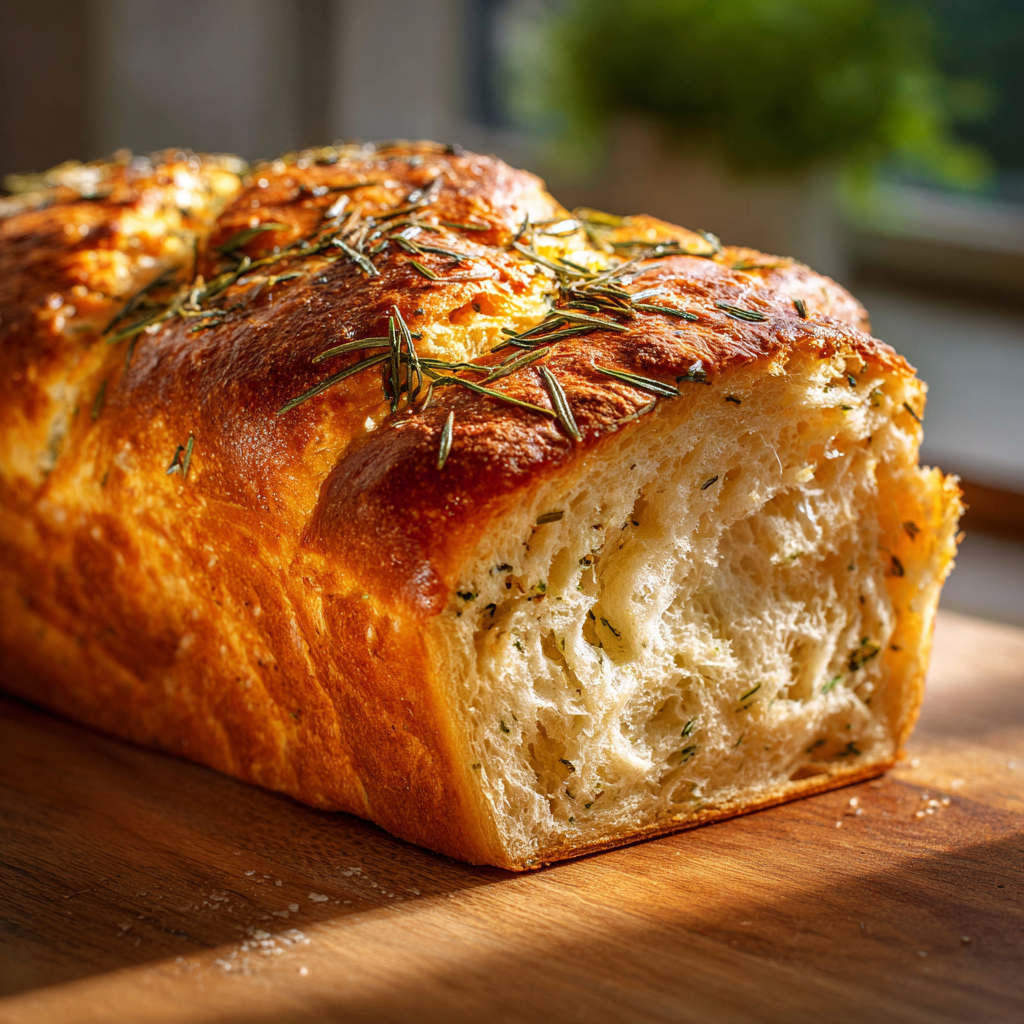
What makes this loaf stand apart is how small, reliable choices add up to a memorable result. We aim for an aromatic top, a tender interior, and a golden crust without fuss.
Slow, steady proofing builds depth of flavor and lets the yeast do its work. A pinch of sugar in the bloom wakes the yeast and helps color the crust without sweetness. Proper hydration and gentle handling keep the crumb soft and slightly open.
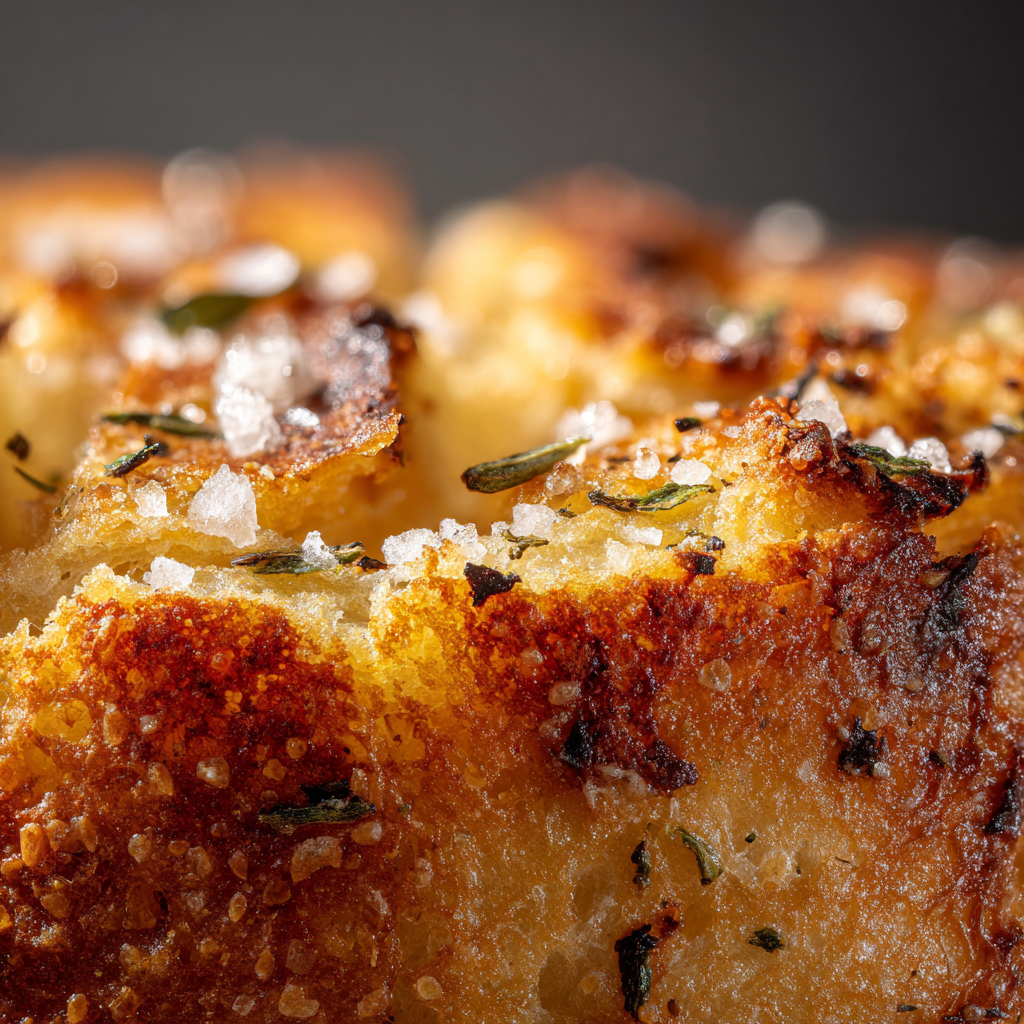
Before the oven, a light brush of olive oil gives a soft shine; an egg wash makes a deeper, lacquered finish. Both signal a lovely crust and a fragrant top that pairs well with savory additions like fresh garlic and a scattering of herbs.
- The first bite tells the story: tender interior, golden crust, and a savory finish from garlic, herbs, and a kiss of olive.
- Adding steam—pouring boiling water into a glass dish on the lower rack—improves oven spring and creates a crisp surface along the score line.
- This loaf fits weeknight timeframes yet tastes slow-made: predictable minutes in the oven and dependable rise thanks to measured yeast and rest.
Ingredients and tools you’ll need for authentic flavor and texture
A handful of well-chosen ingredients and the right tools take this loaf from good to memorable. Below I list the staples and the small extras that shape texture, flavor, and bake success in a U.S. home kitchen.
Pantry essentials: use bread flour for chew or all-purpose for a softer crumb. Active dry yeast should be bloomed 5–15 minutes in warm water with a pinch of sugar or honey. Don’t skip salt—it seasons and steadies the dough.
Flavor boosters: extra-virgin olive oil adds fruitiness and tenderizes. Grate fresh Parmesan or Pecorino for savory depth. Use fresh cloves or a bit of powder for aroma; both work well together in small measure.
- Tools: stand mixer with dough hook or a sturdy bowl and strong hands.
- Finishing gear: pastry brush, parchment-lined baking sheet, and a glass dish on the lower rack to create steam in the oven.
- Measure by weight when possible; otherwise use level cups and a level teaspoon.
| Item | Why it matters | Note |
|---|---|---|
| Flour | Controls chew and crumb | Bread or all-purpose |
| Yeast | Provides rise and flavor | Bloom 5–15 min |
| Bowl & gear | Make mixing and rise tidy | Oiled bowl, parchment, steam dish |
Proofing basics: yeast, water temperature, and how to know it’s alive
Proofing is the quiet work that decides whether your loaf greets the table light and airy or dense and stubborn. I’ll give clear temperatures, timing windows, and visual checks you can trust so you can diagnose what’s happening in the bowl.
Bloom active dry yeast
Use warm water around 100–110°F. Stir in a pinch of sugar and the yeast, then rest undisturbed for 5–15 minutes. A foamy cap means the yeast is alive and ready; no foam after 15 minutes usually means the yeast is tired and should be replaced.
Active dry vs instant yeast
Active dry benefits from that visual bloom; instant yeast can be mixed straight into flour and often cuts rise time a bit. I still like blooming when jars have sat a while — it’s a simple check that saves time later.
- Use a small bowl for the bloom so foam is easy to see.
- Keep water warm, not hot; temperatures above 120°F risk killing the yeast.
- A pinch of sugar provides food to wake the yeast; more won’t speed things up noticeably.
- At room temperature a proper proof generally doubles the dough. Test it by pressing gently — if the dent fills in slowly, you’re ready to proceed.
- If the bowl feels cool, give the dough more time; those extra minutes often change the final loaf dramatically.
| Check | What to look for | Why it matters |
|---|---|---|
| Bloom (5–15 minutes) | Foamy surface | Shows yeast is active and viable |
| Water temp | 100–110°F | Keeps yeast healthy for steady rise |
| Final proof | About doubled at room temperature | Predicts good oven spring and soft crumb |
Step-by-step: mix, fold, shape, and bake like Nonna
Follow these hands-on steps to mix, fold, shape, and bake with calm and reliable results. I keep each move simple and explain why it helps the dough perform in the oven.
Mix and rest
Stir the bloomed yeast into flour until shaggy, then rest about 10 minutes. That pause hydrates the flour and gives the gluten a gentle start.
Beat in olive oil and salt until the dough is smooth and elastic. You want a soft mass that holds its shape when lifted.
Strengthen with folds
Oil one hand lightly. Use gentle stretch-and-folds every few minutes to build structure without adding extra flour. This keeps the crumb open and tender.
Shape the loaves and bake
Divide and roll to the size you want. Place seam-side down on a parchment-lined baking sheet and brush with oil or egg wash.
Score the tops with a quick cut. Preheat oven to 375–400°F and add boiling water to a glass dish on the lower rack for steam. Bake 20–30 minutes, rotating if needed, until tops are golden and bottoms are lightly browned or about 200°F internal.
- Mix bloomed yeast + flour → rest 10 minutes
- Beat in olive oil & salt → smooth, elastic dough
- Stretch-and-fold with oiled hand → build strength
- Shape, seam down on baking sheet → brush & score
- Preheat oven, add steam → bake minutes 20–30
| Step | Time/Temp | Why it matters |
|---|---|---|
| Rest after mixing | 10 minutes | Hydrates flour and eases gluten development |
| Stretch-and-folds | Every few minutes, 3–4 times | Builds structure without extra flour |
| Bake | 375–400°F for 20–30 minutes | Creates oven spring, golden crust, and proper doneness (~200°F) |
garlic herb bread italian recipe: measurements, timing, and rise cues
Start by testing texture, not the clock. A right dough feels soft and slightly tacky, and it should pull cleanly from the bowl as you knead. Use a scale when you can; weight keeps flour and water consistent so the feel becomes repeatable.
Flour and liquid balance
Begin with measured flour and water, then adjust by feel. Add flour in very small amounts — two teaspoons change texture quickly. If the dough feels stiff, add a teaspoon of water, knead a couple of minutes, then reassess.
Rise at room temperature
Expect the first rise to roughly double in volume. Timing depends on room warmth and hydration; minutes will vary. Look for the finger-dent cue: press gently and watch the dent fill back slowly. That slow spring signals a proper bread rise and readiness to shape.
- Keep a thin film of oil on your work surface instead of extra flour to preserve hydration and tenderness.
- Note the size of shaped loaves — larger pieces need extra minutes in the oven and longer time before baking.
- Trust tactile signals over strict minutes; a healthy yeast bloom and the dough’s feel are your best guides.
| Cue | Typical time | Action |
|---|---|---|
| Foamy yeast bloom | 5–15 minutes | Proceed to mix when bubbly |
| First rise at room temperature | 60–120 minutes | Double in size, then do finger-dent test |
| Adjustments during mixing | 1–3 minutes | Add tiny flour or water drips, then mix |
Keep your ingredients measured, trust the touch, and let small adjustments buy you consistent results in baking.
Smart swaps, variations, and add-ins to make it yours
Try a few smart swaps and you’ll find this loaf easily fits your pantry and your meal plan. Small tweaks change texture, flavor, and how the oven responds.
Flour choices
Use bread flour when you want a chewier crumb, or stick with all-purpose for a softer bite. Both work well with this dough and only slightly change rise and chew.
Flavor twists
Add roasted garlic for deep sweetness, or a light dusting of garlic powder for even flavor without extra moisture. Toss in a pinch of red pepper flakes to wake the crumb.
- Fold in chopped olive — pat dry first so the dough keeps structure.
- Fresh herbs like rosemary or thyme brighten the loaf; use fresh herbs when available.
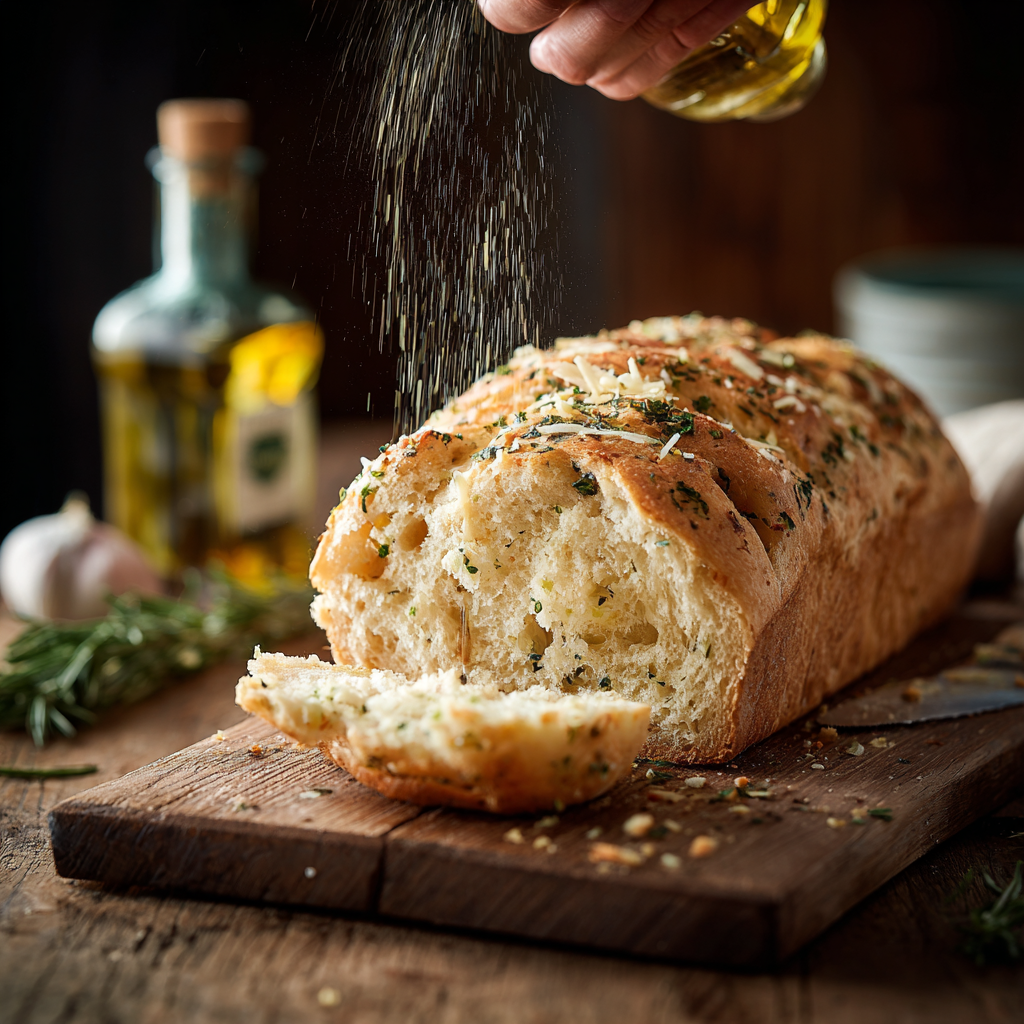
- For cheese-forward loaves, mix grated parmesan or Pecorino into the dough and sprinkle a little more on top.
- Brush with butter after baking for a soft, glossy crust or leave a drizzle of olive oil for a classic finish.
| Swap / Add-in | Result | Timing note |
|---|---|---|
| Bread flour | Heartier chew, chewier crumb | Same bake time, slightly stronger dough |
| Roasted garlic or olives | Rich, savory pockets | Allow extra rise time for heavier loaves |
| Parmesan or Pecorino | Savory, crisp top | Mix in or sprinkle before baking |
| Red pepper & fresh herbs | Bright, bakery-style aroma | Use light amounts to avoid overpowering |
Serving, storing, and freezing so every slice stays perfect
Warm slices shine at the table when you know simple serving and storage tricks that keep each bite fresh. I share quick ways to serve, how to stash leftovers, and easy reheating steps that rescue texture and flavor.
Serve with confidence
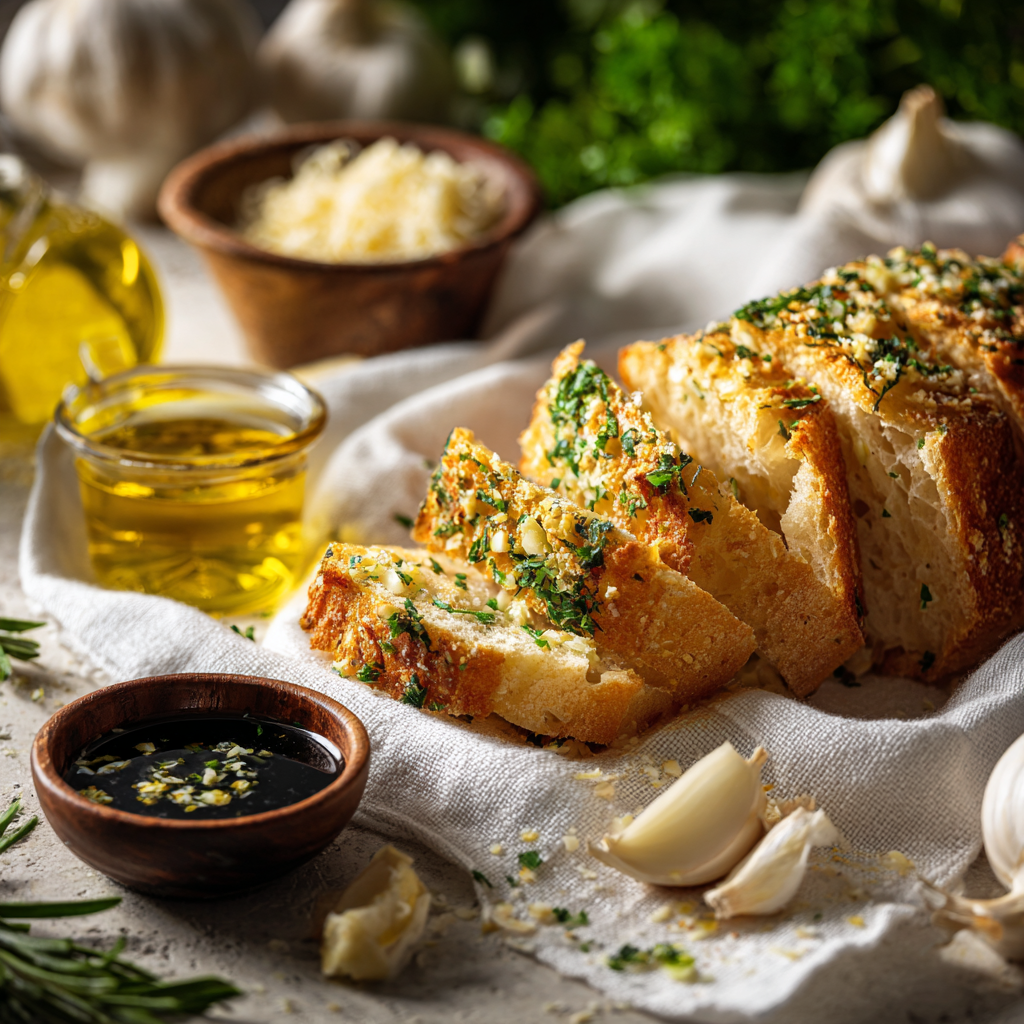
Spread softened compound butter, sprinkle a bit of grated cheese, and broil the slices just until bubbling for instant comfort. A saucer of olive oil and aged balsamic makes a lovely dunk; scatter a few fresh herbs on top for color.
Store and freeze the right way
Cool completely before sealing. Keep loaf pieces in an airtight bag at room for 2–3 days to preserve the crumb and crust.
For longer life, wrap tightly and freeze for up to 1–3 months. I slice before freezing when the freezer is busy so I can pull only what I need.
- Reheat on a baking sheet in a 300–350°F oven until just warmed; this revives the top without drying the interior.
- To refresh a whole loaf, sprinkle a little water on the crust and preheat oven before warming.
| Method | Prep | Oven Temp / Time | Best for |
|---|---|---|---|
| Broil slices | Spread butter, add cheese | Broil 1–3 min | Quick, gooey finish |
| Dip & serve | Saucer of olive oil + balsamic | No oven needed | Light meals, salads |
| Reheat whole loaf | Wrap or sprinkle water | 300–350°F for 10–15 min | Restore crust and crumb |
| Freeze sliced | Double-wrap in a bag | Toast or oven from frozen | Easy single portions |
Bring it to the table: confidence tips from our kitchen to yours
Finish strong: simple, repeatable moves help your loaves look and taste like they belong at the center of dinner.
We set the bowl, scale, and ingredients before we start so the dough moves from mix to rest in minutes without scrambling. Bloom yeast in 100–110°F water and wait a few minutes if it seems slow; warmth and patience usually do the trick.
Keep a light film of oil on your hand instead of extra flour to preserve hydration. Score with a confident, clean cut so the top blooms, and add steam in the oven with a hot water pan for a crisp crust. Bake until about 200°F internal, then cool on a rack.
Measure salt and small additions by teaspoon, note your bake minutes and loaf weight, and rotate the baking sheet halfway for even color. These tiny habits make every bake kinder, calmer, and reliably delicious.
Garlic Herb Italian Bread
Ingredients
Method
- Mix warm water (100–110°F) with sugar or honey and sprinkle in the yeast. Let sit for 5–15 minutes until foamy.
- In a large bowl, combine flour and salt. Stir in bloomed yeast mixture until a shaggy dough forms. Rest for 10 minutes.
- Add olive oil and knead until smooth and elastic (by hand 8–10 min, or mixer 5–6 min). Dough should be soft and slightly tacky.
- Place dough in a lightly oiled bowl, cover, and let rise at room temperature until doubled—about 1–2 hours.
- Every 20–30 minutes, perform a gentle stretch and fold with an oiled hand to build structure (3–4 times total).
- Punch down dough, divide if making two loaves, and shape into ovals or logs. Place seam-side down on parchment-lined baking sheet.
- Let loaves rest until slightly puffed—about 30–45 minutes. A gentle poke should fill in slowly.
- Preheat to 375–400°F. Place a glass dish with boiling water on the lower rack to create steam.
- Brush tops with olive oil or egg wash. Score each loaf with one quick cut down the center.
- Bake 20–30 minutes until golden brown and hollow-sounding on tap. Internal temp should reach about 200°F.
- Cool on a rack for at least 15 minutes before slicing. Brush with extra olive oil if you like a glossy finish.
Notes
- Use warm (not hot) water for yeast—too hot kills it.
- Keep dough soft and slightly tacky for a tender crumb.
- Oil your hands instead of dusting with flour to avoid drying out the dough.
- Add roasted garlic or olives for variation.
- Freezes beautifully—wrap tightly and thaw at room temperature.
- For a glossy crust, brush with olive oil after baking; for deep color, use egg wash before baking.