
Jump to Recipe
There’s a particular joy found in the kitchen when you’re making something special. The scent of something sweet baking, the promise of a treat shared with coffee. It feels like a small celebration, a quiet nod to generations of home cooks who have filled their homes with the same warmth.
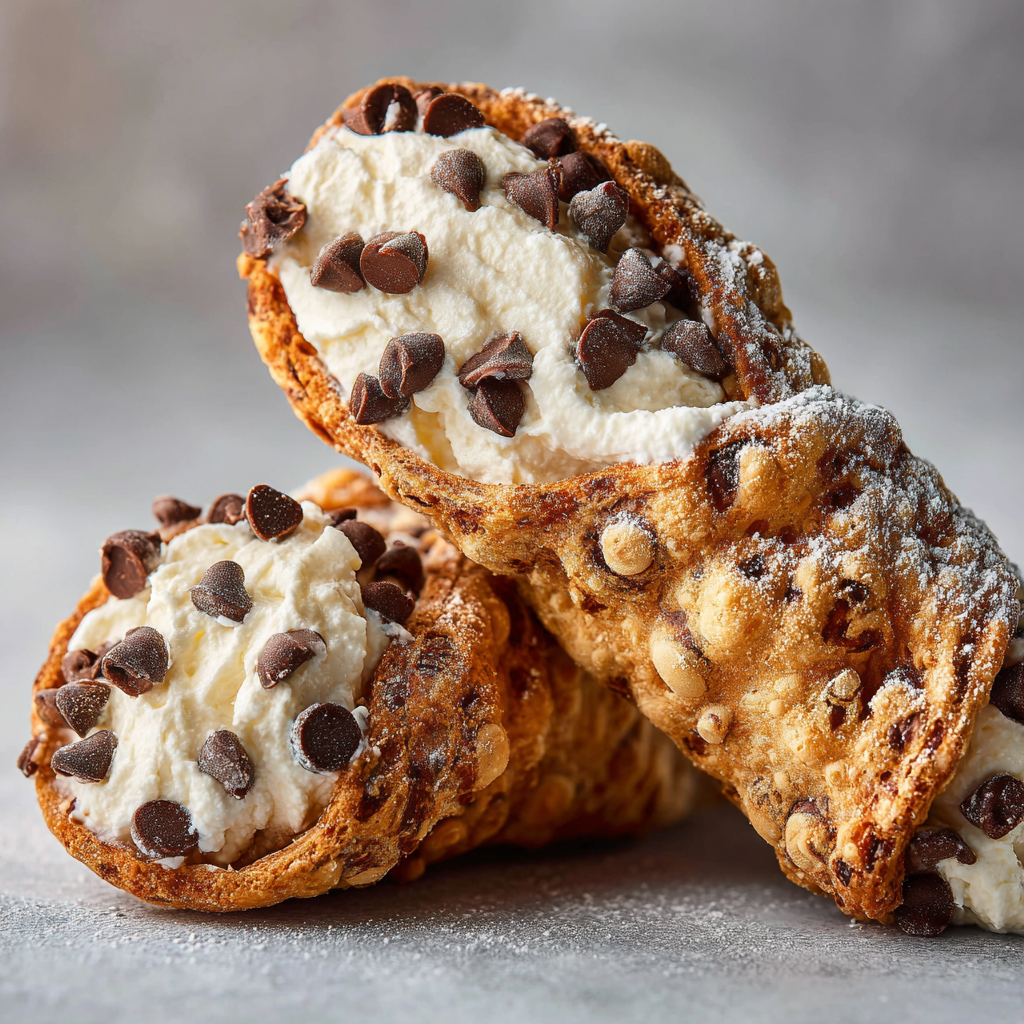
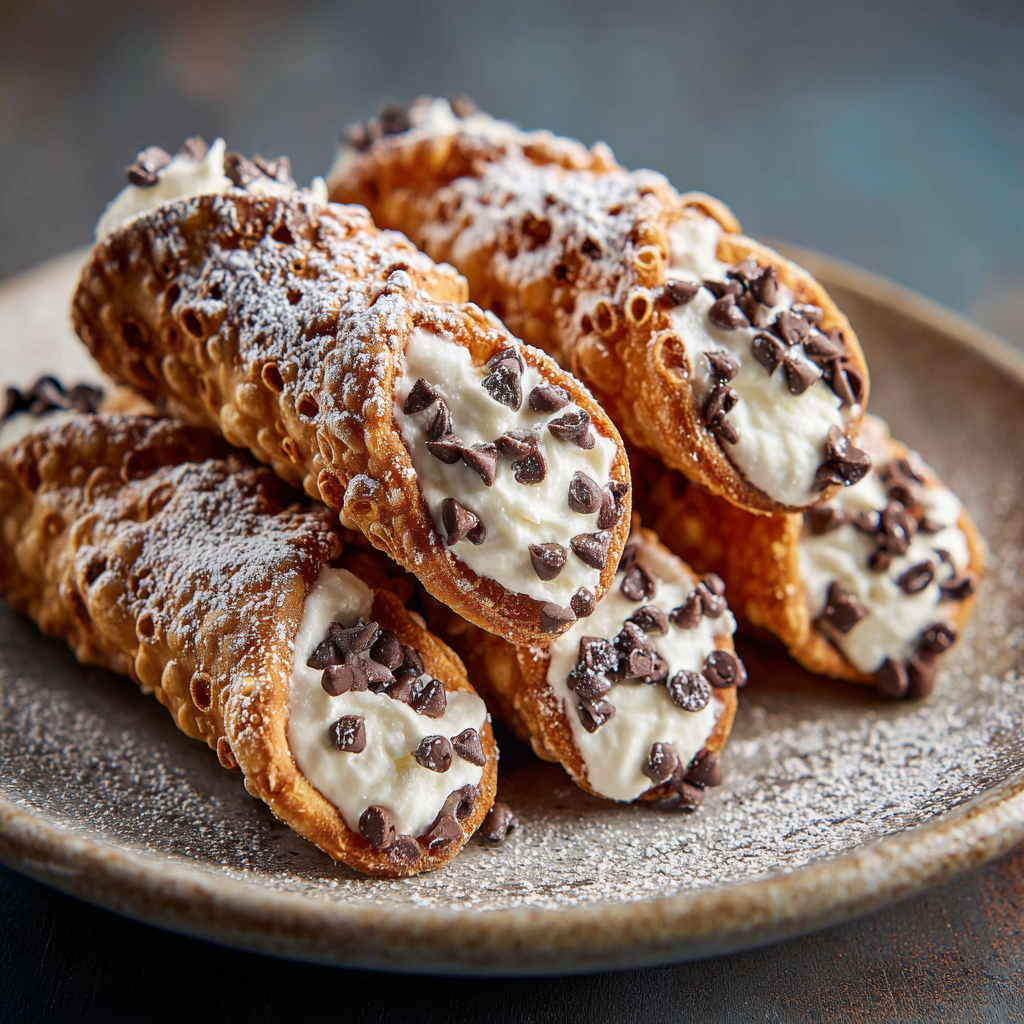
This feeling is at the heart of authentic Sicilian cannoli. These beloved pastries, whose name means “little tubes,” are a true delight. They feature wonderfully crisp, bubbly shells cradling a creamy, lightly sweetened filling.
Creating a plant-based version that truly honors this tradition can be a challenge. Many alternatives use shortcuts that result in a frosting-like taste, which misses the point. This method is different. It focuses on achieving that genuine cannoli experience.
We achieve this with shells that bubble and crisp properly, just like the classic ones. The filling uses a tofu base that mimics the texture and subtle flavor of traditional ricotta cheese. It’s not a quick dessert, but the honest result is worth the effort.
You’ll learn to make the shells from scratch and prepare a filling that respects Italian tradition. This guide is designed to work in a real home kitchen, delivering a satisfying, protein-rich treat that feels truly authentic.
Key Takeaways
- Understand the authentic Sicilian roots and special qualities of traditional cannoli.
- Learn how to create a plant-based version that honors the original recipe’s integrity.
- Master the technique for making crisp, properly bubbled shells from scratch.
- Prepare a creamy, ricotta-like filling that avoids a sugary, frosting-like taste.
- Gain confidence that this detailed process yields reliable, satisfying results at home.
- Appreciate that the effort invested creates a genuinely special and authentic dessert.
Why This Vegan Cannoli Stands Out
Creating a plant-based dessert that respects Italian pastry traditions requires careful consideration of each component. Many alternatives use shortcuts that compromise the essential character of this Sicilian treat.
Traditional Twist with a Modern Plant-Based Touch
This method achieves the light, crispy shells through aquafaba instead of eggs. Vegan Marsala wine creates those signature bubbles that define authentic cannoli.
The filling uses a tofu base that captures the texture of traditional dairy ricotta. It avoids the overly sweet, frosting-like taste found in some versions.
Mini chocolate chips add the classic finishing touch. The balance respects the original while working beautifully in a plant-based context.
Celebrating Sicilian Heritage
This approach honors methods passed down through generations. It adapts a family recipe from Palermo while maintaining its essential qualities.
The commitment to technique over convenience makes the difference. Each step reflects an understanding of what makes these pastries special.
| Feature | This Method | Other Plant-Based Versions | Traditional Sicilian |
|---|---|---|---|
| Shell Texture | Light, crispy with bubbles | Often dense or soft | Light, crispy with bubbles |
| Filling Approach | Tofu-based, ricotta-like | Often frosting-like | Dairy ricotta-based |
| Sweetness Level | Lightly sweetened | Often very sweet | Lightly sweetened |
| Authenticity | High – respects technique | Variable – often simplified | Original standard |
The table shows how this plant-based version closely mirrors traditional standards. It prioritizes authentic texture and flavor above all else.
Essential Equipment & Tools for Making Cannoli
Proper equipment is the foundation for creating authentic Italian desserts with confidence and precision. The right tools help achieve the delicate textures that define these pastries.
Most items are standard kitchen equipment. The specialty forms are the main investment for making these treats properly.
Must-Have Kitchen Gadgets
Cannoli tubes or forms shape the shells during frying. Stainless steel versions are durable and conduct heat well.
Choose forms slightly longer than your desired finished pastry. Five to six inches gives proper working length.
A biscuit cutter creates uniform dough circles. The diameter should be smaller than your form length.
A sturdy rolling pin achieves the thin dough needed for crisp shells. Aim for about 1/16 inch thickness.
You’ll need a piping bag with large tip for filling. A heavy-duty freezer bag works as an alternative.
Smart Alternatives for Home Chefs
Many standard kitchen items serve well for this project. A glass rim can substitute for a dedicated cutter.
A pasta machine creates perfectly even dough if you have one. Regular mixing bowls handle the dough and filling preparation.
For frying, use a large sauté pan or small pot. Tongs provide safe handling of hot shells.
A wire rack allows oil to drain while shells cool. This prevents sogginess and maintains crispness.
| Equipment | Ideal Choice | Good Alternative | Purpose |
|---|---|---|---|
| Shell Molds | Stainless steel tubes | Homemade aluminum foil forms | Shape shells during frying |
| Dough Cutting | Biscuit cutter | Glass or jar rim | Create uniform circles |
| Dough Rolling | French rolling pin | Pasta machine | Achieve thin, even dough |
| Filling Tool | Pastry bag with tip | Heavy freezer bag | Clean filling application |
Having the proper equipment makes the process smoother. For more Italian dessert inspiration, explore this pistachio cannoli variation that uses similar techniques.
Ingredients and Substitutions for Cannoli Shells
Quality ingredients transform simple dough into delicate, crisp shells. Each component serves a specific purpose in achieving that authentic texture.
| Ingredient | Primary Purpose | Best Substitutions |
|---|---|---|
| Peanut Oil | Neutral frying with high smoke point | Canola, safflower, or sunflower oil |
| All-Purpose Flour | Structure and crispness | Measure by weight for accuracy |
| Granulated Sugar | Subtle sweetness and browning | Organic sugar (ensures plant-based status) |
| Marsala Wine | Creates signature bubbles | Other vegan sweet red wines |
| Aquafaba | Binding and sealing edges | Most reliable sealant tested |
For frying, choose oils with neutral flavor like peanut, canola, or sunflower. Avoid vegetable or soybean oil as their taste comes through in the finished shells.
Measure flour by weight for best results. When selecting sugar, organic varieties ensure plant-based status since some conventional sugars use animal bone char in processing.
Marsala wine creates the characteristic bubbles but verify it’s plant-based using resources like Barnivore.com. Aquafaba serves dual purposes – binding the dough and sealing shell edges before frying.
Plain, unsweetened almond milk works well, though cashew or oat milk are good alternatives. An alternative approach uses chilled vegan butter and dairy-free yogurt for flexibility.
Crafting the Perfect Vegan Cannoli Dough
The character of your finished shells depends entirely on how you handle the dough from the very first step. Proper technique ensures the right texture for rolling and frying.
Mixing Dry and Wet Ingredients Naturally
Begin by combining your dry ingredients in one bowl. Mix flour, sugar, and salt until evenly distributed. This traditional approach prevents clumping.
Prepare the wet ingredients separately. Combine Marsala wine, aquafaba, almond milk, and sunflower oil. Each component contributes to the dough’s final consistency.
Add the wet mixture to the dry ingredients. Use a fork or your fingers to bring everything together. This method gives you direct feedback about the texture.
Turn the dough onto a floured surface. Knead for about five minutes until smooth and cohesive. If the dough feels sticky, add just a little flour.
Restraint is key here. Too much flour makes the dough difficult to roll thin later. The goal is a workable but not dry consistency.
| Mixing Method | Primary Tools | Time Required | Best For |
|---|---|---|---|
| Traditional Hand Mixing | Bowls, fork/fingers | 5-7 minutes | Texture sensitivity |
| Food Processor | Processor bowl | 2-3 minutes | Speed and consistency |
| Pastry Cutter | Cutter, fork | 6-8 minutes | No processor available |
The food processor method offers an alternative. Pulse flour and vegan butter until sandy. Add remaining ingredients and blend until smooth.
Whichever method you choose, form the dough into a flat disk. Wrap it well and chill for at least 30 minutes. This resting time makes the dough much easier to handle.
Tips for Achieving Crispy, Flaky Cannoli Shells
Thinness and temperature control are the twin pillars of creating properly crisp dessert shells. Mastering these elements ensures your final product has the right texture.
Rolling Dough to the Ideal Thinness
Roll your dough to about 1/16 inch thickness. This extreme thinness is essential for achieving the characteristic crispness.
A pasta maker creates perfectly even sheets if you have one. Otherwise, a rolling pin works well with careful attention.
Divide your chilled dough into two manageable balls. Work with one portion at a time to maintain control.
| Rolling Method | Best For | Consistency Level | Time Required |
|---|---|---|---|
| Pasta Machine | Perfect uniformity | Highly consistent | 3-4 minutes |
| French Rolling Pin | Traditional approach | Good with practice | 5-7 minutes |
| Standard Rolling Pin | Basic kitchen setup | Variable | 6-8 minutes |
Frying Techniques for Golden Perfection
Heat about two inches of oil in a large pan or small pot. Medium heat brings the oil to the right temperature.
Cut dough circles using a biscuit cutter slightly smaller than your forms. You can reroll scraps for maximum yield.
Wrap dough around forms somewhat loosely. Brush edges with aquafaba and press firmly to seal.
Fry shells for about 30 seconds per side until golden and bubbly. Use tongs for safe handling.
Drain shells on a wire rack with paper towels underneath. Wait until cool before removing from forms.
If shells turn out soft, check your dough thickness or oil temperature. Properly hot oil creates golden shells quickly.
Creating a Rich Vegan Ricotta Filling
A well-crafted filling should taste like sweetened dairy ricotta, not sugary frosting. This distinction matters for authenticity.
Blending for a Smooth, Creamy Texture
Start with firm tofu, gently squeezing out excess water while retaining some moisture. Break it into chunks and place in your blender.
Add lemon juice, nutritional yeast, salt, and cinnamon. Blend until completely smooth. The nutritional yeast creates that characteristic tangy flavor.
If the mixture seems too thick, add water or almond milk a half tablespoon at a time. This ensures proper creaminess.
Balancing Sweetness and Flavor
Add powdered sugar gradually, about one-quarter cup at a time. Taste as you go to find your preferred sweetness level.
Be mindful that more sugar thins the ricotta filling. Balance is key for the right consistency.
Transfer the finished mixture to a large bowl. Fold in mini chocolate chips if desired. The filling should hold its shape when piped.
For an alternative approach, whisk vegan mascarpone with sifted powdered sugar. Add vanilla and a dash of cinnamon. Both methods yield authentic results.
Unique Variations & Filling Ideas
While tradition provides a wonderful foundation, your own kitchen offers the perfect space for gentle, respectful innovation. The basic, beautifully balanced cannoli filling serves as a perfect canvas for a range of delicious enhancements.
Thoughtful additions should complement the delicate flavor, not overwhelm it. This approach keeps the focus on the authentic character of the dessert.
Creative Add-Ins and Garnish Options
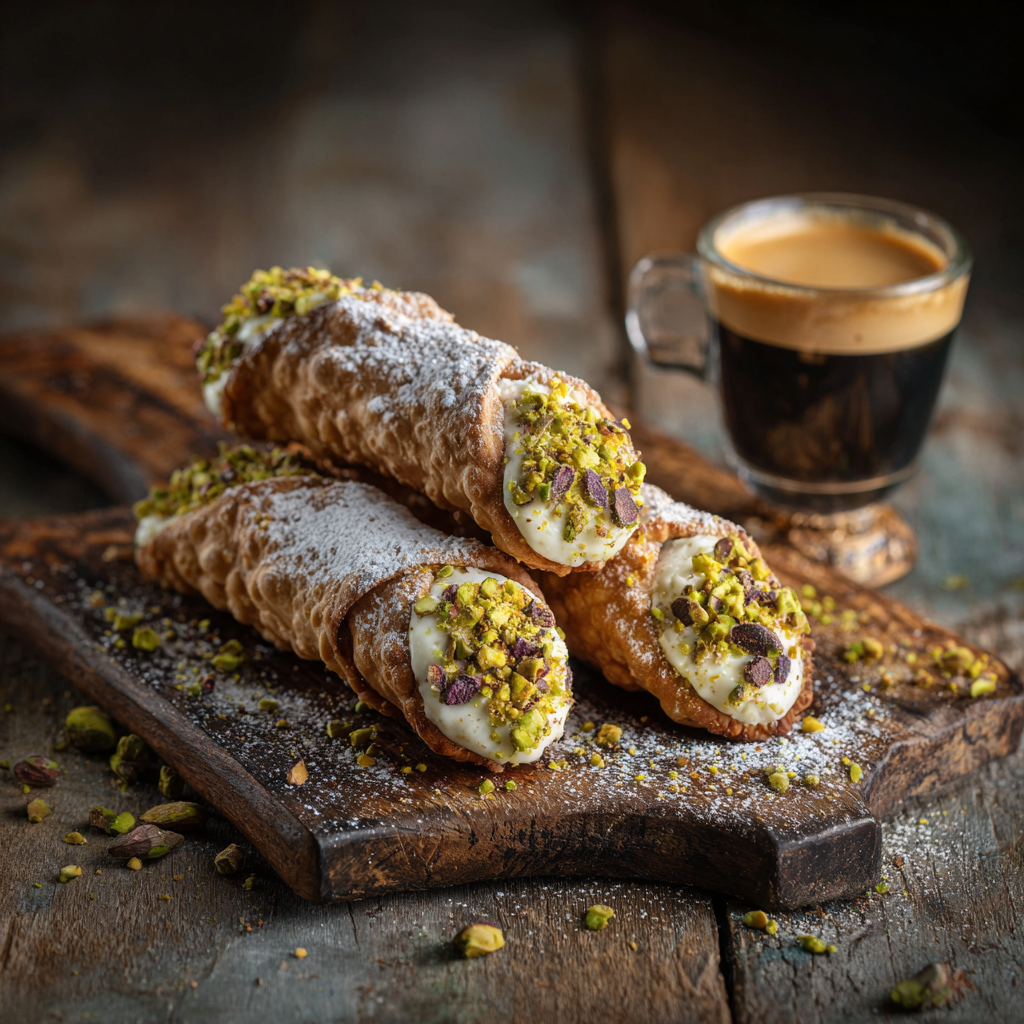
Classic choices like mini chocolate chips and crushed pistachios are always welcome. They distribute evenly and add pleasant texture.
For a more personal touch, consider these authentic variations:
- Chopped Almonds: A nod to Sicilian tradition, they offer a nutty crunch.
- Crushed Hazelnuts with Chocolate Shavings: This creates an elegant, deeper chocolate presence.
- Powdered Freeze-Dried Fruit: Raspberries or strawberries add natural flavor and a hint of color.
- Seasonal Touches: Crushed candy canes can bring a festive winter theme.
Exploring Beyond Chocolate Chips
Garnishing the ends of your filled shells adds visual appeal. Simply dip each end into a bowl of crushed pistachios or more mini chocolate chips.
If you have leftover filling, it makes a wonderful cannoli dip. Serve it with broken pieces of vegan waffle cones for a simple, casual treat.
The best variations enhance the experience. They honor the dessert’s heritage while allowing for your personal expression.
Mastering the vegan ricotta cannoli recipe
Having made these many times, I’ve found the assembly process makes all the difference. The workflow follows a logical order that ensures the best texture and flavor.
Step-by-Step Process Breakdown
Always prepare your shells first and let them cool completely. You can spread the work across two days to make the project more manageable.
Lightly grease your forms before wrapping the dough. This prevents sticking and allows for easy removal later.
Brush the overlapping edges with aquafaba and press firmly to seal. Proper sealing keeps the shells intact during baking or frying.
For baked versions, chill the formed shells briefly in the freezer before the oven preheats. Watch through the window to ensure they maintain their shape.
Secrets from Experienced Vegan Chefs
When filling, use a piping bag with a large tip. Fill each shell from both ends toward the middle for even distribution.
Only fill the shells you plan to serve immediately. Pre-filled shells lose their crispness quickly as moisture softens them.
Wrap the dough somewhat loosely around the forms rather than tightly. This creates more interior space and makes removal easier.
Properly made shells should be golden and crispy with a bubble-textured appearance. The filling should taste genuinely like sweetened dairy alternatives rather than frosting.
Have all components ready before assembly begins. This includes cooled shells, prepared filling, and your piping bag set up. For another Italian treat using similar techniques, try this cannoli cookie variation.
Storing and Serving Your Vegan Cannoli
After investing time in crafting delicate shells and creamy fillings, careful handling preserves the quality of your finished creations. The right approach ensures your pastries maintain their intended texture and flavor.
Maintaining Crispness and Freshness
Fill only the shells you plan to serve immediately. The crispy texture deteriorates quickly once the moist filling makes contact. Store any remaining components separately for best results.
Unfilled shells keep well at room temperature in an airtight container. Place them in a dry location away from humidity. They taste best within the first day or two.
The filling stores beautifully in the refrigerator for three to four days. Transfer it to an airtight container to maintain freshness. Your refrigerator should be consistently cold for optimal storage.
| Component | Storage Method | Optimal Timeframe | Texture Outcome |
|---|---|---|---|
| Unfilled Shells | Airtight container, room temperature | 1-2 days (best) | Remains crispy |
| Filling | Airtight container, refrigerator | 3-4 days | Maintains creaminess |
| Filled Pastries | Airtight container, refrigerator | Serve immediately | Shells soften quickly |
Presentation Tips for a Stunning Dessert
Pipe the filling into shells from both ends for even distribution. Dust generously with powdered sugar just before serving. This creates the classic appearance guests expect.
Consider dipping the filled ends into crushed pistachios or mini chocolate chips. This adds visual appeal and signals which end to bite from. Keep filled pastries refrigerated until serving time.
Allow guests to enjoy them while the shells still have texture. Leftovers will keep refrigerated up to five days, though the shells will soften. They remain tasty but different from freshly assembled ones.
A Sweet Send-off to Your Vegan Dessert Experience
Making something special from scratch always carries its own quiet satisfaction. These Italian pastries honor a tradition that has delighted generations. Your effort in creating them from beginning to end is genuinely worthwhile.
This vegan version respects the Sicilian heritage while working beautifully in modern kitchens. The crispy shells and creamy filling achieve that authentic cannoli experience. No one will guess these delicate treats are plant-based.
Trust the process and take your time with each step. The techniques become familiar with practice. Your hands will learn the feel of the dough and the rhythm of assembly.
Share these cannoli at gatherings or enjoy them as a special dessert. The authentic results justify every bit of care you invest. This recipe works reliably in real home kitchens, delivering truly memorable results.

Authentic Vegan Sicilian Cannoli
Ingredients
Method
- In a bowl, mix flour, sugar, and salt.
- In another bowl, mix Marsala wine, aquafaba, almond milk, and oil.
- Pour wet ingredients into dry and mix with a fork or your fingers until a dough forms.
- Turn dough onto a lightly floured surface. Knead for about 5 minutes until smooth.
- Form into a flat disk, wrap tightly, and chill for at least 30 minutes.
- Divide dough in half. Roll very thin—about 1/16 inch.
- Cut circles slightly smaller than your cannoli forms.
- Wrap dough loosely around the forms. Brush edges with aquafaba and press firmly to seal.
- Heat about 2 inches of oil over medium heat.
- Fry shells for about 30 seconds per side until golden and bubbly.
- Drain on a wire rack and cool completely before removing the forms.
- Blend tofu, lemon juice, nutritional yeast, cinnamon, salt, and powdered sugar until smooth.
- Adjust sweetness slowly. Add a little almond milk if needed.
- Fold in chocolate chips by hand.
- Pipe filling into shells from both ends just before serving.
- Dust with powdered sugar and dip ends in pistachios or chocolate chips if desired.
Notes
- Fill cannoli only right before serving or the shells will soften.
- Frying is essential for the classic bubbly texture—baking will change the result.
- Shells can be made 1–2 days ahead and stored airtight at room temperature.
- The filling keeps well in the fridge for up to 3 days.