
Jump to Recipe
There’s a quiet magic to Italian desserts. It’s not about loud flavors, but the gentle layering of simple, good things. The scent of strong coffee, the soft give of a sponge, the cool richness of a cream that melts on your tongue. It’s a feeling of comfort you build with your own hands.
This plant-based version of the classic dessert honors that tradition. It transforms the original into something accessible for those avoiding dairy, eggs, and gluten. The authentic flavor remains intact. You get a light sponge, a rich cream made from nuts and coconut, and the bold kick of coffee.
While this recipe requires a bit of planning, each step is straightforward. The final result genuinely rivals any traditional version. It’s an ideal make-ahead treat that improves as it rests in the refrigerator. This makes it perfect for entertaining.
The method respects Italian tradition while adapting techniques for plant-based cooking. Even guests who regularly enjoy dairy will appreciate this creation. They will likely ask for the recipe. This isn’t a quick thirty-minute project. The time you invest yields a truly special dessert worth the effort.
Key Takeaways
- This version of the classic Italian dessert is completely plant-based, avoiding dairy, eggs, and gluten.
- The dessert combines three key components: a light sponge, a rich nut-based cream, and bold coffee.
- While it requires some advance preparation, each step in the process is simple and clear.
- The finished dessert actually improves in flavor after chilling, making it perfect for preparing ahead of time.
- The recipe stays true to the authentic taste and feel of the traditional dessert.
- It’s a crowd-pleaser that will be enjoyed by everyone, regardless of their usual dietary preferences.
Embracing a Plant-Based Twist on a Classic Italian Favorite
The art of Italian dessert-making lies in balancing tradition with thoughtful innovation. Classic recipes like the beloved coffee-layered treat rely on specific ingredients that define their character. Savoiardi biscuits bring structure, while rich dairy components create the signature creaminess.
Rediscovering Italian Traditions with Vegan Innovations
Traditional preparation methods depend heavily on eggs and dairy. This makes adaptation essential for those following plant-based diets. The challenge isn’t about finding substitutes but reimagining the dessert’s essence.
Thoughtful recipes demonstrate how plant-based cooking has matured. They focus on techniques that work harmoniously rather than simple replacements. This approach preserves the authentic experience while respecting different dietary choices.
The Joy of Aligning Values and Flavor
Many people worry they must sacrifice favorite foods when choosing plant-based eating. However, well-crafted recipes deliver equal pleasure. They allow enjoyment without compromise.
The process connects cooking to broader values around food choices. There’s deep satisfaction in creating something delicious that aligns with personal beliefs. This dessert shows how tradition and values can coexist beautifully at the table.
Essential Ingredients and Preparation Tips for vegan tiramisu with cashew cream
Proper preparation of key ingredients ensures the texture and flavor balance essential to this dessert. Each component requires specific handling to achieve the desired results. Thoughtful planning makes the assembly process smooth and successful.
Selecting the Perfect Cashews and Coconut Milk
Raw cashews form the base of the creamy layer. They must be soaked to soften before blending. You can use cold water for 3+ hours or boiling water for 20-30 minutes.
Discard the soaking water after use. It contains natural compounds that can affect the final texture. This step ensures a smooth, neutral base for your creation.
Full-fat coconut milk needs at least 24 hours in the refrigerator. The cream separates and solidifies at the top. Pouring it into a clear glass before chilling lets you see the separation clearly.
Brands vary in their ability to separate properly. Avoid products with stabilizers or gums. Having backup cans available prevents frustration if your preferred brand doesn’t work well.
Understanding the Role of Coffee and Flavor Enhancers
Quality coffee serves dual purposes in this recipe. It soaks the cake layers and flavors the cream mixture. Espresso provides intense flavor, while brewed coffee offers a mellower profile.
Alcohol options bring unique character to the dessert. Coffee liqueur, rum, amaretto, or marsala wine each contribute distinct notes. Always verify that your chosen alcohol aligns with plant-based requirements.
The recipe works beautifully without alcohol too. Simply use additional coffee instead. This makes it suitable for all preferences and dietary needs.
| Option Type | Flavor Profile | Intensity | Best Use |
|---|---|---|---|
| Espresso | Bold, robust | High | Traditional flavor lovers |
| Brewed Coffee | Mellow, balanced | Medium | Those preferring milder taste |
| Coffee Liqueur | Sweet, complex | Medium-High | Enhanced dessert experience |
| Additional Coffee | Pure coffee flavor | Customizable | Alcohol-free versions |
Step-by-Step Guide to Baking the Ideal Vegan Sponge Cake
The success of this layered dessert hinges on a well-crafted sponge cake that can absorb coffee without disintegrating. This vanilla cake foundation needs a slightly drier texture than typical cakes, functioning much like traditional ladyfingers.
Mixing Dry and Wet Ingredients for a Fluffy Texture
Begin by whisking the dry ingredients together in a large bowl. Combine oat flour, rice flour, granulated sweetener, baking powder, baking soda, and salt. Thorough mixing ensures even distribution.
Process the wet ingredients in a blender until smooth and slightly frothy. This includes plant-based milk, applesauce, oil, vinegar, and vanilla extract. Pour the wet mixture into the dry ingredients.
Mix only until just combined. Overmixing creates a tough, dense cake rather than the light texture needed. Let the batter rest for five minutes. This allows gluten-free flours to hydrate and leavening agents to activate.
Baking Times, Temperature, and Cutting Techniques
Preheat your oven to 360°F. Divide the batter between two prepared pans. Bake for 20-25 minutes until a toothpick comes out clean or slightly crumbly, but never wet.
Cool the cake completely before cutting. Gluten-free cakes are fragile when warm. First halve each cake, then slice into 1-inch strips to create finger-like pieces.
For those not requiring gluten-free options, all-purpose or spelt flour can replace the oat and rice flour combination. Using a kitchen scale ensures accuracy in gluten-free baking where ratios matter significantly.
Mastering the Vegan Mascarpone and Cashew Cream Blend
The heart of this dessert lies in the careful combination of two distinct cream preparations. This approach creates layers of flavor and texture that mimic traditional Italian cheese. Each component serves a specific purpose in the final mixture.
Achieving a Light, Whipped Coconut Cream
Begin by opening chilled cans of coconut milk. Scoop only the solid white cream into a large bowl, leaving the clear liquid behind. Add powdered sugar to the coconut cream.
Use an electric hand mixer to beat the mixture until light and fluffy. The volume should increase noticeably. Refrigerate it immediately to help the cream firm up and stabilize.
Avoid over-beating, as excessive mixing causes the coconut cream to lose its airy texture. The goal is maximum volume without separation.
Blending Cashews to Create a Smooth, Rich Texture
For the second component, add soaked cashews to a high-speed blender. Include plant-based milk, maple syrup, vanilla extract, and a pinch of salt. Blend until completely smooth with no grittiness.
Pause occasionally to scrape down the sides. This ensures even blending throughout the mixture. The process may take several minutes to achieve perfect smoothness.
Gently fold the cashew cream into the whipped coconut cream using a spatula. This folding technique preserves the airy volume created during whipping. The result resembles traditional mascarpone in both texture and richness.
For those with nut allergies, vegan cream cheese could replace the cashew component. Ready-made plant-based whipping cream also works well instead of coconut cream.
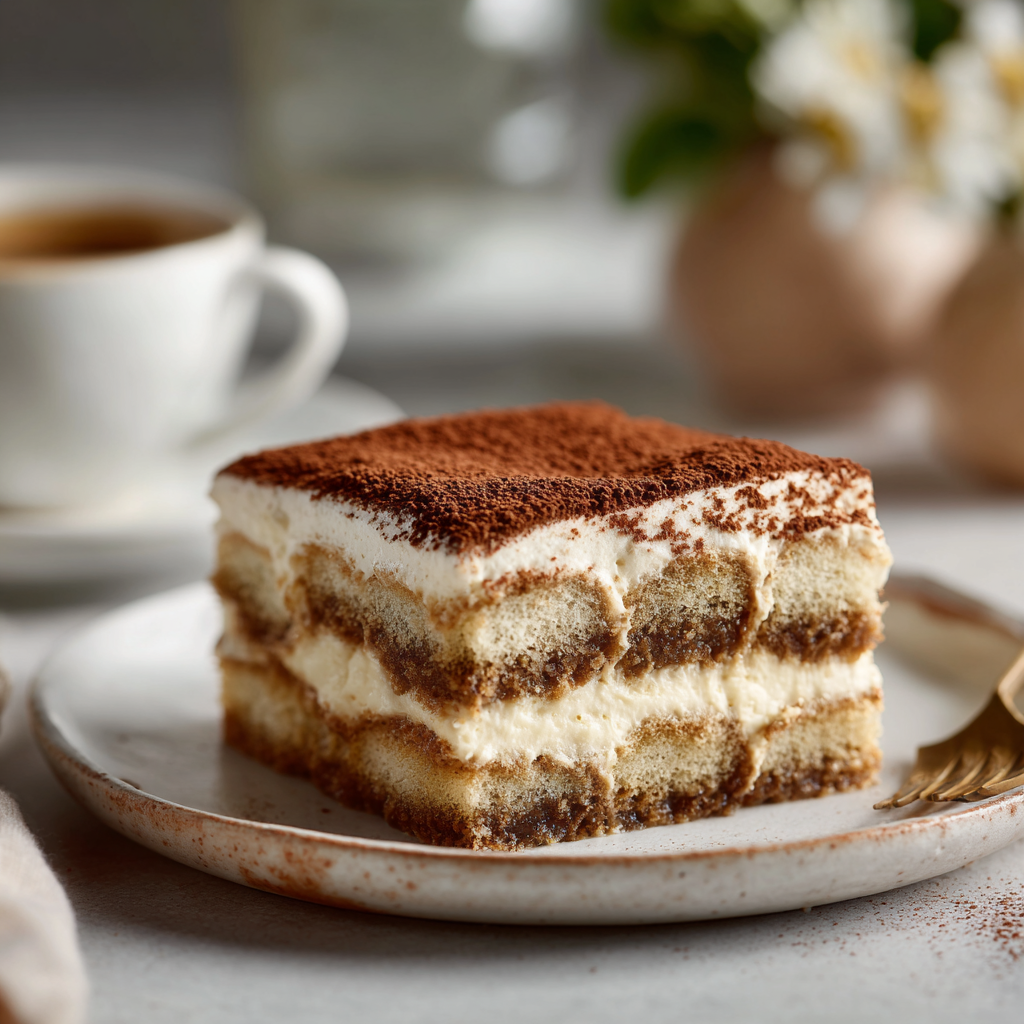
Assembling Layers for a Perfectly Balanced Dessert
The final stage brings together all the prepared components in a precise sequence. This assembly creates the signature layers that define the dessert’s character.
Layering Coffee-Soaked Sponge with Cream
Combine chilled coffee with your chosen liqueur in a medium bowl. Lightly press each cake strip against the coffee surface for just a moment. Avoid submerging the pieces to prevent sogginess.
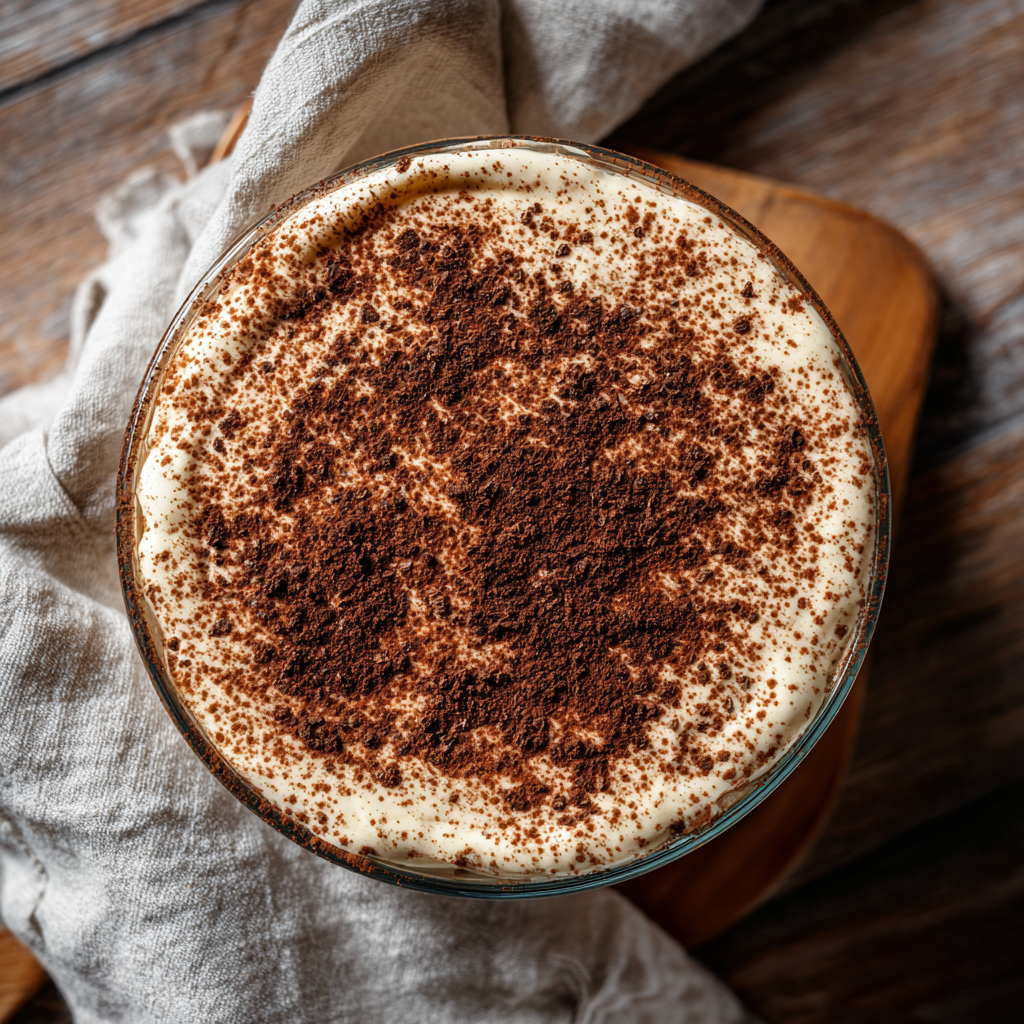
Arrange the coffee-touched ladyfingers in your chosen dish. An 8-inch square or rectangular dish works well. Spread half the mascarpone cream evenly over this first layer.
Repeat the process with another layer of cake pieces. Top with the remaining cream mixture. Use a spatula to create smooth, even surfaces.
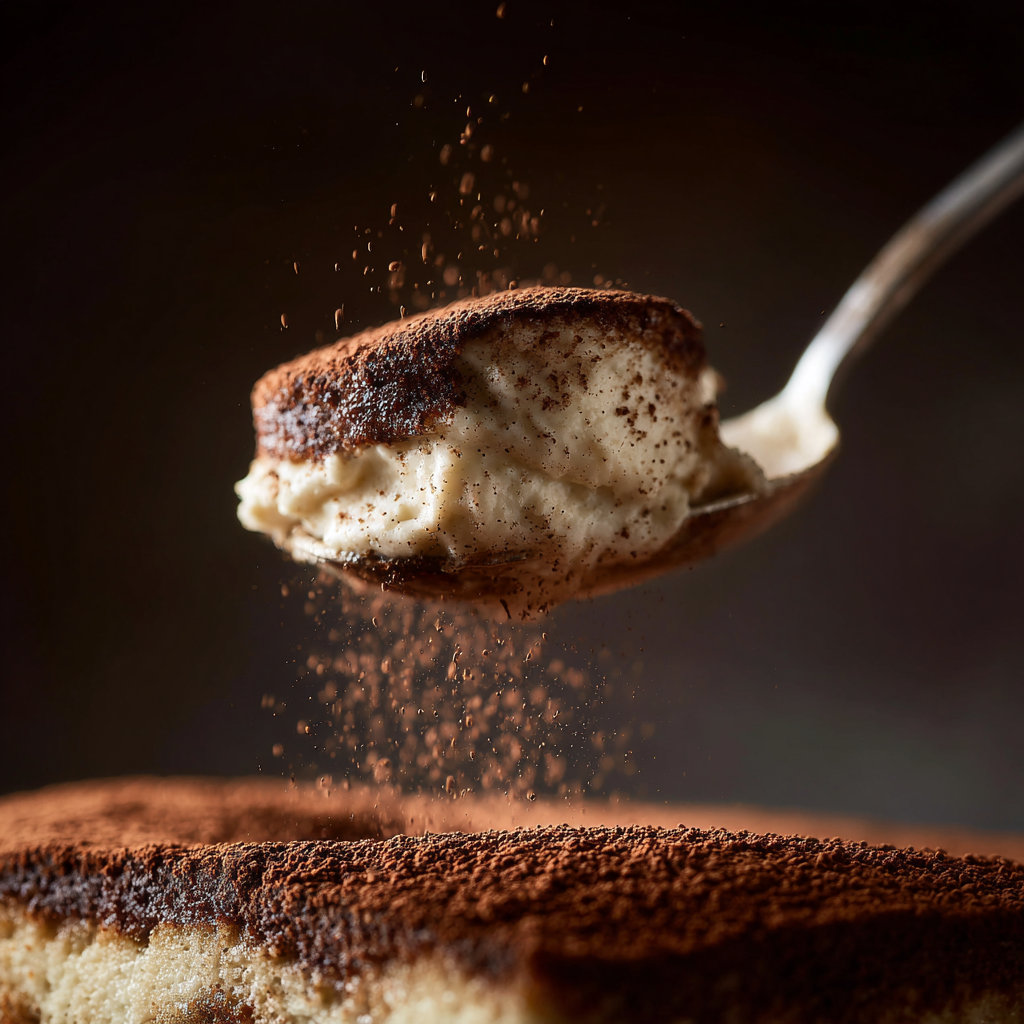
Finishing Touches: Dusting Cocoa Powder and Adding Extras
Cover the dish tightly with plastic wrap. Chill for at least three hours or overnight. This resting time allows flavors to meld perfectly.
Just before serving, dust the top generously with cocoa powder. Add grated dark chocolate for extra visual appeal. Individual ramekins offer elegant single servings.
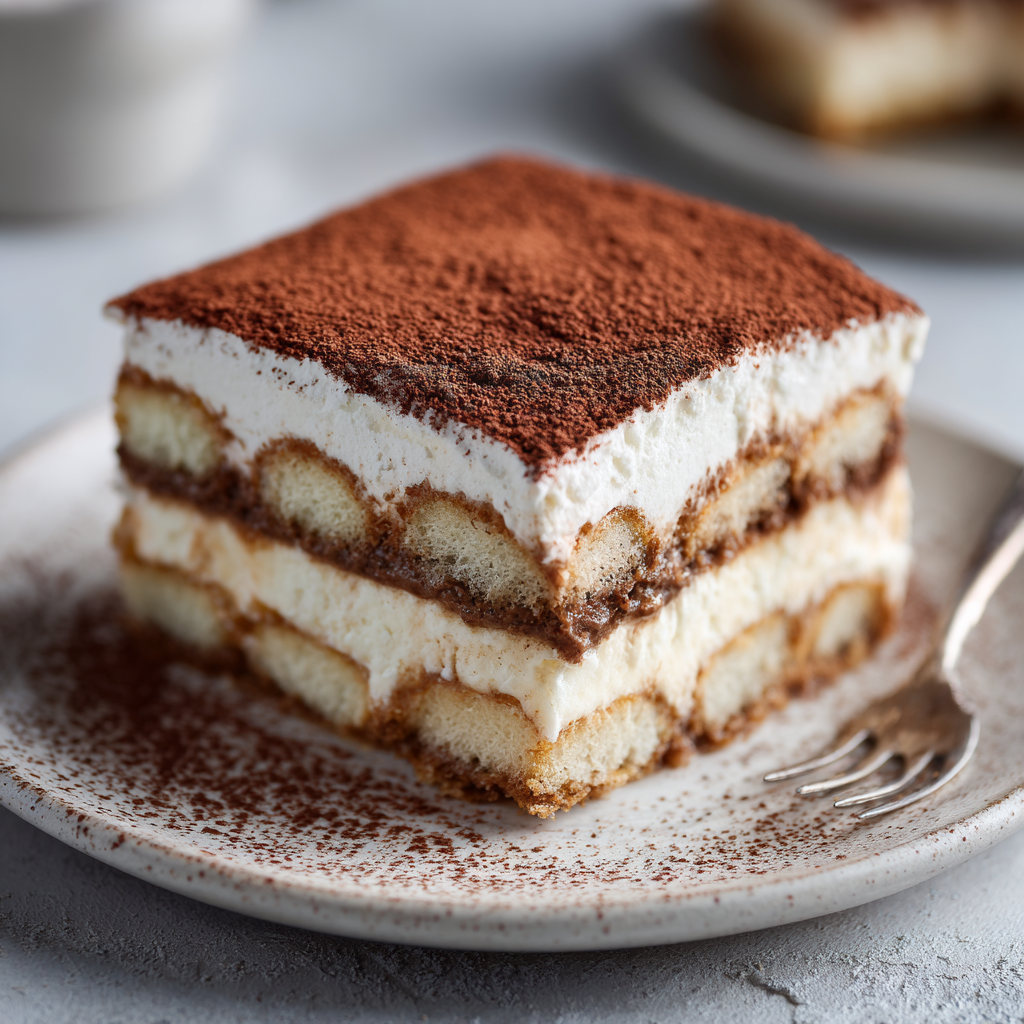
The careful layering technique ensures each component shines through. Your patience will be rewarded with beautifully balanced slices.
Incorporating Unique Variations and Pro Tips
One of the greatest strengths of this approach is its remarkable flexibility across different tastes and schedules. The recipe adapts beautifully to various preferences without losing its essential character.
Exploring Alcohol Alternatives and Adaptable Techniques
For those avoiding alcohol, simply replace the liqueur with additional coffee. This works perfectly and maintains the dessert’s integrity. You can also use maple syrup with a few drops of rum extract for flavor without alcohol content.
If serving to children or those who don’t enjoy coffee, hot chocolate makes an excellent substitute. This creates a delightful chocolate variation. Various alcohol options like rum, amaretto, or marsala wine each bring unique profiles.
Always verify that your chosen alcohol aligns with plant-based requirements. Note that some brands like Kahlúa are no longer suitable. Store-bought ladyfingers can replace homemade cake if they meet your dietary needs.
Make-Ahead Strategies for Busy Schedules
The make-ahead nature of this dessert is one of its greatest practical advantages. It’s perfect for entertaining when you want everything prepared in advance.
An ideal timeline involves preparing components the evening before. Brew and cool the coffee, bake and cool the cake, soak the nuts, and chill the coconut milk. With these steps done, assembly takes only 20-25 minutes the next day.
The dessert actually improves during chilling time as flavors develop. This recipe yields four generous portions or six to nine smaller servings. Serve with vegan ice cream or fresh strawberries for complementary flavors.
Celebrating Vegan Desserts: From Inspiration to Indulgence
Serving a dessert that everyone enjoys, regardless of their usual diet, is a uniquely satisfying kitchen moment. This particular creation often leads to a wonderful surprise. Guests who regularly consume dairy frequently ask for a second helping.
This reaction highlights how far plant-based baking has come. It moves beyond simple substitutions to methods that deliver truly rich and creamy results. The combination of coconut and nuts performs remarkably well.
Sharing Your Creations with Family and Friends
There is a special ease that comes from preparing food that aligns with your values. It removes any sense of compromise from the table. The goal is simply delicious food that brings people together.
This dessert keeps beautifully. Store any leftovers covered in the fridge for three to four days. The flavors actually meld and deepen, making it even better the next day.
| Characteristic | Freshly Made | After 24 Hours |
|---|---|---|
| Texture | Layers are distinct | Layers are perfectly fused |
| Flavor Intensity | Bright, individual notes | Deeper, more harmonious blend |
| Ease of Serving | Can be delicate | Firm and easy to slice |
The Broader Impact of Plant-Based Treats on Everyday Life
People seek out this recipe for many reasons. It might be for dietary needs, ethical choices, or simple curiosity. The outcome proves that celebration and indulgence are fully possible.
Mastering a dish like this builds kitchen confidence. It shows that thoughtful preparation yields impressive results. You are then prepared for any occasion that calls for something special.
The process itself can be a calm and enjoyable one. It is not about a perfect presentation, but about creating a genuinely good food experience for everyone.
Wrapping Up Your Culinary Adventure with a Sweet Finale
With your components prepared ahead, the final assembly of this layered treat comes together quickly. The night before, you brew coffee, bake the cake, soak nuts, and chill coconut milk. The next day, assembly takes just 20-25 minutes before a final chill.
While the timeline spans hours, no single step is complex. Measuring accurately, especially for the cake, ensures a perfect texture. Trust the process, as each technique is tested for reliable results.
Your effort yields a dessert that rivals any traditional version. It is dairy-free, egg-free, and gluten-free, with rich coffee flavor. The creamy layers and soft cake create an authentic experience.
This make-ahead option keeps beautifully in the fridge for three to four days. The flavors meld and improve over time. You now have a go-to recipe for a special, impressively layered dessert everyone can enjoy.
Vegan Gluten-Free Tiramisu with Cashew Cream
Ingredients
Method
- Preheat oven to 360°F (180°C). Line two small cake pans.
- In a bowl, whisk oat flour, rice flour, sugar, baking powder, baking soda, and salt.
- Blend plant milk, applesauce, oil, vinegar, and vanilla until smooth.
- Pour wet ingredients into dry and mix gently until just combined.
- Let batter rest 5 minutes.
- Divide into pans and bake 20–25 minutes, until a toothpick comes out clean.
- Cool completely. Slice cakes in half, then cut into finger-sized strips.
- Blend soaked cashews, plant milk, maple syrup, vanilla, and salt.
- Blend until fully smooth and creamy. Scrape sides as needed.
- Set aside.
- Open chilled coconut milk and scoop out only the solid cream.
- Beat with powdered sugar until light and fluffy.
- Chill immediately.
- Gently fold cashew cream into whipped coconut cream.
- Mix slowly to keep it light and airy.
- Mix coffee with liqueur (if using).
- Lightly dip cake strips into coffee (do not soak).
- Arrange first layer in an 8-inch dish.
- Spread half the cream on top.
- Add second cake layer, then remaining cream.
- Smooth the top.
- Cover and refrigerate at least 3 hours or overnight.
- Before serving, dust generously with cocoa powder.
- Add grated dark chocolate if desired.
Notes
- This dessert tastes better the next day as flavors settle.
- Always use full-fat coconut milk without gums for best whipping.
- If coconut cream fails to whip, chill bowl and beaters first.
- Store covered in the fridge for up to 3–4 days.
- Alcohol is optional and can be replaced with extra coffee.