
Jump to Recipe
Our onion focaccia ligurian recipe begins with a warm sponge that ferments overnight, filling the kitchen with a sweet, yeasty scent that feels like home.
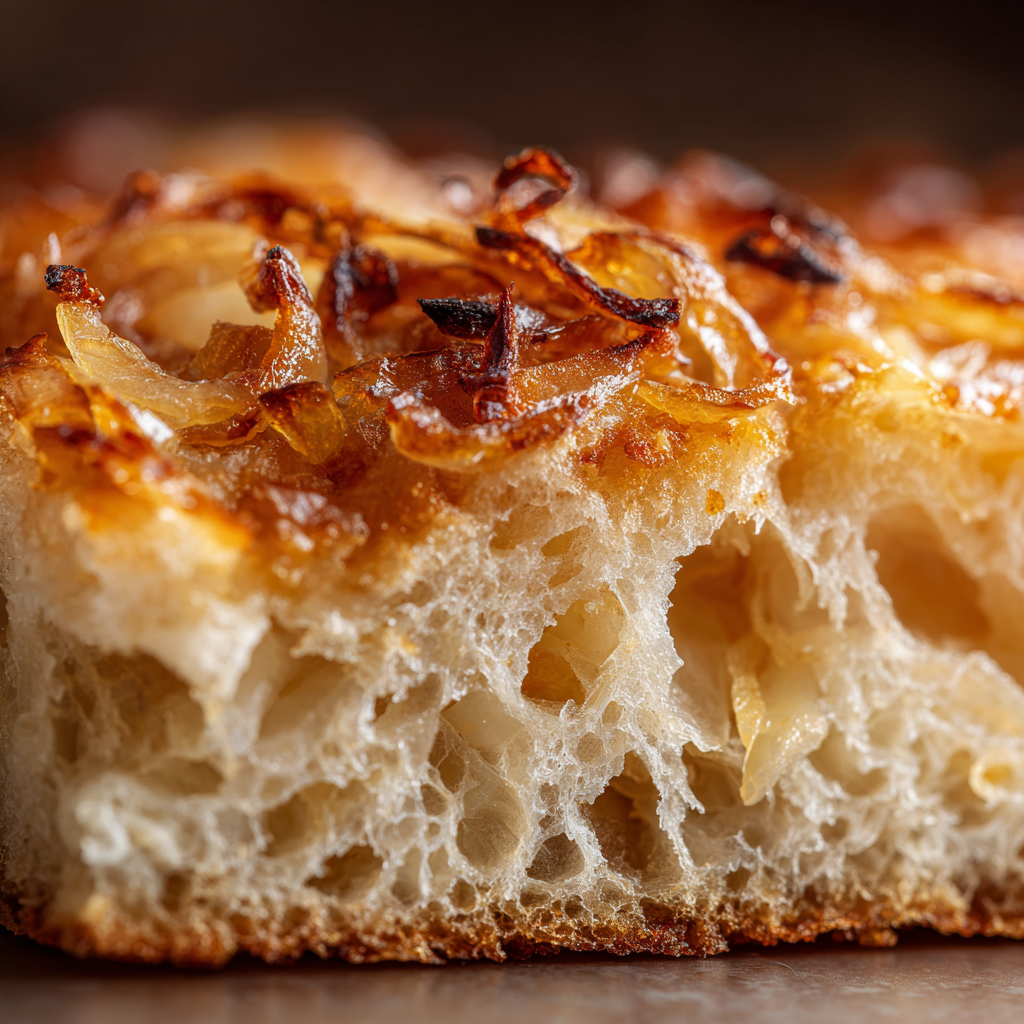
We knead a supple dough with flour, yeast, warm water, and a generous splash of olive oil, then press deep dimples with oiled fingers and pour a saltwater brine into each hollow. This technique yields a crisp, golden top and a tender, airy crumb that sings when you tap the edges.
Whether you choose the slow overnight method for richer flavor or the same‑day route for a quick weeknight bake, I walk you through clear measurements—cup and tablespoon counts—pan size notes, and when to sauté and nestle sweet sliced onion into the surface. Finish with flaky salt after cooling on a wire rack so the bottom stays crisp and the oil glistens without greasiness.
Key Takeaways
- Two methods: overnight sponge for depth, or a 2‑hour same‑day path for weeknights.
- Deep dimples and a saltwater brine are essential for authentic texture and flavor.
- Use good flour, mellow olive oil, warm water, and active yeast for best results.
- Generous oil and proper pan handling give a crisp bottom and golden top.
- Rotate pans in the oven and cool on a rack to protect the crust.
What makes Ligurian focaccia with onions special in our kitchen
For us, the secret is restraint: a thin sheet, carefully dimpled, and a measured touch of salt and oil that lets each ingredient sing.
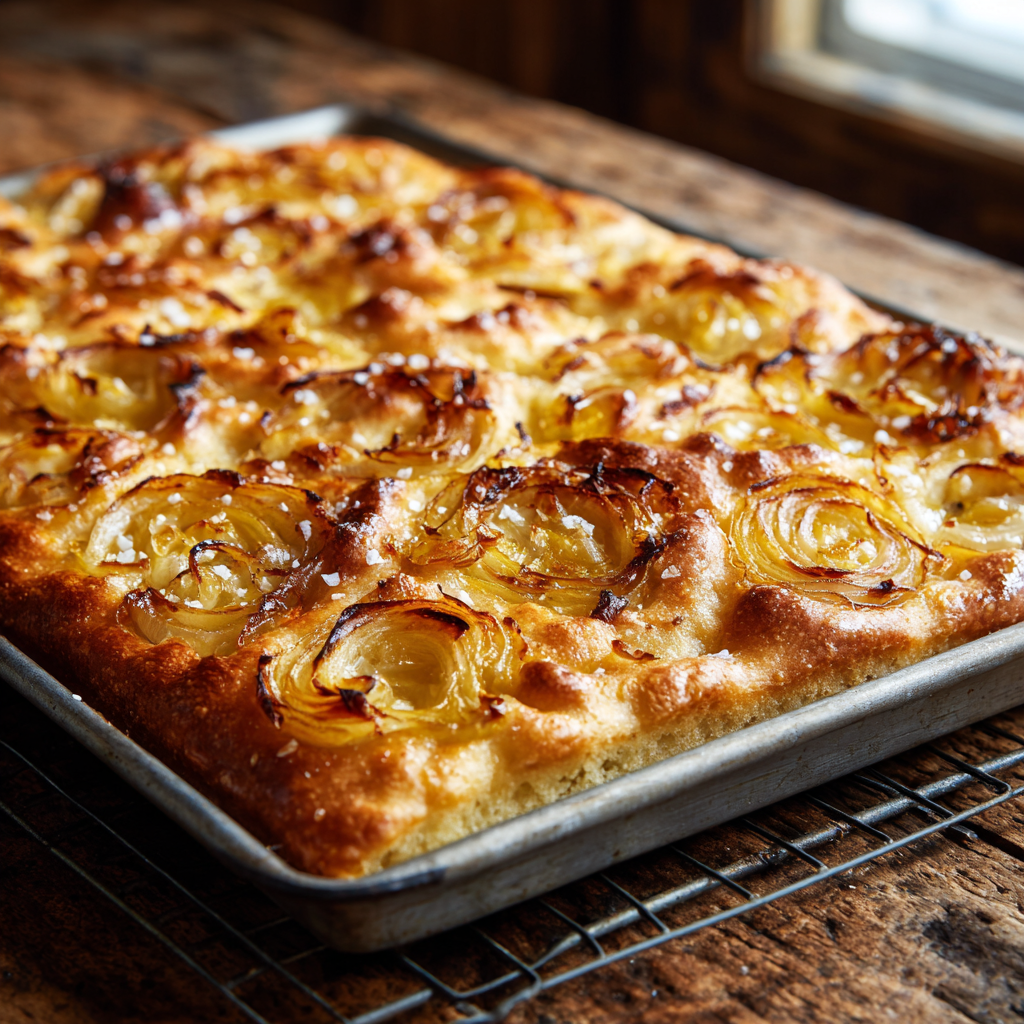
We stretch the dough across an 18×13 metal sheet pan so it bakes into crisp edges and a soft center. Before the oven heats to 450°F, we press deep dimples with oiled fingers and pour a saltwater brine into each hollow. The brine slows browning at first, then helps the top color evenly and form a well-oiled crust.
Dense toppings like sliced onion belong in the dimples. Adding them then lets the dough rise around each piece so they stay put and cook gently without burning. A balanced, mellow olive keeps the overall flavor nuanced; choose one that supports sweetness, not smothers it.
- Textural restraint: a thin, well-oiled sheet with light salinity.
- Signature technique: dimpling and flooding with brine.
- Practical notes: measured kosher salt, the right pan, and gentle handling save time and improve results.
Ingredients, brine, and tools you’ll need for authentic results
Start with clear ingredient choices and a few reliable tools to make a crisp, well-oiled sheet with confidence. Below I list essentials and practical U.S. notes so you can shop and measure without guesswork.
Dough essentials
Use 550 g flour for the fast method, or a mix of all-purpose and bread flour for balance. We use 7 g instant yeast; if you prefer active dry, bloom it in a small bowl with warm water first. Measure water by weight for precision or use a cup carefully.
Classic brine
Whisk 1 cup hot water with kosher salt until clear. For the fast method we also use 80 g water + 8 g Diamond Crystal kosher salt for targeted dimpling. Pour from a small bowl into each dimple for even seasoning.
Topping and tools
For the topping, sauté thin slices briefly in a tablespoon of olive oil to soften and tame sharpness. Keep a stand mixer or a sturdy bowl, bench scraper, plastic wrap, and an 18×13 sheet pan on hand. Lightly spray the pan, then add oil to ensure a golden, crisp bottom.
- Keep tablespoons ready to portion oil cleanly.
- Use nonstick spray plus oil for the best release.
- Cover rises with plastic wrap to prevent skinning.
| Item | Fast-method amount | Pan & tool advice | Pantry notes (U.S.) |
|---|---|---|---|
| Flour | 550 g | 18×13 sheet pan for thin size | All-purpose for tender crumb; bread flour for chew |
| Yeast | 7 g instant | Stand mixer or bowl | Bloom active dry in a small bowl if used |
| Water / Brine | 400 g warm water; brine 80 g + 8 g kosher salt | Use a cup for brine if not weighing | Warm water ≈ 90°F to activate yeast |
| Olive oil | 40 g + finish | Oil pan well for crisp bottom | Choose mild, fruity olive for dough; peppery for finishing |
Dough foundations: overnight flavor or a faster same-day route
Choose your path: a slow overnight sponge for depth or a same-day mix that saves time. Both methods give you honest texture and a true focaccia character if you follow the timings and handle the dough gently.
Overnight sponge for deep flavor and airy texture
Stir yeast into warm water in a small bowl, then add flour and mix until combined. Cover the bowl with plastic wrap and let the sponge sit 12–14 hours at cool room temperature.
After the long rest, the sponge should be slightly puffed and fragrant. We build the dough from that base, fold to strengthen gluten, and enjoy a complex flavor and an open crumb with minimal morning work.
Speedy mix-and-rise method when time is tight
Measure flour, yeast, salt, warm water, and olive oil directly into a mixing bowl. Beat about 60 seconds until shaggy, then rest the dough in the oiled pan for 1 hour so gluten relaxes and aligns.
After that rest, dimple and pour the brine, then give a final 30-minute rise near the preheating oven. Bake 20–25 minutes at 450°F for a golden top and crisp bottom.
- Overnight: sponge 12–14 hours for depth and airy crumb.
- Same‑day: short mix, 1 hour in pan, final 30-minute proof, then bake.
- Both: dough will feel sticky but manageable; oil your hands and be patient.
| Method | Key timing | Main benefit |
|---|---|---|
| Overnight sponge | 12–14 hours ferment | Deeper flavor, airy texture |
| Same-day mix | ~90 minutes total hands-on time | Faster results, still authentic |
Step-by-step: mix, rest, stretch, and dimple like a Ligurian baker
I walk you through each tactile step so your dough behaves with the ease of a practiced baker. These directions give clear cues for what to feel, see, and do at every stage.
Mix until shaggy, then smooth and elastic
Mix on low until a shaggy mass forms. Rest 10–15 minutes, then add oil and a splash of water. Mix again on medium until the dough feels smooth and elastic.
Fold, rest, and move to the pan
Divide and fold the dough like a letter to build strength. Rest briefly in a lightly oiled bowl, then oil the sheet pan but leave a 2‑inch clean border along the edges so you can press and seal.
Rise, stretch dough, and final proof
Let the first rise until slightly puffed—this takes minutes in a warm kitchen. Stretch dough gently to the corners, patch thin spots, then proof until very soft and bubbly.
Dimpling, brining, and ready for the oven
Use angled, oiled fingers to press even dimples across the surface. Pour the saltwater slowly so it pools in the dimples. Drizzle tablespoons of olive oil, cover with plastic wrap, and rest 40–45 minutes before baking at 450°F.
| Step | Cue | Time |
|---|---|---|
| Mix | Shaggy → elastic | ~15 minutes |
| First rise | Slightly puffed | Minutes (warm) |
| Final proof | Soft, bubbly | 40–45 minutes |
Onion focaccia ligurian recipe: how we handle the topping
Tending the toppings is where texture and scent meet. A few careful moves keep slices sweet, golden, and set into the dough without burning.
Quick sauté for sweet, tender onions without burning
Slice the onion thin and warm a small pan with a tablespoon of olive oil. Sauté 4–5 minutes until edges soften and take light color.
Remove from heat and season with chopped rosemary, black pepper, and a small pinch of salt so the flavor blooms off the flame.
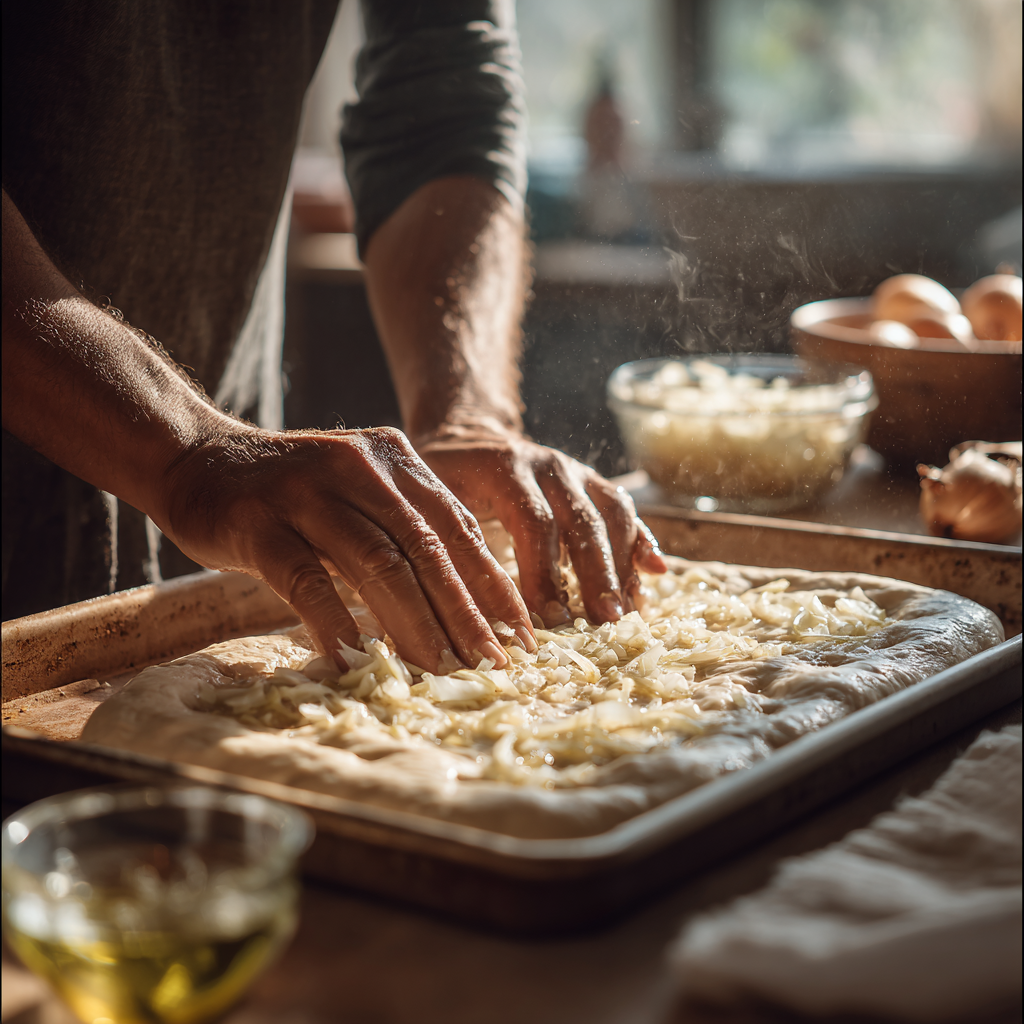
When to add onions for perfect set-in toppings
Add those cooked ribbons during dimpling so the dough cradles each strand. Use your fingers to press them flush without tearing the surface.
Spoon evenly across the pan so no side gets weighed down. If the onions look wet, let excess water evaporate first so they adhere and bake evenly.
Flavor boosts that stay balanced
Scatter a few olives or thin peppers for briny contrast, but keep toppings light. A tablespoon or two of oil over the top is enough; too much makes toppings slide.
- Final flourish: a whisper of flaky salt on the surface just before baking.
- Tuck any lifted strand back gently; the dough is soft during proofing.
| Step | Timing | Notes |
|---|---|---|
| Sauté | 4–5 minutes | Pan, light color, not deep brown |
| Add | At dimpling | Press with fingers so toppings sit flush |
| Finish | Before bake | Flaky salt, modest olive oil |
Bake and cool for crisp edges and a tender, well-oiled crumb
A clear plan for rack placement, rotation, and timing keeps the top golden and the bottom crisp every time. Preheat the oven to 450 degrees with racks set in the upper and lower thirds so heat moves evenly around the pan.
Slide the sheet into the oven and set a timer for 18–22 minutes. At the halfway mark, swap pans between racks and rotate each pan ninety degrees. This trade balances color and prevents a hot spot from browning one side more than the other.
Visual cues and bake minutes
Watch for a warm, golden top with dimples that read slightly lighter. The bottom should lift cleanly, feel crisp, and not stick to the sides of the pan. If edges color unevenly, give the pan a quick turn to even the surface.
Release, oil, and cool without sogginess
Right out of the oven, brush or drizzle a little olive oil across the surface. Use a thin metal spatula to loosen the corners and slide under the bread to protect the crisp bottom as you transfer it to a cooling rack.
Cooling on a rack keeps steam from softening the bottom. Do not cover the hot pan, and avoid leaving the bread to sit in the pan — that traps moisture and ruins the crust.
- Let the pan rest on the counter while you finish final prep so the dough stays airy.
- For very thin loaves, a scant cup of brine is often enough; excess liquid can lengthen baking time and soften crust.
- If toppings like onion or olive seem underdone, add 1–2 minutes, but watch for quick color shifts.
| Action | Heat & time | Visual cue | Tool |
|---|---|---|---|
| Initial bake | Oven 450°F — 18–22 minutes | Golden top; dimples lighter | Sheet pan, oven mitts |
| Mid-bake rotation | Halfway through minutes | Even color across surface | Turn and swap racks |
| Finish & cool | Immediate transfer | Crisp bottom; faint hollow sound | Thin metal spatula, cooling rack |
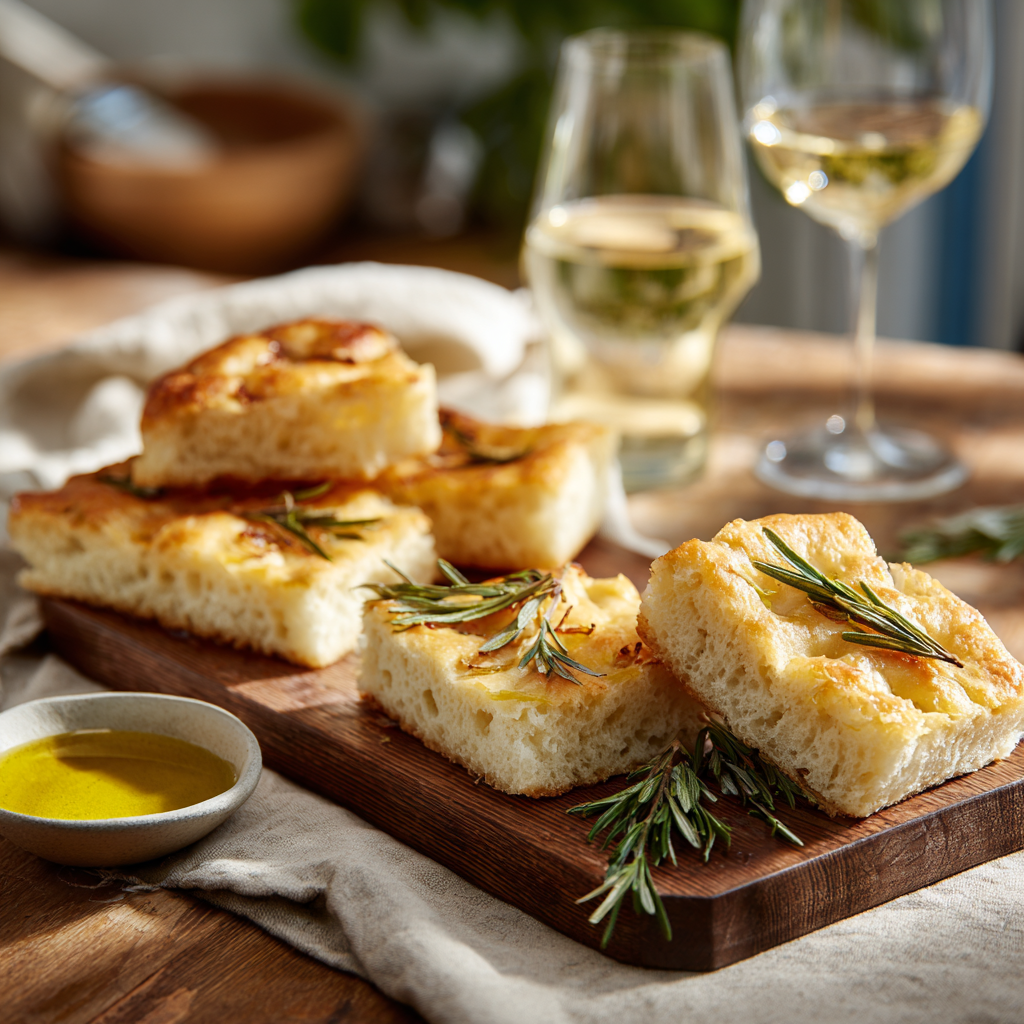
Serving ideas, storage tips, and how to keep the crust lively
A warm slice, a drizzle of good olive oil, and a pinch of flaky salt make the first bite unforgettable. We slice with a long knife so the top stays intact and the bottom keeps its crisp personality.
If you must hold the bread, cool completely on a rack, then wrap loosely in plastic wrap or slide it into a large plastic bag. Salt draws moisture quickly, so aim to eat within the same day when the crust is at its best.
To revive day-two loaf, preheat the oven to 300°F. Place pieces on a rack over a pan and heat for about 10 minutes; this lifts steam away from the bottom and returns crunch without drying the crumb.
Turn stale squares into crunchy croutons: cube the bread, toss with a tablespoon of olive oil, spread on a pan, and bake at 350°F until golden. They make a lively salad topper or a quick snack.
| Use | Method | Time / Temp |
|---|---|---|
| Re-crisp | Rack over pan | 300°F — ~10 minutes |
| Croutons | Toss with oil, bake | 350°F — 8–12 minutes |
| Short-term storage | Cool, then wrap | Plastic wrap or bag — up to 2 days |
Practical serving notes
Brush a slight veil of olive oil after baking to lock in sheen and flavor. For sandwiches, split squares horizontally so the bottom stays crisp. A small cup of soup or a bowl of salad partners beautifully with the bread’s olive perfume.
Troubleshooting and pro tips from our family bakes
A few quick checks on dough, pan, and oven will rescue most common problems. I share small, practical fixes we use at home so you can keep baking without panic.
If the dough snaps back, rest longer and oil your fingers
If the dough springs back when you try to stretch dough, cover it and rest 15–25 minutes. Oil your fingers and try gentle stretches in short sessions. Patience here prevents tearing and keeps a smooth surface.
Salt wisdom and brine confidence
Use Diamond Crystal kosher salt for your brine; it seasons without overwhelming. The cup-and-salt brine pools in the dimples and mostly evaporates during baking. Finish with flaky salt sparingly to taste.
Pan size, oil amount, and avoiding sticking
- Sticking: spray the pan, add olive oil, and press the dough into the sides to seal edges so water won’t run underneath.
- Pale top at oven 450°F: extend minutes slightly or move the pan up a rack after half the time.
- Release: slide a thin spatula under corners, lift to a cooling rack so the bottom stays crisp.
| Issue | Fast fix | Why it works |
|---|---|---|
| Tight dough | Rest 15–25 minutes, oil fingers | Gluten relaxes and stretches smoothly |
| Uneven color | Rotate and swap racks at half time | Balances heat and browns evenly |
| Greasy feel | Measure tablespoons of oil; drain excess | Prevents pooling and soggy bottom |
Bring a little Liguria to your table, one golden pan at a time
A simple sheet, good olive oil, and a steady hand are all you need to make something that feels like home. Use the brine, press deep dimples, bake at 450°F, and move the tray to a rack right away for the crisp top and tender interior.
You now have the ingredients and the timing to turn dough and a bit of yeast into warm bread in a single pan. If minutes are short, save the long hours for the weekend and let a slow rest do the work.
Share a warm slice, wrap a piece for a neighbor, and keep a bottle of olive oil close. Bake often — the balance of olive and topping becomes easier with each bake. Thank you for baking with me; I can’t wait to hear how your table welcomes this classic.
Ligurian Onion Focaccia (Focaccia di Recco-style with Sweet Onions)
Ingredients
Method
- In a large bowl, mix flour, yeast, salt, warm water, and olive oil.
- Stir or mix on low speed until a shaggy dough forms.
- Rest 10–15 minutes, then mix again until smooth and elastic.
- Cover with plastic wrap and let rest until slightly puffed (about 1 hour at room temperature).
- Lightly oil the sheet pan and spread the dough out toward the corners.
- If it resists, rest 10–20 minutes, then stretch again until even and thin.
- Slice onion thinly and sauté in olive oil for 4–5 minutes until soft and translucent.
- Add rosemary, black pepper, and a pinch of salt. Cool slightly.
- Preheat oven to 450°F (230°C).
- Oil your fingers and press deep dimples all over the dough.
- Spoon the sautéed onions gently into the dimples.
- Whisk the brine (hot water + kosher salt) and pour it evenly over the surface.
- Let the dough rest 40–45 minutes, uncovered, until bubbly and soft.
- Bake on the middle rack for 18–22 minutes, rotating halfway through for even color.
- The top should be golden and the bottom crisp.
- Brush lightly with olive oil right after baking.
- Loosen with a thin spatula and transfer to a cooling rack.
- Sprinkle with flaky sea salt and cool for 10 minutes before slicing.
Notes
- Use mild olive oil for the dough so it won’t overpower the onions; drizzle a peppery oil only at the end.
- Don’t skip the brine. It gives the bread its signature golden, salty crust.
- Cool on a rack. Never leave it in the hot pan or it’ll go soggy.
- Optional toppings: Olives or rosemary can be added during dimpling, but keep it light.