
Jump to Recipe
I pull the dough together with hands that know the rhythm: measure, whisk, fold in toasted nuts, and shape two neat logs on parchment. The kitchen smells of warm vanilla and roasted shells, and the first bake sets a golden crust while I plan the thin, even slices that will become crisp and dunkable.
I’ll walk you through why room-temperature eggs matter, how to avoid raw centers by baking two logs, and the oven cues I use so the second dry bake gives perfect texture without overbrowning. Expect clear timing ranges, simple tools—a serrated knife, a baking sheet—and tips for toasting nuts, slicing thin, and storing your finished dessert so it stays crunchy for weeks.
Key Takeaways
- Two bakes and thin slices are the secret to great biscotti texture.
- Room-temperature eggs and accurate measurements make mixing consistent.
- Use parchment and two logs to avoid burnt edges and underbaked centers.
- Toast the nuts first to deepen flavor; slice with a serrated knife for clean edges.
- Store in an airtight container; freeze first-bake logs to finish later.
Why these crunchy, nut-studded biscotti win every coffee break
Using two bakes and thin slices creates the ideal crunch without heavy sweetness or fat. I prefer this Italian method because it reliably produces a crisp exterior and a light crumb that still loves a dunk in espresso.
Classic Italian technique, approachable method
The dough is simple: mix, shape into logs, first bake, cool, slice, then dry-bake. Beating eggs and sugar until pale helps the interior stay tender yet firm. Splitting the dough into two uniform logs saves you from burnt ends and underdone centers, especially if your oven runs hot.
What sets this apart: balanced sweetness, big nut flavor
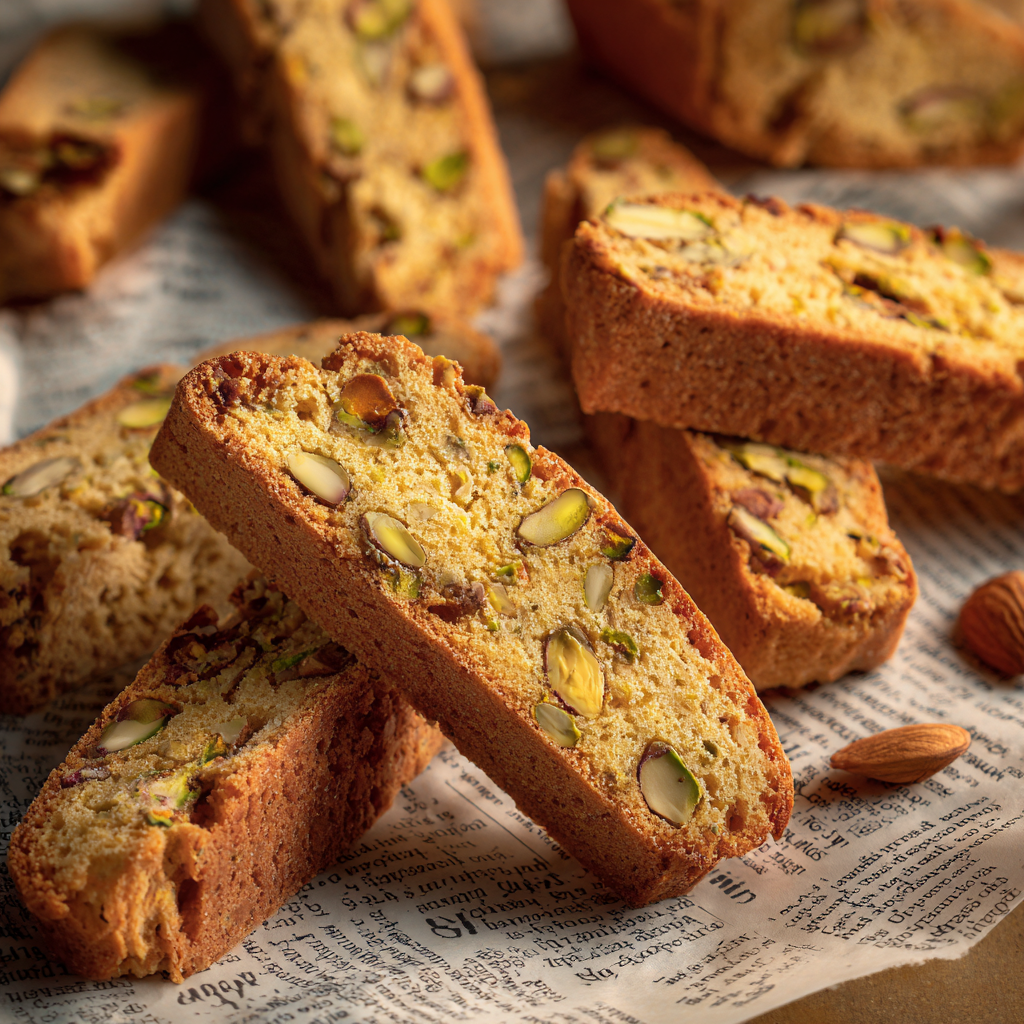
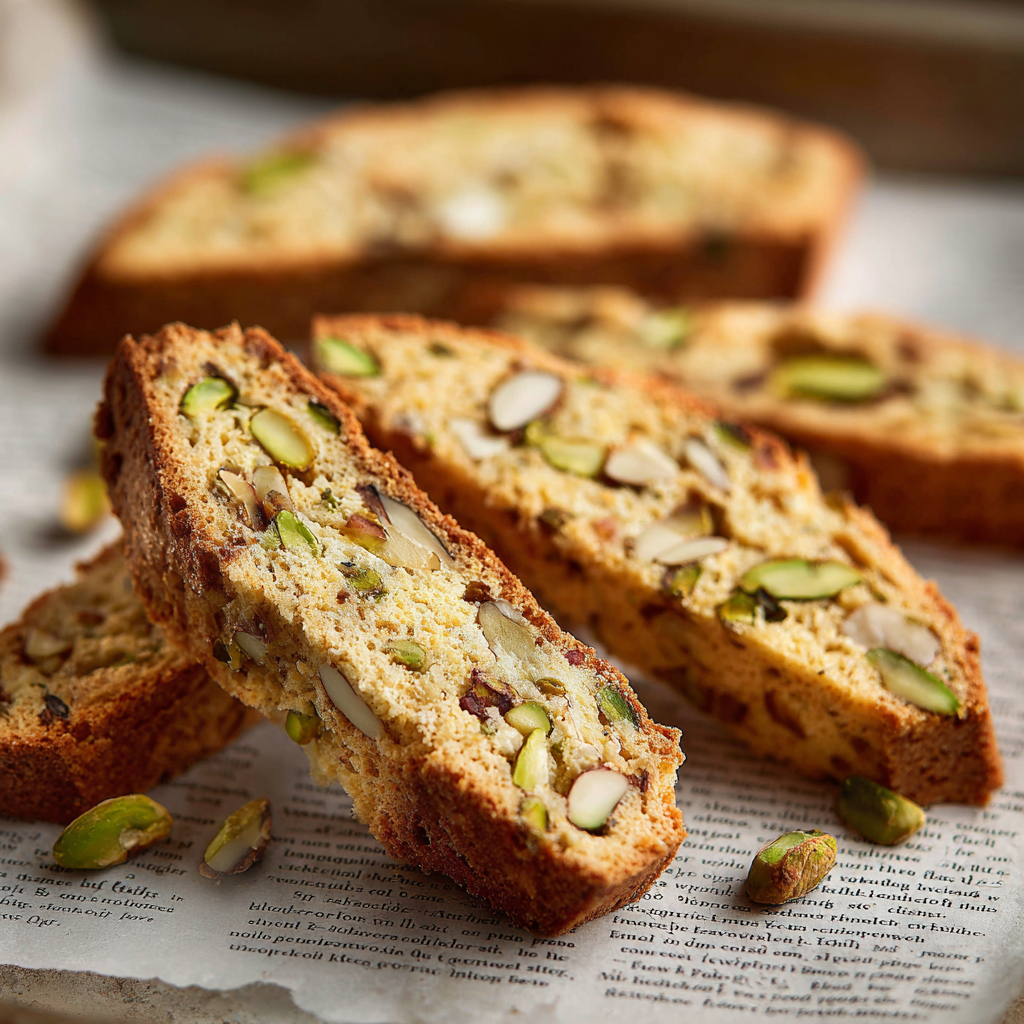
I keep sugar moderate so the pistachios and almonds can sing. A quick pre-toast of the nuts deepens flavor and releases oils during the second bake, adding aroma and crunch without extra fat.
| Technique | One-bake | Two-bake (recommended) |
|---|---|---|
| Outcome | Soft center risk | Even crisp, reliable texture |
| Slices | Thicker, chewier | Thin, dunkable, nutty surface |
| Nuts | Mix raw | Lightly toasted for more aroma |
Ingredients, substitutes, and the role each one plays
Every good batch begins with pantry basics and a few purposeful swaps. I list what each ingredient does so you can tweak the mix with confidence.
Dry base
All-purpose flour gives structure without heaviness. If you have Italian 00 flour, use it for a finer crumb or blend 50/50 with whole wheat or spelt for a rustic bite.
Baking powder adds gentle lift to avoid dense centers. A pinch of salt brightens the nut and vanilla notes. Measure flour and sugar accurately in a bowl to keep texture consistent.
Binders and flavor
Eggs are the only liquid in many classic formulas; bring them to room temperature so they mix smoothly. Sugar sweetens and helps with browning during the second bake.
Vanilla warms the dough; a touch of orange zest adds fresh perfume. Use an extract sparingly—almond extract or cardamom can be bold, so start small.
The stars and pantry twists
Use 1½ cups total nuts—lightly toast to boost aroma, then cool before folding in. For variations, try cardamom, a whisper of anise, or a small splash of almond extract from the Italian pantry.
| Ingredient | Role | Smart swap |
|---|---|---|
| All-purpose flour | Structure | 00 or gluten-free blend |
| Sugar | Sweetness, browning | Half brown for depth |
| Nuts | Texture, flavor | Toasted or raw, 1½ cups |
Equipment and prep for stress-free baking
Good setup—simple pans and a sharp knife—turns a fussy bake into a joyful one. I set out tools first so the process flows. This keeps timing steady and the oven predictable.
Sheets, pans, and shaping
Use a heavy, rimmed baking sheet lined with parchment for even heat and easy release. Two shorter logs often bake more evenly than one long log, so choose based on batch size and your oven’s personality.
Slicing and the right tools
Keep a long serrated knife for thin, clean slices. Saw gently; let the blade do the work so the nuts and crumb stay intact.
- Have a medium bowl for whisking and a larger one for folding dough to avoid overmixing.
- Preheat fully and bake on the center rack for even color and drying.
- Cool first-baked logs on a wire rack before slicing to prevent crumbling.
| Tool | Why it helps | Quick tip |
|---|---|---|
| baking sheet | Even heat, easy transfer | Line with parchment |
| logs | Two = fewer raw centers | Match length and thickness |
| knife | Clean slices, thin crisp | Use long serrated blade |
Work at room temperature when possible. With the right setup, baking becomes calm and the cookie turns out reliably crisp.
Step-by-step: make the dough, shape logs, and nail the two bakes
Set the oven to 350°F and organize your station; precise timing makes all the difference. Whisk eggs and sugar until pale and slightly thick, then stir in vanilla and optional orange zest. This aeration helps the dough dry evenly without turning chalky.
Mixing for the right sticky texture
In another bowl, whisk flour, baking powder, and salt. Fold the dry mix into the wet just until no streaks remain. The dough will be sticky—that texture is correct for shaping and later slicing.
First bake: shaping, oven, and bake minutes
Scrape the dough onto a parchment-lined baking sheet and form one or two logs about 3/4-inch thick. Slide into the preheated oven for the first bake: 20–25 minutes until the surface is lightly golden and the center gives with a gentle press.
Cool minutes matter before slicing
Transfer the baking sheet to a rack and let the log cool for 10–30 minutes. Letting the log cool firms it enough to slice without crumbling. Use a long serrated knife and slice on a diagonal for longer, thin slices.
Second bake: crisp without overbaking
Lower the oven to 325–300°F and arrange slices cut-side up on the baking sheet. Return to the oven for 10–16 minutes, flipping halfway if you want extra even color. Pull when golden and dry to the touch—color around the nuts signals flavor.
| Step | Temperature | Timing & Cues |
|---|---|---|
| First bake | 350°F | 20–25 minutes; lightly golden, set with slight spring |
| Cool & slice | room | 10–30 minutes to firm; slice diagonally with serrated knife |
| Second bake | 325–300°F | 10–16 minutes; golden and dry, flip halfway for even crisp |
| Make ahead | freeze | Freeze first-baked log fully; slice from frozen and finish baking |
If you want deeper context on Italian nut pastes and pantry tips, see my pesto guide for related flavor notes.
Pro tips from Italian biscotti tradition
In my kitchen, simple checks—temperature, timing, and shape—make all the difference. These small habits ensure each batch has the right texture and keeps the process calm and repeatable.
Room-temperature eggs and accurate measuring
Bring eggs to room temperature so they emulsify and trap air evenly. Beat eggs and sugar until pale; that lift helps the interior stay tender while drying crisp during the second bake.
Why thin slices work best
Thin slices dry faster and give a better crunch. More exposed surface means even drying in less bake minutes, and they are kinder for dunking.
- Measure flour and sugar precisely to avoid dry or gummy results.
- Use a serrated knife for clean, thin cuts after the first bake.
- Make two shorter logs when in doubt; they bake through more predictably.
- Lower the oven slightly for the second dry bake to prevent scorching.
Troubleshooting texture
Too hard? You probably overbaked or used too much flour. Too soft? Slice thinner and add a few more bake minutes. Crumbly? Add a teaspoon of flour if the dough is very sticky, and always cool the logs about 30 minutes before slicing.
| Issue | Likely cause | Fix |
|---|---|---|
| Hard | Overbaked / excess flour | Shorten second bake; level your flour |
| Soft | Thick slices / short dry time | Slice thinner; extend bake minutes |
| Crumbly | Too warm when sliced | Cool 30 minutes; use a serrated knife |
Pistachio almond biscotti cookies recipe: flavor variations and add-ins
Small tweaks — a spoon of zest, a pinch of spice, or a chocolate finish — turn a familiar bake into something new. Below are clear, tasteful variations with exact amounts so you can try them with confidence.
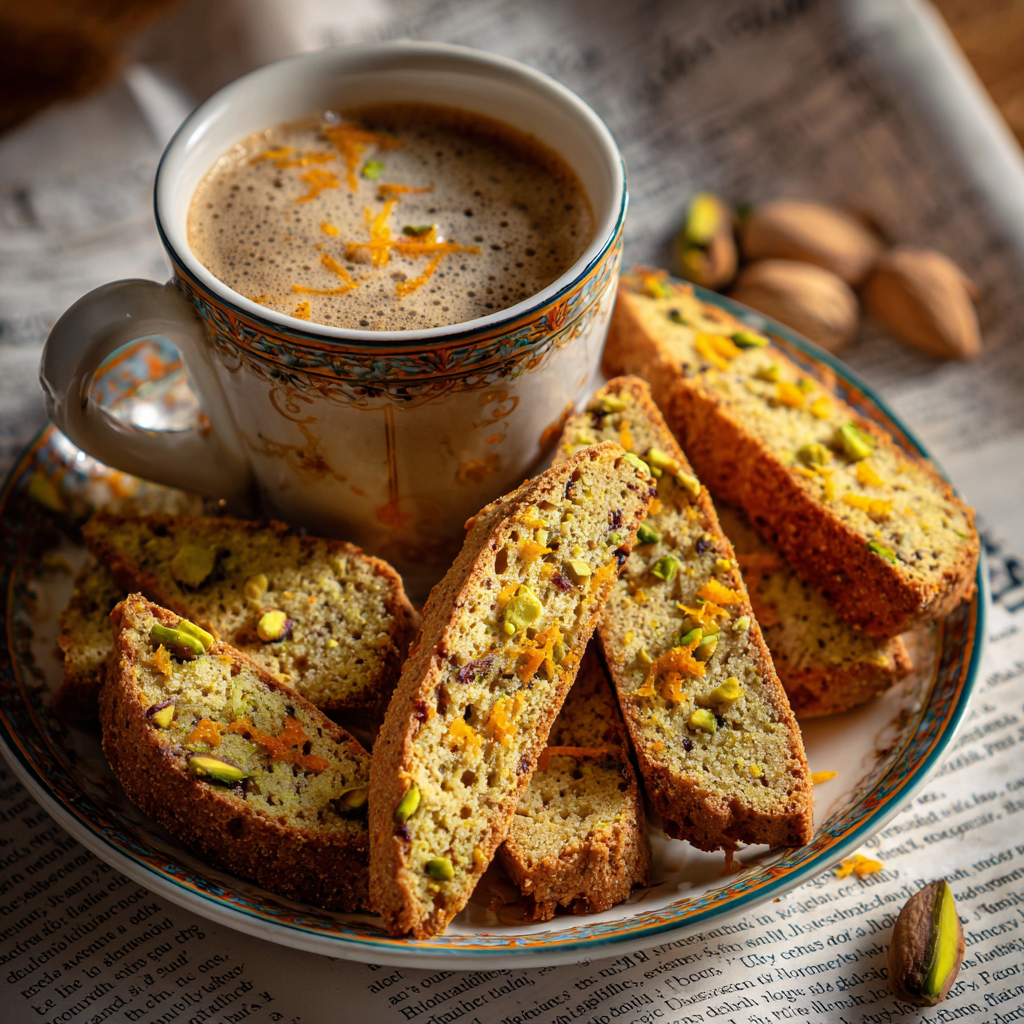
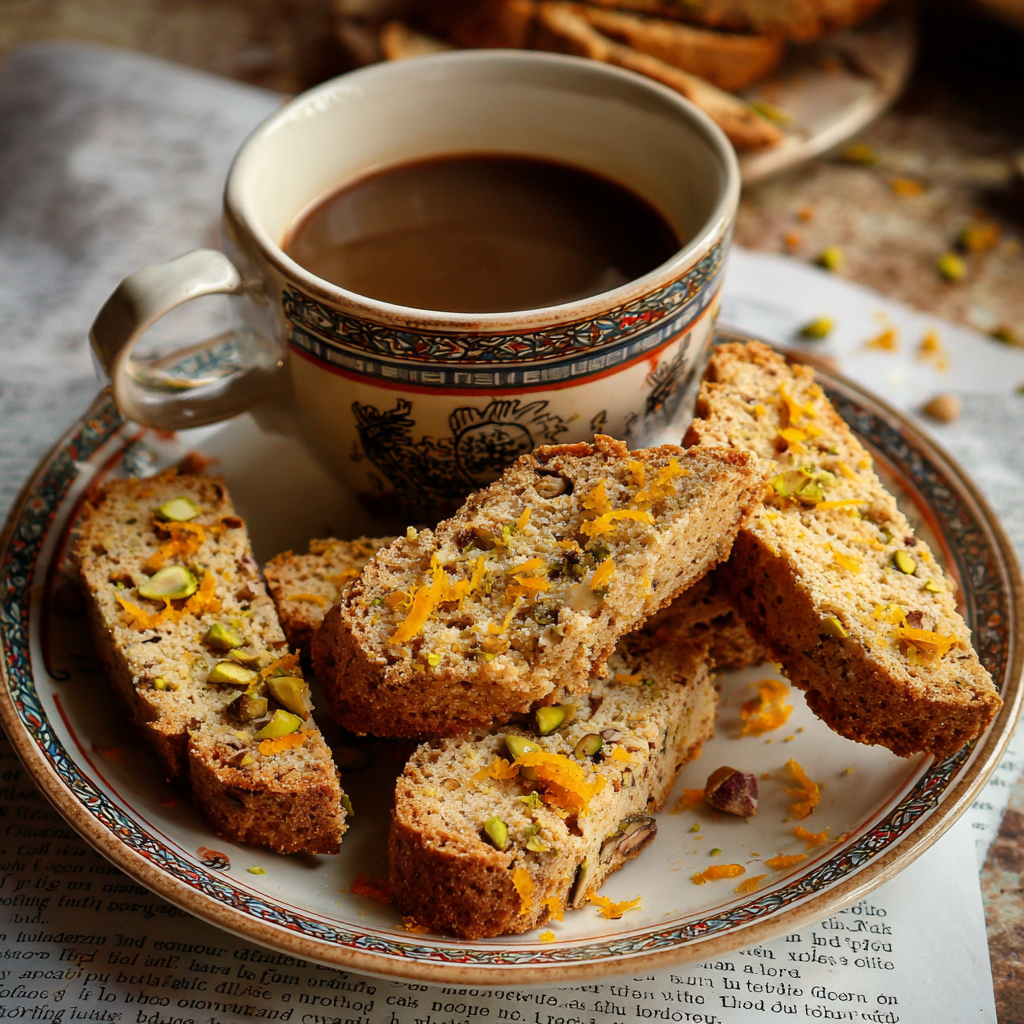
Orange zest and cardamom for a zesty-spiced profile
Add 1–2 teaspoons orange zest and 1 teaspoon ground green cardamom to the dry mix. This brightens the nutty notes and gives a warm, floral lift. The spice pairs beautifully with vanilla extract and a hint of extract like almond for complexity.
Chocolate chips or chocolate dip for a decadent finish
Fold in up to 1 cup mini chocolate chips at the final fold. Or, after the second bake, dip half the slices in melted dark chocolate and sprinkle with 1–2 tablespoons finely chopped nuts for contrast. Chocolate adds richness without masking the base flavors.
Nut-free and gluten-free adjustments
For nut-free versions, replace the nuts with 1 to 1½ cups dried fruit and seeds (dried cherries, cranberries, or chopped apricots). Keep totals similar so the dough slices cleanly.
For gluten-free, use a 1:1 all-purpose flour blend. Expect a slightly crumblier texture; slice a touch thicker and shave a few minutes from the second bake if it dries too quickly.
| Variation | What to add | Effect on texture |
|---|---|---|
| Zesty-cardamom | 1–2 tsp orange zest, 1 tsp cardamom | More fragrance, same crispness |
| Chocolate finish | Up to 1 cup mini chips or melted dark chocolate dip | Richer bite; maintain thin slices to keep crisp |
| Nut-free / GF | 1–1½ cups dried fruit / 1:1 GF blend | Slightly chewier or crumblier; slice thicker |
I keep notes on my favorite mixes — the tiny adjustments become family favorites. For related Italian nut pastes and pantry tips, see my pesto guide.
Serving, pairing, and storage that keeps them perfect for weeks
Serve simply and with joy: place a neat stack beside a small cup of espresso or your favorite coffee and let the crisp edge dull slightly with each dunk. For a classic finish, I pour a little Vin Santo and take my time—its gentle sweetness lifts the nut notes beautifully.
Let cool completely before you pack anything. Sealing warm treats traps steam and ruins the crunch; give them the full cool time so texture stays right.
Room-temperature storage and freezer-friendly tips
Store in an airtight tin or jar at room temperature. When well dried, these keeps for weeks and make lovely gifts or make-ahead snacks.
- If your kitchen is humid, layer with parchment to prevent rubbing and help airflow.
- Freeze first-baked, cooled logs for several weeks; slice and finish the second bake when you want fresh aroma.
- If pieces soften, refresh on a low oven for a few minutes—then let them cool and they’ll re-crisp.
Label tins with the bake date and flavor so you know time on hand, and offer two slice sizes when serving a group—long for dunkers, petite for nibblers.
Ready to bake a batch you’ll be proud to share
A few clear steps and steady minutes will make your batch sing. I keep the method simple: whisk eggs and sugar until pale, add vanilla (and a whisper of orange zest if you like), fold in flour and baking powder, then stir in the nuts. Shape one or two logs on a parchment-lined baking sheet and first bake about 20–25 minutes at 350°F.
Cool the logs for the cool minutes listed, slice thin with a serrated knife, then return the slices for 10–16 minutes at 325–300°F until golden and dry. Freeze first-bake logs to finish later and store dried biscuits in an airtight tin for 1–2 weeks.
You’ve got this—set a timer, watch color cues, and enjoy the small triumph of a classic biscotti recipe to share with family and friends.
Pistachio Almond Biscotti
Ingredients
Method
Notes
- For variations, you can use different nuts like hazelnuts or walnuts.
- Gluten-free option: Swap the all-purpose flour with a 1:1 gluten-free flour blend.
- If you prefer a sweeter biscotti, you can increase the sugar by ¼ cup.
- Store in an airtight container at room temperature for up to two weeks. Alternatively, freeze the logs for later use, and slice and bake them when needed.