

Jump to Recipe
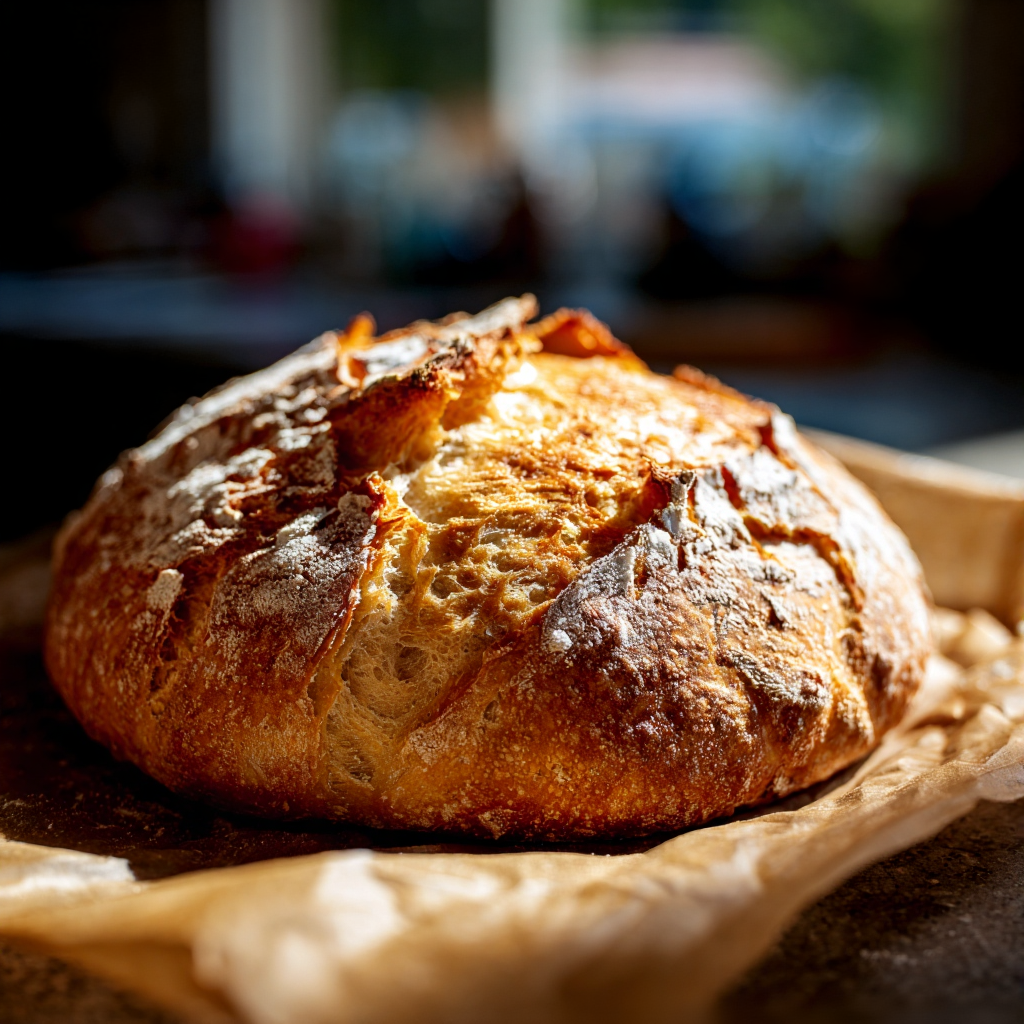
I remember the first time a simple bowl of flour, water, salt, and a pinch of yeast filled my kitchen with that warm, yeasty smell. The crust crackled as I sliced; steam rose and every bite felt like home. I’ll walk you through an easy method I use often—mix, rest, and bake—so you can have fragrant homemade bread without fuss.
This approach works two ways: a quick same-day loaf with a short rise, or a slow overnight proof in the fridge for deeper flavor. You’ll learn how to handle sticky dough with a spatula, shape on parchment, and use either a hot stone or a lidded pot for a lively crust. I share exact temperatures, timing, and the simple visual cues—like a hollow sound under the bottom—that tell you it’s done.
Key Takeaways
- One-bowl method keeps the process simple and clean.
- Choose same-day or overnight proofing for speed or flavor.
- Use parchment for easy transfer to a cookie sheet, stone, or pot.
- Bake at high heat and listen for a hollow bottom to confirm doneness.
- Small details—water temperature, salt timing—shape the final loaf.
Why this rustic loaf belongs in your present-day kitchen
A warm loaf coming out of the oven can turn a tired weeknight into a small celebration. I use a one-bowl method so you spend minutes mixing, not messing with tools.
For a same-day approach, mix, let rest about 2 hours, then bake 25–30 minutes at 420°F (220°C). The oven temperature gives a thin, shattering crust and a tender crumb even if you bake on a sheet or stone.
If your day is full, cold-proof in the fridge overnight. The longer time lets yeast and flour develop deeper flavor and makes timing flexible for busy schedules.
Use parchment for easy transfer to a hot surface or a lidded pot. You’ll notice the dough bloom in the oven and a hollow sound under the bottom when the loaf is done—simple cues that work every time.
| Method | Hands-on time | Proofing | Best for |
|---|---|---|---|
| Same‑day | 10–15 minutes | 2 hours room temp | Weeknight dinner |
| Overnight | 10–15 minutes | 8–16 hours fridge | Richer flavor, flexible schedule |
| Equipment | Minimal prep | Parchment & sheet or lidded pot | No special gear needed |
Ingredients that make the crust sing and the crumb tender
Start with clear measures and sensory cues so your loaf behaves predictably. I list both cups and grams, plus yeast options, so you can choose convenience or precision.
Core pantry list with cup, gram, and yeast options
Fast dough: 3½ cups + 2 tbsp all-purpose flour (≈450 g), 1½ cups + 3 tbsp lukewarm water (≈396 g), 1¾ tsp active dry yeast, 1½ tsp salt, 1 tsp honey or sugar.
- Overnight: 400 g flour, 350 g water, 5 g sugar, 5 g salt, 2 g active dry yeast; cold proof in the fridge (room temperature dough develops slowly).
- Instant swap: use 3/4 tsp instant per 1 tsp active dry; add directly to flour.
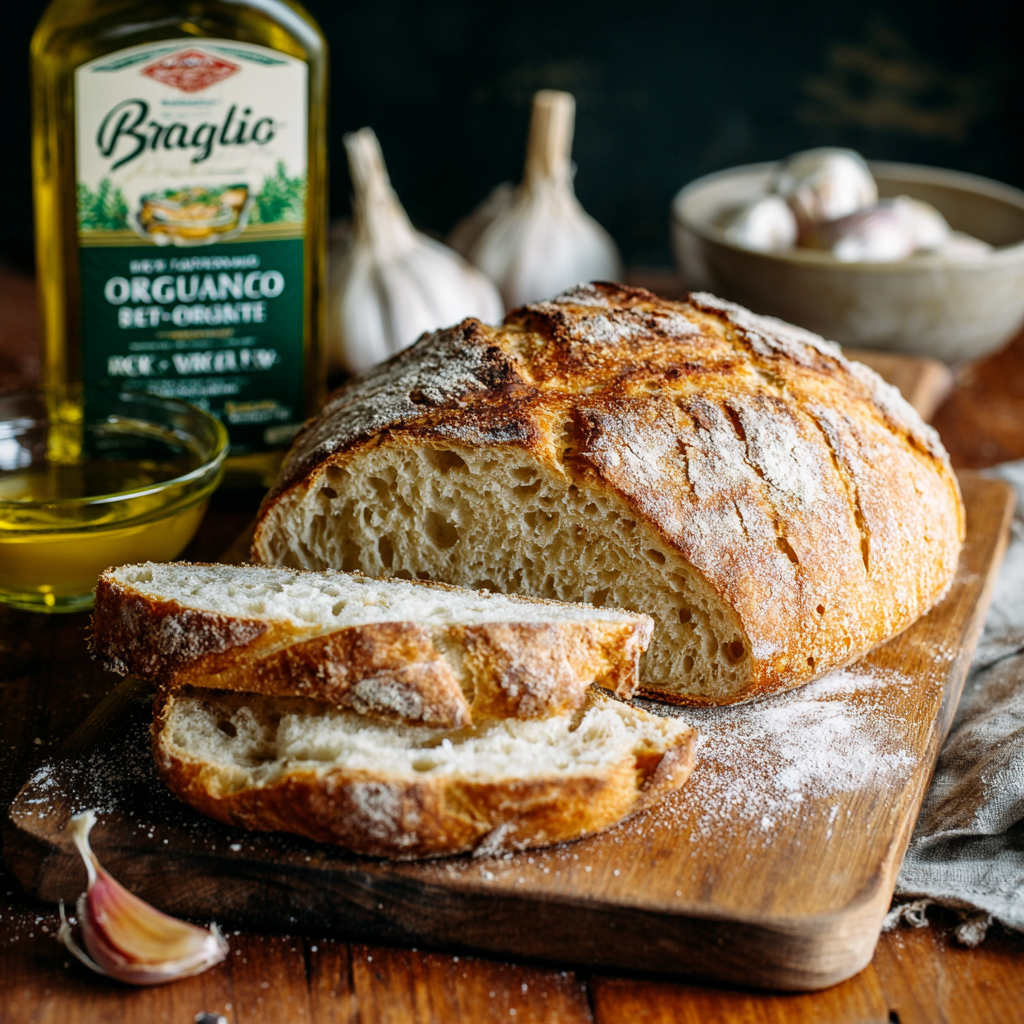
- Optional: a drizzle of olive oil softens crust and adds aroma.
Warm water, salt, and sugar: getting yeast activation right
Activate active dry yeast by mixing it in 1/4 cup warm water with 1 tsp sugar for 5 minutes. Foam means the yeast is lively and ready.
Salt strengthens gluten and deepens flavor. I add it after the initial wetting so the yeast gets a head start without direct contact. Cover bowl during the rest to keep moisture steady and help the dough expand evenly.
| Method | Key measurements | Sensory cue |
|---|---|---|
| Fast | 450 g flour : 396 g water, 1.75 tsp active dry yeast | Dough feels sticky, elastic; rises ~2 hours |
| Overnight | 400 g flour : 350 g water, 2 g active dry yeast | Cold proof in fridge; dough firms but blooms in oven |
| Yeast handling | Bloom active dry in warm water with 1 tsp sugar; instant adds dry | Foamy surface after 5 minutes confirms activity |
For more flavor ideas and a related family loaf, try this family garlic-herb loaf demonstration: make our family’s garlic-herb loaf.
No knead italian country bread recipe: two smart paths to perfect bread
You can choose a quick same-day path or an overnight cold proof to fit your schedule. Both start in a single bowl and end with a fragrant loaf that sings when it cools.
Fast same-day method: mix, let rise 2 hours, bake for dinner
Bloom 1¾ tsp active dry yeast in 1/4 cup warm water with 1 tsp sugar for five minutes. Stir that into the bowl with the remaining water and flour, add salt, cover, and let rise about 2 hours in a warm, draft-free spot.
Preheat the oven to 420°F (220°C). Flour a sheet of parchment, use a spatula to transfer dough without deflating, divide if you like, and bake 25–30 minutes until the bottom sounds hollow.
Overnight cold proof: mix in the evening, effortless bake the next day
For a longer path, mix 400 g flour, 350 g water, 5 g sugar, 5 g salt, and 2 g active dry yeast. Cover the bowl and refrigerate for the night; the dough firms and develops flavor.
Next day, gently fold, let rise 20–120 minutes, then bake in a preheated lidded pot (Dutch oven) at 240°C (464°F): 40 minutes covered, then 20–30 minutes uncovered for color.
Shaping with a spatula on parchment for an easy transfer
Work on floured parchment so transfer dough is simple. A spatula keeps your hands cleaner and preserves the airy structure.
| Path | Key steps | Timing | Baking vessel |
|---|---|---|---|
| Fast same-day | Bloom yeast, mix in bowl, let rise, transfer with spatula | 5 min bloom; ~2 hours rise; 25–30 minutes bake | Sheet or stone on parchment |
| Overnight cold proof | Mix evening, refrigerate, fold next day, final rise | 8–16 hours fridge; 20–120 min final rise; 60–70 min bake | Lidded pot (Dutch oven) for best steam |
| Shaping & transfer | Flour parchment, use spatula, divide or leave whole | Minutes to shape; adjust bake for size | Parchment-backed sheet or preheated pot |
Bake setup and temperature: with or without a Dutch oven
Deciding how to bake your loaf starts with choosing heat and steam—two simple factors that shape crust and crumb. I’ll give plain, practical comparisons so you can pick the right setup today.
- A preheated oven is non-negotiable; it creates oven spring and sets the crust from top to base quickly.
- Cookie sheet or pizza stone: aim for 420°F (220°C) and bake about 25–30 minutes. A stone holds heat evenly; a sheet is quick and convenient. Use parchment or parchment paper on a floured sheet for easy handling.
- Covered pot (Dutch oven): preheat the empty pot at 240°C (464°F). Bake 40 minutes covered, then 20–30 minutes uncovered to finish color and crackle. Parchment helps transfer the dough safely.
- If your pot has plastic parts or handles, skip it—safety first; use a sheet or stone instead, sempre.
- A light spritz of water on a sheet mimics steam, but trapped steam in a lidded pot gives the shiniest, thinnest crust.
| Method | Oven temp | Key timing |
|---|---|---|
| Sheet / stone | 420°F (220°C) | 25–30 minutes; use parchment |
| Lidded pot | 240°C (464°F) | 40 min covered + 20–30 min uncovered |
| Tips | Preheat well | Load immediately to trap steam |
Watch the top color and listen for a hollow sound under the bottom. Internal cues matter more than the clock, and a firm side means you’re done. With these choices, your baking will feel reliable—whether you work with a sheet, a stone, or a heavy pot.
From bowl to beautiful loaf: handling sticky dough without kneading
Once the dough has risen, a few calm motions will shape it without fuss. I tip the lightly floured top of the dough out of the bowl onto a sheet of parchment paper. A spatula slides down the side to release it without tearing those airy bubbles.
I keep my hands dusted with flour and use a bench scraper or spatula to fold the edges toward the center. This builds surface tension gently, so the loaf holds shape during the oven spring.
- Dust the top lightly, then slide a spatula under to transfer dough onto parchment.
- Fold edges inward with confident, light motions; rest a minute if it resists.
- For a bâtard, fold like a letter; for a boule, tuck edges under and let relax briefly.
- Use parchment under the loaf so you can lift and slide it into a hot pot or onto a preheated sheet.
Less is more with flour: add just enough to manage stickiness so the crumb stays tender. When you slide the parchment into the oven, the minimal friction preserves height and the rustic look we love. Trust your hands and the feel of the dough—airy, springy, and ready to sing.
| Step | Tool | Why it helps |
|---|---|---|
| Release | Spatula | Protects bubbles, eases transfer |
| Shape | Bench scraper | Create tension, clean edges |
| Transfer | Parchment | Lift, pivot, and slide into oven |
Pro tips, timing, and troubleshooting for consistent results
With a couple of simple tests and timing tweaks, you can turn a stubborn batch into a lovely loaf. I offer quick fixes you can apply in real time so baking stays joyful, not stressful.
Too sticky, dense, or pale crust? Quick fixes that work
Sticky dough that puddles: make sure you added enough flour for gentle handling. Lightly dust during shaping and give a short bench rest to tighten the surface tension.
Dense loaf: test your yeast before mixing. In a small bowl add 1/4 cup warm water, 1 tsp sugar, and 2 1/4 tsp active dry yeast; it should bubble in 10 minutes. If it doesn’t, replace the dry yeast.
Pale crust: raise the oven temperature a bit, extend the uncovered bake by a few minutes, or use a preheated lidded pot to boost steam and color.
How to test yeast freshness before you start
I always proof a pinch of yeast in warm water with sugar for 10 minutes. Strong bubbles mean the yeast is lively. If not, swap in fresh yeast to avoid a failed dough rise.
Instant yeast swaps, protein in flour, and a drizzle of olive oil
Switching to instant? Use 3/4 tsp instant for every 1 tsp active dry and mix it into the flour. Higher protein flour gives more chew; for a gentler crumb, add a teaspoon of olive oil.
- If dough rise is slow, move the bowl to a warmer room and give it more time.
- Over-proofed dough shows large bubbles and slackness; fold once and bake sooner.
- Refrigerated dough is fine up to 48 hours; freeze raw dough for 2 weeks. Baked bread freezes to 3 months; re-crisp at 350°F for 3–5 minutes.
| Problem | Quick fix | Why it helps |
|---|---|---|
| Sticky surface | Light dusting, short rest | Tightens skin without adding much flour |
| Slow rise | Warmer room, check yeast | Yeast works faster at gentle warmth |
| Pale crust | Higher temp or more uncovered time | More color from Maillard reaction and steam |
| Dense crumb | Proof yeast; use proper protein flour | Ensures gas production and strong structure |
After the bake: cooling, storing, and freezing like a pro
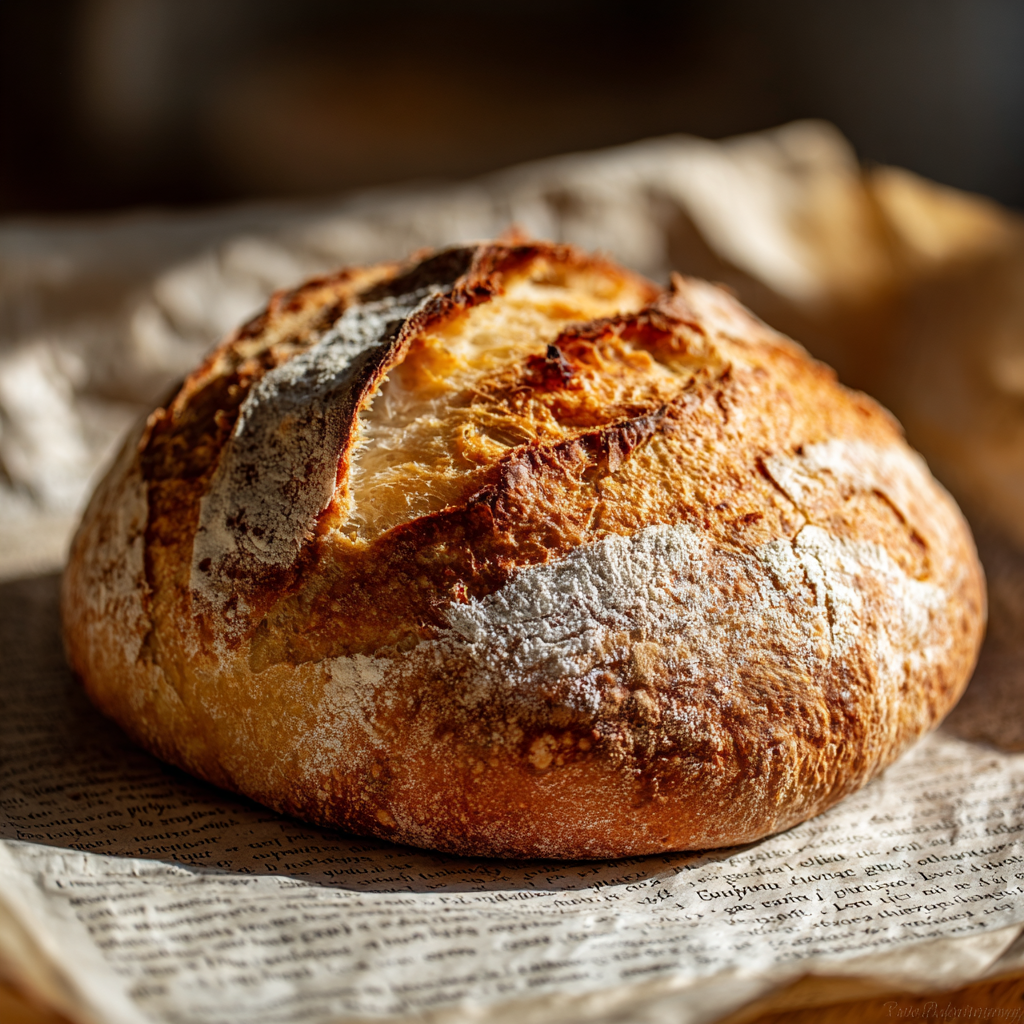
After the oven cools, the work that saves texture begins. I always move the loaf to a rack and give it time: cool fully so steam can escape and the crust stays crisp.
Cooling on a rack and storing at room temperature
Let the loaf cool completely on a rack; trapped steam softens the crust. If you plan to eat it within a day, store the loaf unwrapped at room temperature to preserve that crackle.
Once you slice, tuck the cut loaf into a closed paper bag to protect the crumb while keeping the crust dry. For soft-crust styles, switch to an airtight plastic container or wrap to keep the crumb tender.
Wrapping, freezing, and thawing without losing that crackly top
- Freeze only when fully cool. I wrap tightly in plastic wrap, then add foil or a freezer bag for protection and to prevent freezer odors.
- Label with the date and plan to enjoy within 3 months; smaller portions thaw faster and waste less.
- To thaw: remove outer wrap and let the loaf rest in the fridge overnight to avoid condensation on the crust.
- Re-crisp in a 350°F oven for 3–5 minutes—just enough to revive the surface without drying the crumb.
- If you will eat within hours, keep the loaf at room temperature on the counter, cut side down on a board; simple and effective.
- Never seal a warm loaf in plastic; steam will soften the top and invite sogginess—patience protects texture.
| Action | Material | Timing |
|---|---|---|
| Cool | Wire rack | Until fully room temperature (hours) |
| Short-term store | Unwrapped or paper bag | Up to one day at room temperature |
| Freeze | Plastic wrap + foil or freezer bag | Label and keep up to 3 months |
Serve it the Italian way: bruschetta, soups, and aperitivo boards
Serve slices warm, with a confident drizzle of olive oil and a scatter of flaky salt. Toast on a sheet, rub with garlic, add chopped tomato and basil for classic bruschetta—simple and bright.
Slice the loaf alongside soups or stew; thick cuts or rustic cubes make perfect dunkers and croutons. For crostini, brush thin slices with oil and bake until crisp, then top with ricotta or roasted peppers.
Build an aperitivo board with olives, aged cheeses, salumi, and a small bowl of olive oil for dipping. If the crust has softened, re-crisp at 350°F for a few minutes—perfetto.
This homemade bread recipe shines whether you baked on a stone, sheet, or in a dutch oven. Little touches—good oil, fresh herbs, a pinch of salt—turn simple baking into a shared meal.
No-Knead Italian Country Bread
Ingredients
Method
- For active dry yeast: Mix 1¾ tsp of yeast in ¼ cup warm water with 1 tsp sugar. Let it sit for 5 minutes until foamy. If using instant yeast, mix it directly with the flour.
- In a large bowl, add flour, activated yeast mixture, remaining water, salt, and honey or sugar. Stir until the dough is sticky and comes together.
- For same-day method: Let the dough rise for about 2 hours at room temperature, covered with a damp towel or plastic wrap.
- For overnight method: After mixing, cover the bowl and refrigerate for 8–16 hours.
- Once risen, dust a sheet of parchment with flour. Transfer the dough onto it using a spatula to avoid deflating the dough.
- Gently fold the edges toward the center to form the dough into a boule or bâtard.
- For the same-day loaf: Preheat the oven to 420°F (220°C). Bake for 25-30 minutes, until the crust is golden, and the bottom sounds hollow.
- For the overnight loaf: Preheat a lidded pot (Dutch oven) to 240°C (464°F). Bake covered for 40 minutes, then uncover and bake for another 20–30 minutes.
- Allow the bread to cool completely on a rack before slicing. This ensures the crust stays crisp.
Notes
- If the dough is too sticky, lightly dust with flour during shaping but avoid using too much as it can affect the bread’s texture.
- A Dutch oven is not necessary but helps achieve the best crust. A pizza stone or baking sheet can be used as alternatives.
- If you’re short on time, the same-day method works perfectly, but for richer flavor, consider the overnight cold-proof option.