
Jump to Recipe
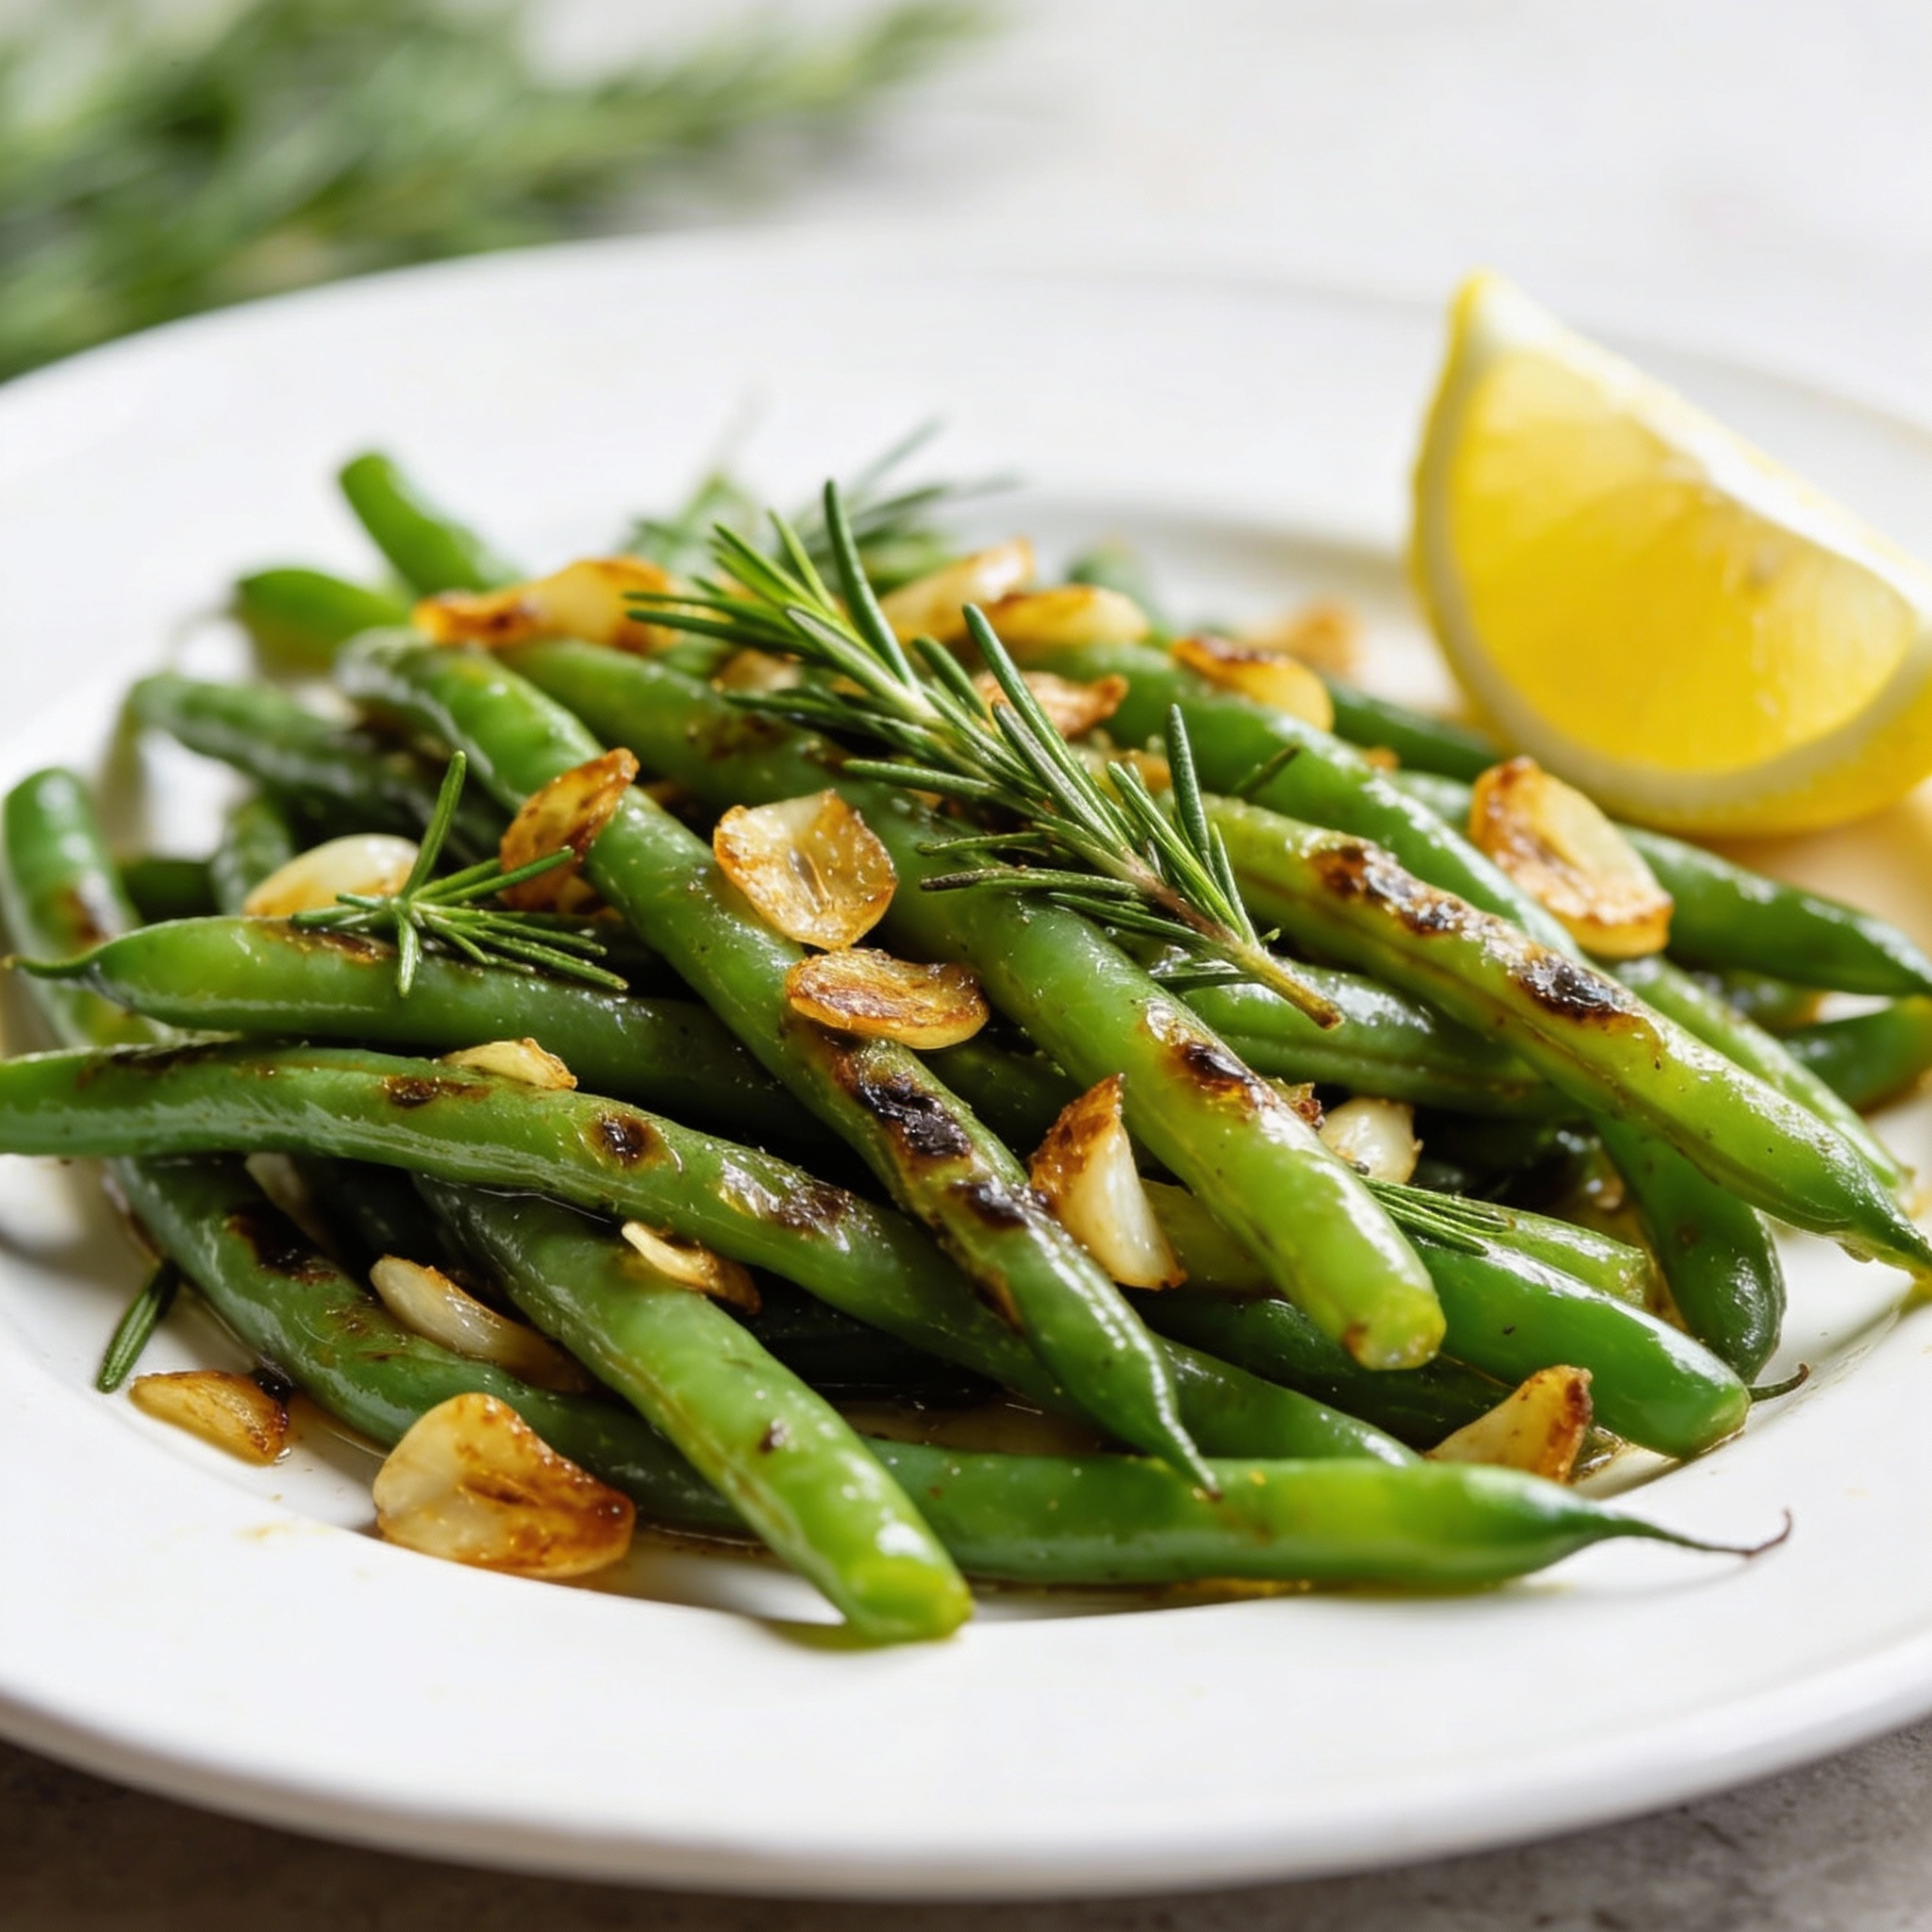
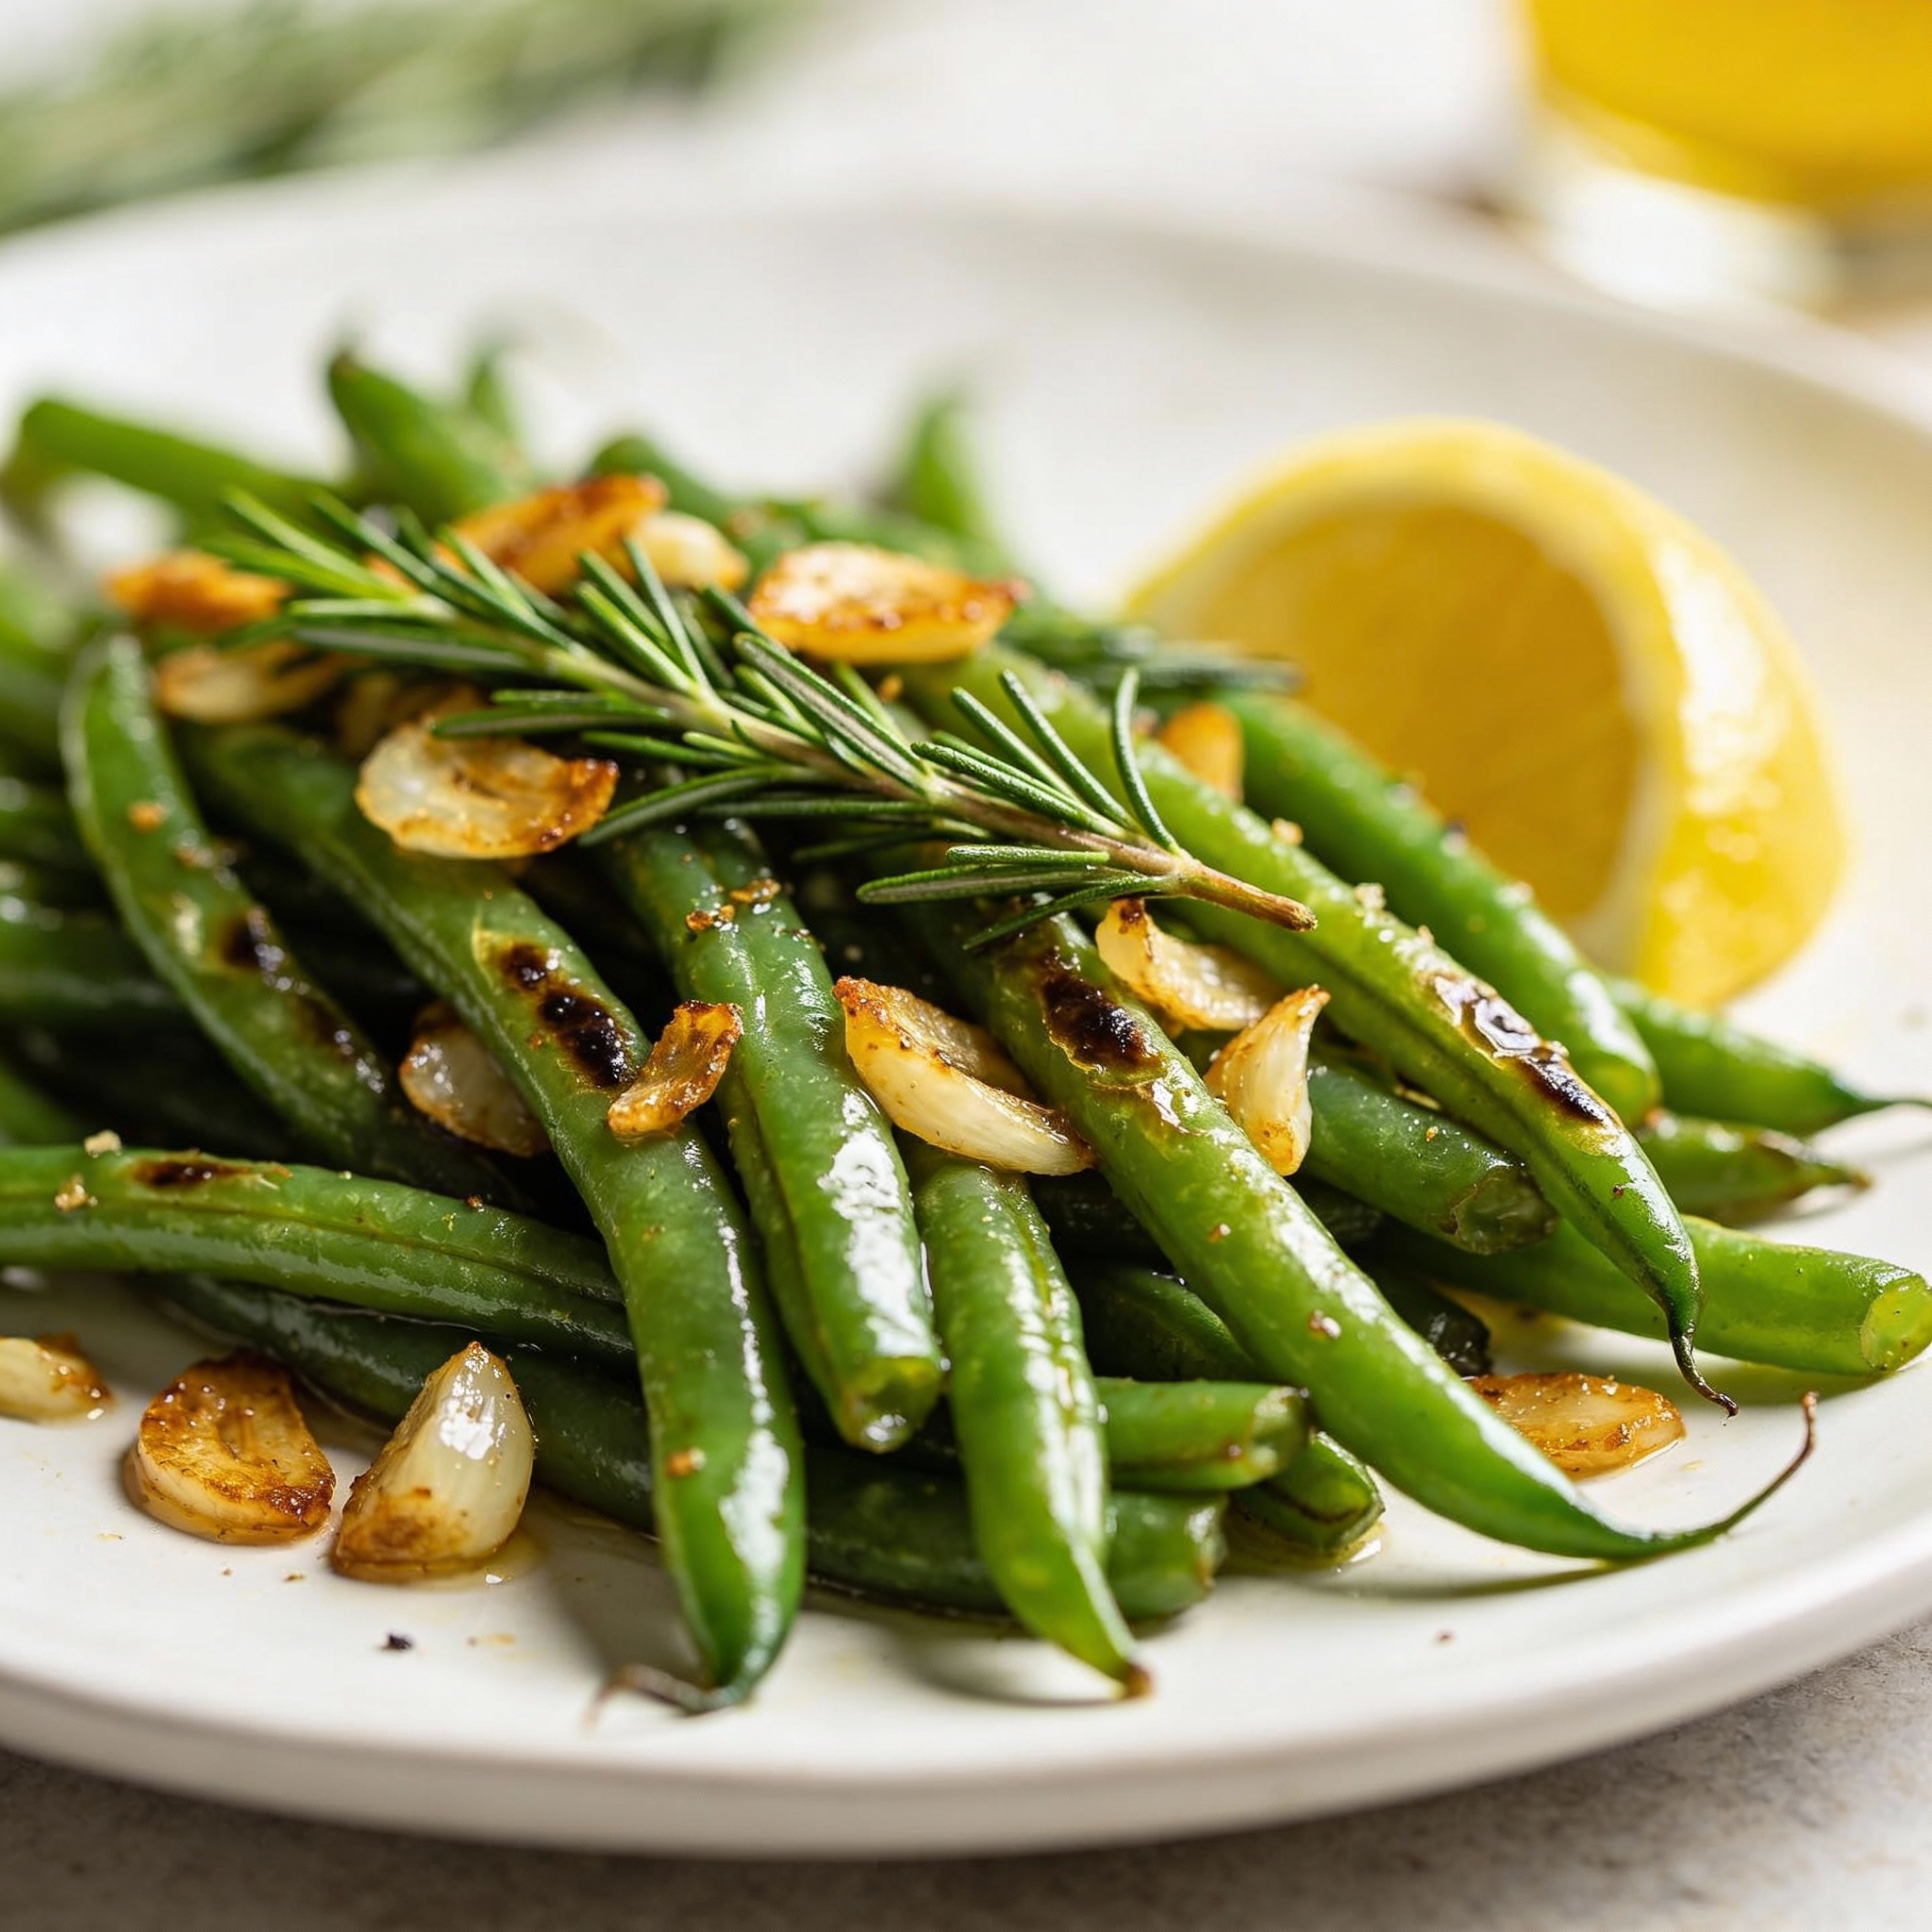
I tuck a handful of bright pods into a hot pan and listen for that quick, lively sizzle that tells me the meal will sing tonight. The scent of browned cloves and piney herbs lifts memories of big family dinners, simple and true.
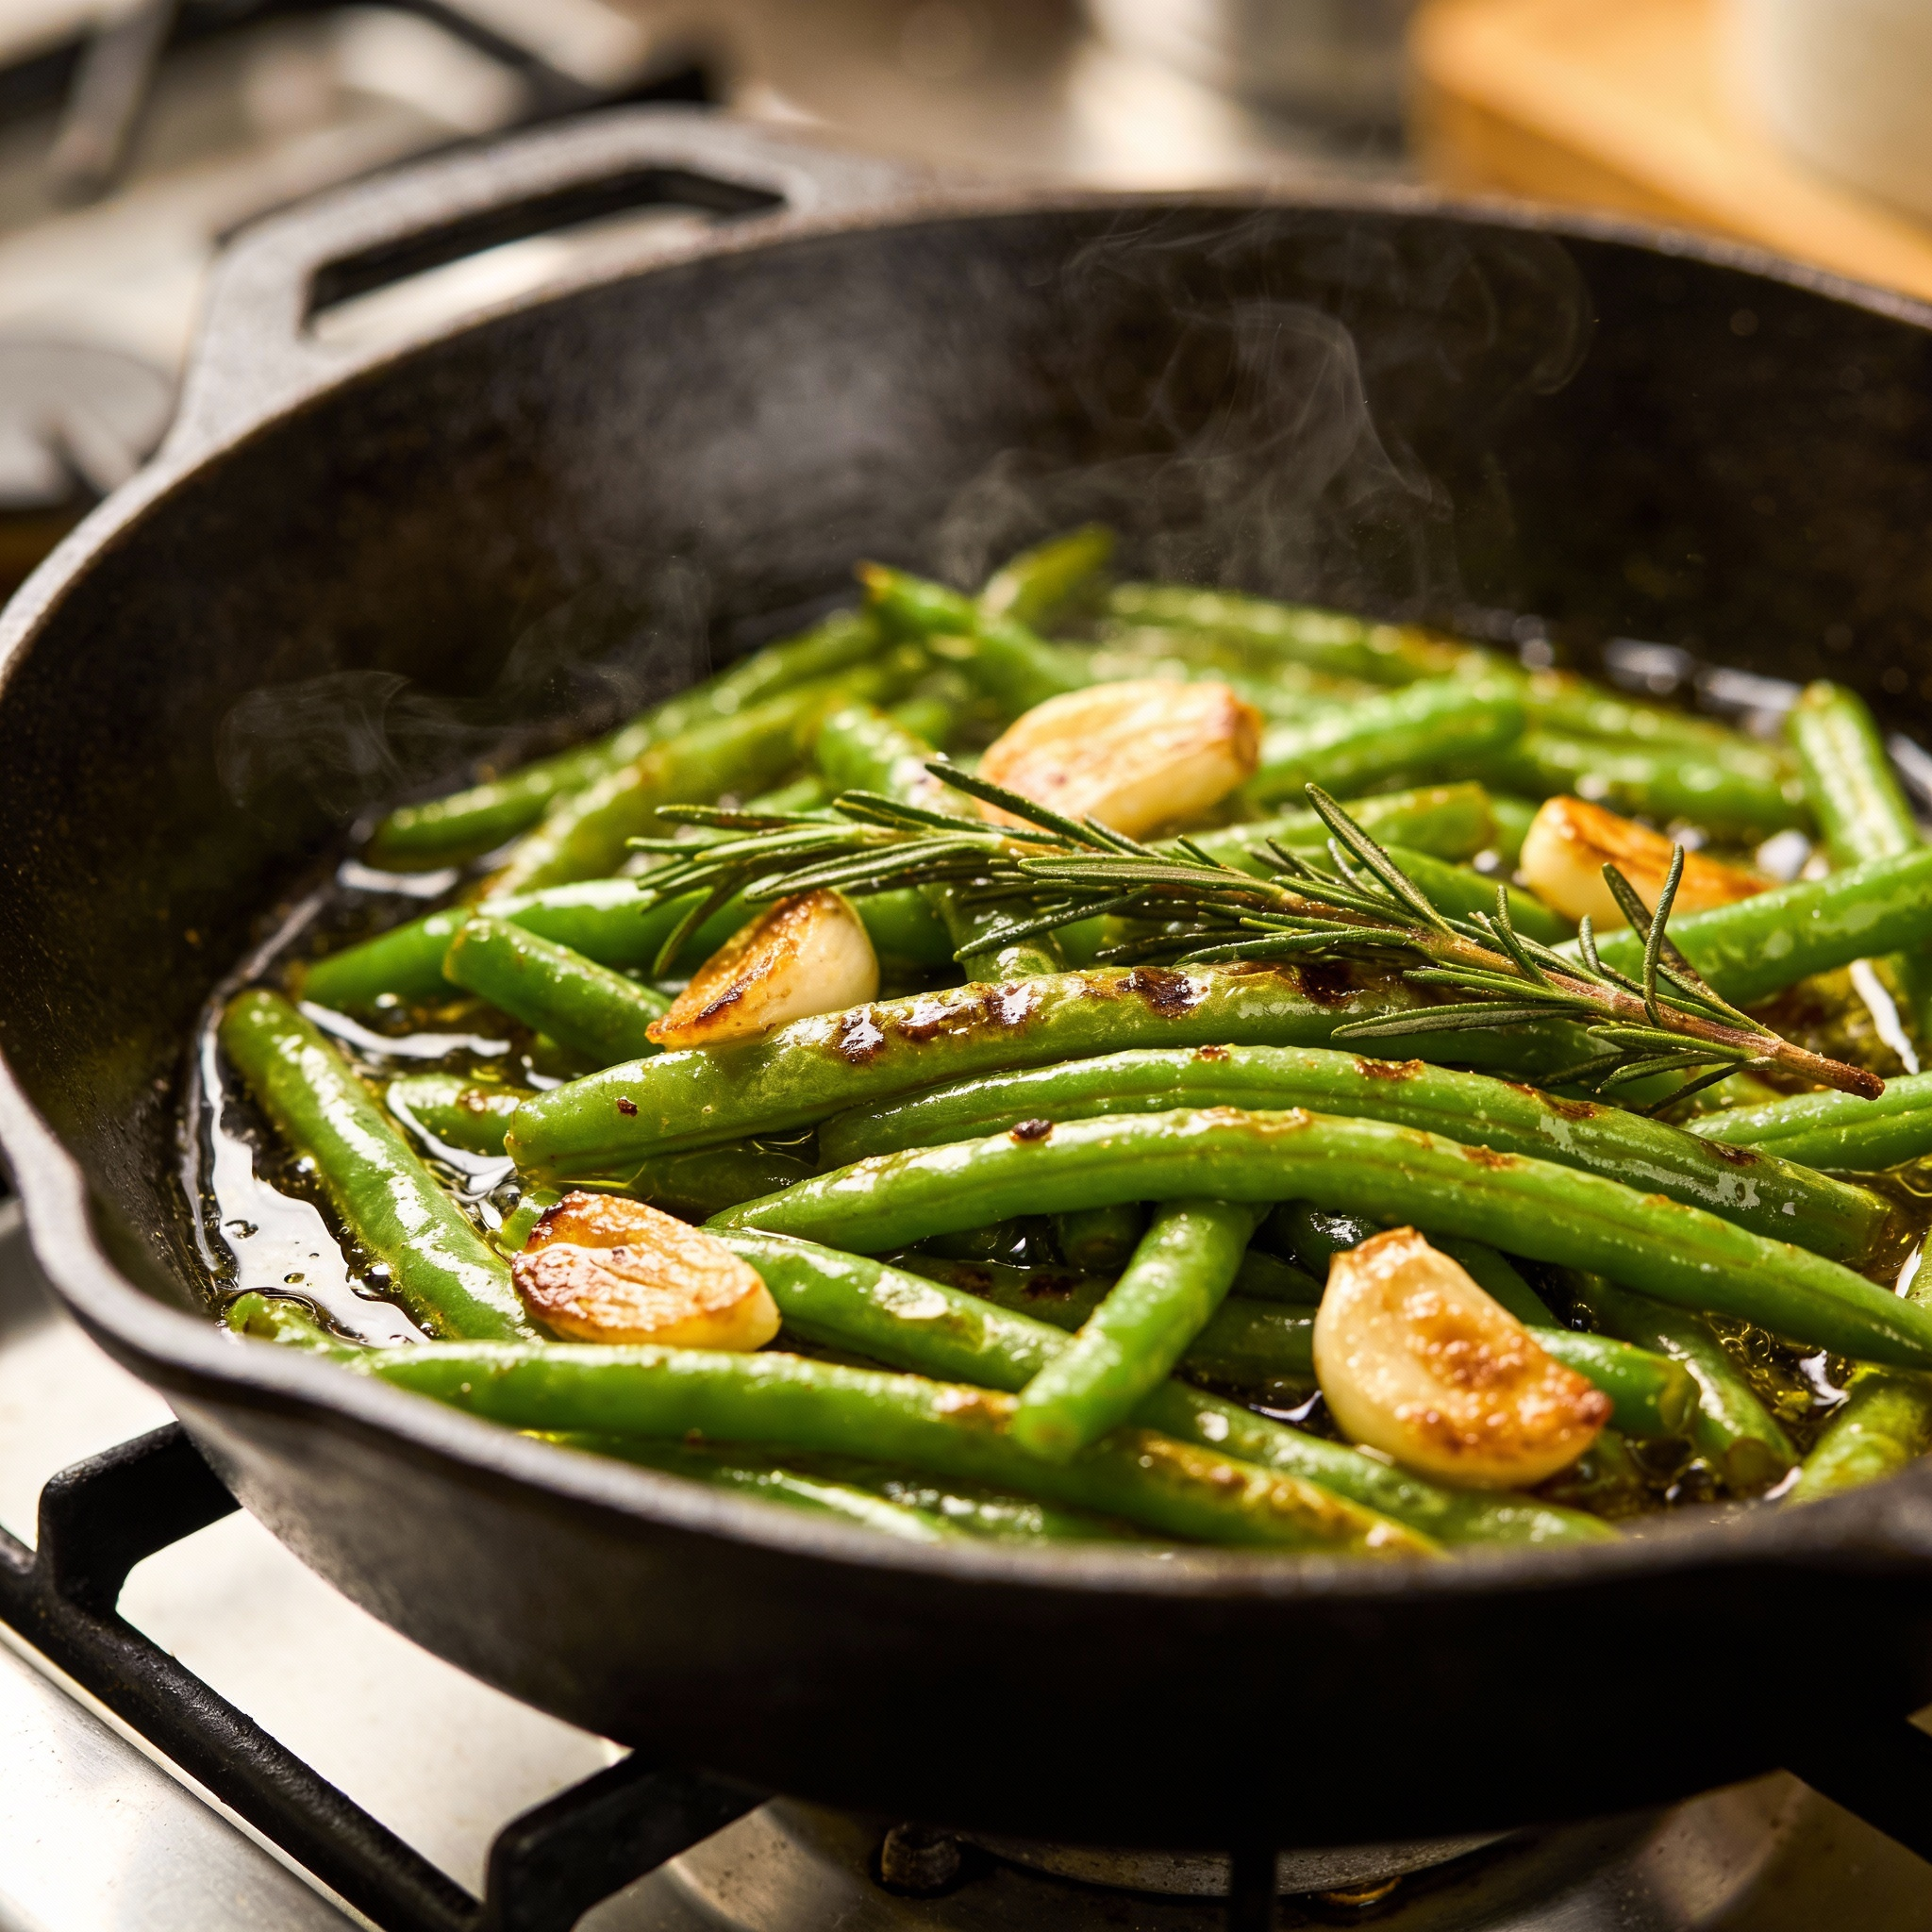
I use a tiny microwave steam trick—one minute, toss, one more minute—then finish in a scorching 10-inch cast iron skillet with extra-virgin olive oil or a pat of butter. For frozen, I send them straight to the pan to keep a snappy bite; roasted, they turn tender-crisp at 400°F in 15–20 minutes when spread in a single layer.
In these lines I share timing cues and a few practical swaps: how to get small garlic pieces golden without burning, when to reach for neutral oil instead of olive, and the exact tools that make the process effortless—a roomy sheet pan, a microwave-safe bowl, and your trusty skillet. Follow the cues for al dente texture, and you’ll have a versatile side that pairs with chicken, fish, or simple pasta salads.
Key Takeaways
- Quick steam-and-sear yields crisp-tender green beans with minimal fuss.
- Finish in a hot cast iron skillet for two minutes to develop color and flavor.
- Frozen works best straight to the pan; oven roasting needs 15–20 minutes at 400°F.
- Use extra-virgin olive oil or butter for flavor; choose neutral oil for high-heat roasting.
- Small timing and visual cues are the keys to al dente texture, not overcooking.
Why this Italian-leaning green bean side tastes bigger than its ingredient list
Turn up the heat and you’ll see how a few smart moves make a modest vegetable sing. I steam briefly to lock color and vitamin content, then finish on high heat so the exterior crisps while the interior stays tender.
A fast sear concentrates sweetness and adds toasted notes that read like more complex cooking. Oven roasting at 400°F deepens that flavor further by caramelizing sugars, but use fresh pods—very skinny ones can shrivel and lose body.
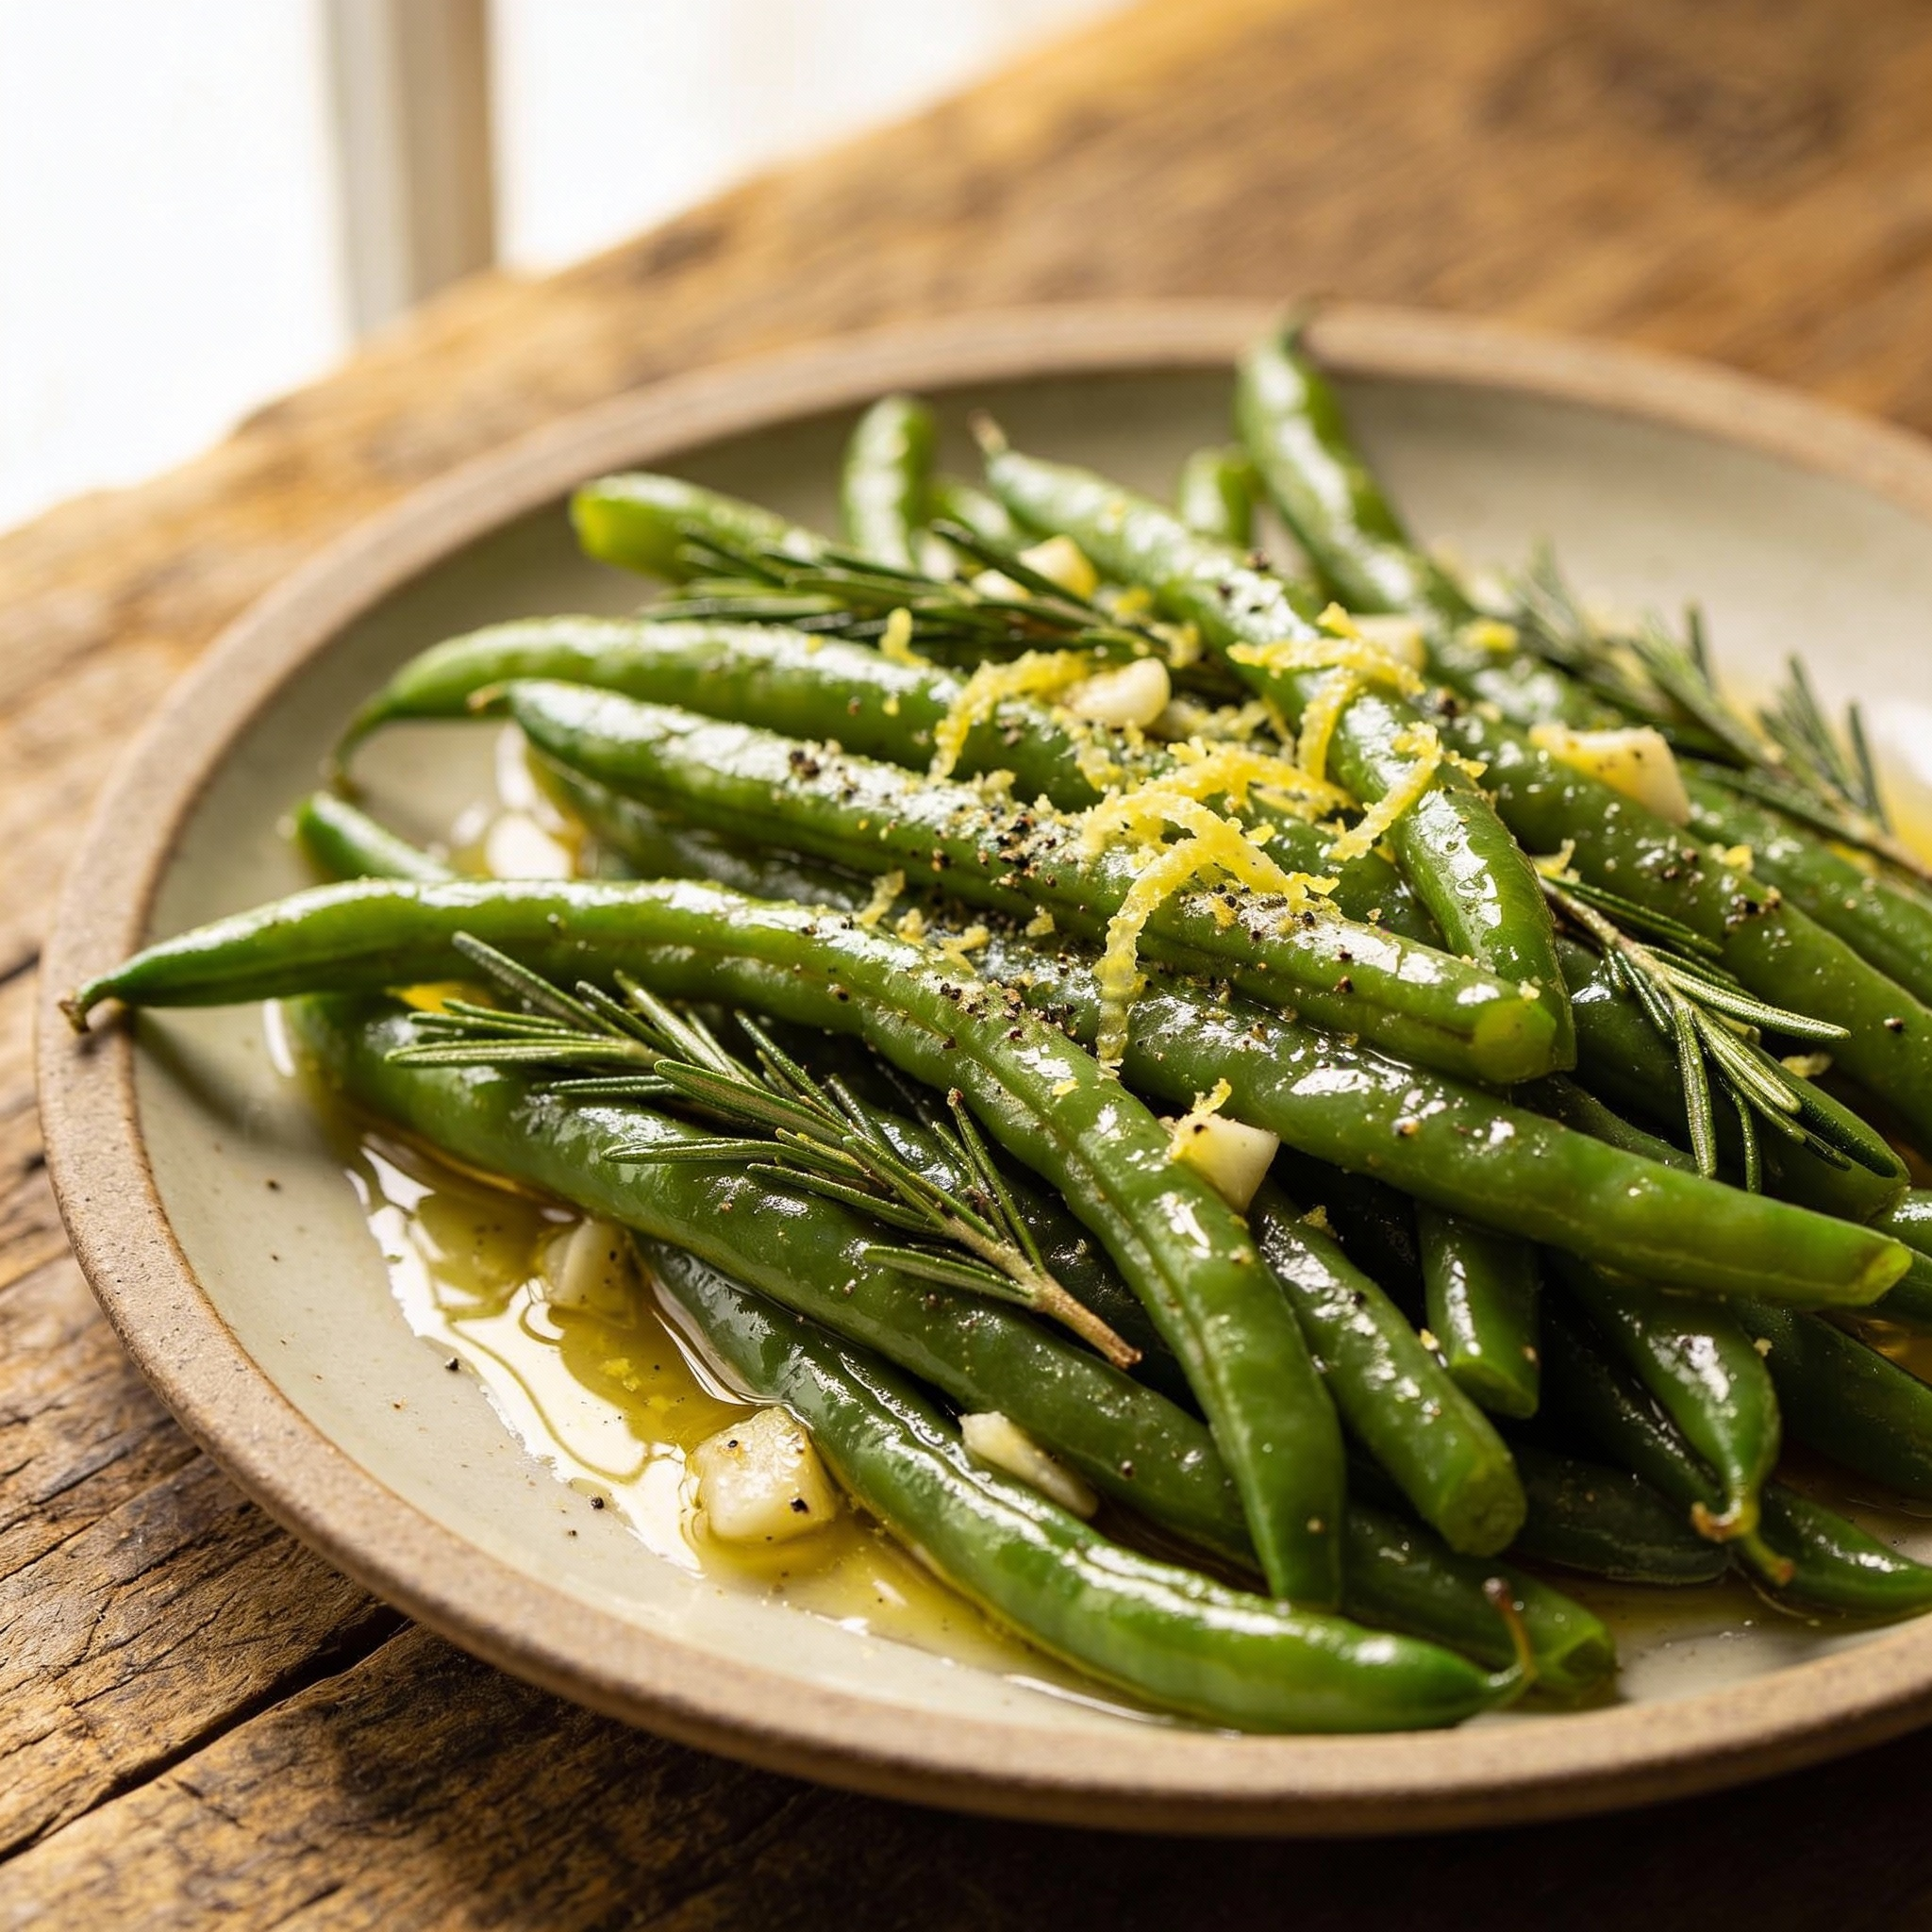
Seasoning matters. I salt early so the seasoning penetrates, then finish with fresh pepper and a bright lemon squeeze. A scant amount of fat carries aroma and helps browning without weighing the dish down.
- Respect texture: brief steam, then direct heat for contrast.
- Layer aroma: a little herb and aromatics perfume the pan without masking freshness.
- Nutrition intact: quick cook retains vitamin and a touch of iron.
| Method | Texture | Best for |
|---|---|---|
| Steam + Sear | Crisp-tender | Fast stovetop sides |
| Sauté | Silky with browned bits | Pan sauces and weeknight meals |
| Roast 400°F | Caramelized, nutty | Trattoria-style plates |
Ingredients, tools, and the quick prep you’ll thank yourself for
Before the pan gets hot, I lay out the few ingredients and tools that make this side effortless. A calm five-minute mise en place means fast, confident cooking when the skillet meets heat.
What you’ll need
- About 1 lb green beans; I prefer wider varieties for more sear, but round beans work too.
- Extra-virgin olive oil or butter; for roasting, use a neutral high-heat oil (canola or avocado).
- 3 cloves, chopped (don’t press), a small sprig of rosemary, and a pinch of fine sea salt plus freshly ground black pepper.
- Optional: a lemon for finishing and one tablespoon of oil measured for staging.
- Trim the ends, wash, and pat dry so oil clings and browns instead of steaming.
Helpful equipment
- 10-inch cast iron skillet for steady browning and quick sears.
- Microwave-safe bowl for a 1–2 minute steam shortcut.
- Large sheet pan (single layer) and a colander for draining and chilling.
- Cutting board, measuring set, and a sharp knife for fast prep.
Choosing beans and fats
Pick fresh pods for the best texture. I salt early to draw flavor in, then finish with a squeeze of lemon if desired.
| Method | Best fat | Result |
|---|---|---|
| Skillet sear | Extra-virgin olive | Crisp-tender, quick color |
| Buttery toss | Butter | Rich, cozy finish |
| Roast 400°F | Neutral oil | Caramelized, nutty |
Final staging tip: measure a tablespoon or two of oil, chop the garlic and herbs, and have salt and pepper within arm’s reach. That small prep saves time and keeps the dish bright.
Garlic rosemary flat green beans recipe: three reliable cooking paths
I love three simple paths to a perfect side—each one fast, clear, and forgiving. Pick the method that fits your time and mood, and follow the timing cues below to hit crisp-tender every time.
Fast and vibrant: microwave steam, then 2-minute cast iron sauté
Add green beans to a microwave-safe bowl with a tablespoon or two of water. Microwave 1 minute, toss, then 1 minute more; drain well.
Heat a skillet over medium heat, swirl in a tablespoon of oil, then add the beans, chopped garlic, and rosemary. Sauté about 2 minutes until the garlic turns golden and edges crisp. Season with salt and a few grinds of ground black pepper; finish with a squeeze of lemon if you like.
Buttery comfort: stovetop simmer with a warm garlic-rosemary butter toss
Simmer the beans in salted water for 10–15 minutes until just tender. Drain and return to the pot.
Warm butter with minced cloves and herbs, then toss the drained beans so each piece glistens. Add salt and pepper to taste — this method yields cozy, silky texture that pairs well with roasted meats.
Roasted and roasty: oven-baked at 400°F for tender-crisp
Toss beans with a tablespoon of neutral oil, rosemary, salt, and ground black pepper. Spread in a single layer on a preheated sheet.
Roast at 400°F for 15–20 minutes, turning once, until tender-crisp with some browning. Avoid overcrowding to prevent steaming and rubbery results.
Timing cues and textures: how to hit crisp-tender, not soggy or rubbery
- Color: vivid green with light blistering is right.
- Touch: a quick bend with a slight snap means doneness.
- Avoid overcooking: pale, soft, or very limp pieces are past the sweet spot.
Pro tips that make this side dish restaurant-good
A handful of disciplined steps gives you consistent, glossy, perfectly seared results every time. I share clear, cook-friendly tactics that help you nail texture, color, and seasoning without fuss.
I chop rather than press the garlic so pieces toast evenly and go nutty, not bitter. When a recipe calls for minced garlic, I aim for uniform bits and add them late so they brown, not burn.
Frozen? Cook from frozen
Cook frozen beans straight into the hot pan. Thawing softens cell walls and yields limp results. Direct cooking keeps a satisfying snap and bright tone.
Heat and fat choices
Make sure the skillet is hot before adding oil or fat; aromatics bloom into the oil instead of steaming. Use extra virgin olive for a gentle sauté over medium heat, and choose a neutral oil for high-heat roasting. Butter shines when added off the flame or at the finish.
Season and finish
Season in layers: a small pinch while cooking and a light finish of salt pepper to lift flavors. Toss briefly with a teaspoon of oil before serving for a glossy, restaurant look.
| Use | Best fat | Why |
|---|---|---|
| Skillet sauté | Extra virgin olive | Flavor at moderate heat, good browning control |
| High-heat roast | Neutral oil (canola/avocado) | Higher smoke point, even caramelization |
| Finish & gloss | Butter or a teaspoon of oil | Richness or shine without extra cooking |
Variations and swaps to match your meal and mood
I often tweak finishes to match the main — a little acid, heat, or umami goes a long way. Below are simple spins and dietary swaps that keep the core technique intact while shifting flavor fast.
Flavor spins
- Add a sunny squeeze of lemon and a pinch of chili flakes for a bright, spicy riff that wakes up weeknight plates.
- For an umami twist, finish with a teaspoon of toasted sesame oil and a splash of soy — toss off heat so aromas stay vivid.
- Stir a spoon of Calabrian chili paste into the pan juices with green beans garlic right before serving for bold heat.
- Mediterranean mood? Fold in shaved Parmigiano-Reggiano and toasted almonds for a nutty finish.
Dietary tweaks
Keep it dairy-free by using olive oil or a neutral oil; this dish is naturally gluten-free. For low-calorie goals, measure the fat and skip butter while leaning on herbs and citrus.
| Swap | Why | Best for |
|---|---|---|
| Sesame oil + soy | Umami finish | Asian-leaning mains |
| Lemon + chili flakes | Bright spice | Fish and light pastas |
| Toasted breadcrumbs | Crunch and texture | Rustic contorni |
These tweaks keep the method flexible and make this a great side dish for weeknights or special dinners. For another savory side idea, try my take on sauteed mushrooms with Italian herbs.
Serving ideas, storage, and quick reheat strategies
When it’s time to serve, I like to think of these beans as the bright note on the plate that ties everything together. Below are quick, practical ways to pair, pack, and revive them so texture and flavor hold up.
Plates that love these beans
Serve alongside roast chicken, grilled fish, or pan-seared steaks for a balanced meal. I also tuck them into pasta salads or grain bowls with farro, tomatoes, and feta for a colorful side dish.
Meal prep and make-ahead notes
For sheet-pan dinners, roast proteins on separate halves so each finishes at the right time. Pack leftovers in lunch boxes; cut to bite-size lengths and trim ends cleanly so they mingle well. Make sure to undercook by a minute if you plan to reheat later.
Store and reheat
Store cooled servings in a shallow container up to 3 days to protect vitamin content. To reheat, a 30-second microwave burst usually restores warmth without overcooking. Or warm in a skillet over medium heat with a splash of oil or water to keep the crisp-tender texture. When you transfer serving portions, use tongs so the crisped bits stay perched on top.
| Use | Best reheat | Why |
|---|---|---|
| Lunch box | Cold or brief microwave | Keeps bite and color |
| Sheet-pan meal | Oven finish | Even heat for proteins |
| Pasta salad | Cold toss | Holds texture when trimmed |
A simple method, big flavor—make this your go-to green bean side
<!– Meta suggestion: –>
Make this humble side your kitchen shortcut for big flavor any night of the week.
Choose one clear path: a one-minute steam then a two-minute skillet sear in extra virgin olive oil, a gentle stovetop simmer finished with butter and herbs, or a 15–20 minute roast at 400°F with a neutral oil. Season simply with sea salt and ground black pepper so the beans garlic and rosemary sing without fuss.
These beans add color, iron, and ease to weeknight plates and holiday spreads. Transfer serving portions to a warm platter, stock up on sturdy pans via affiliate links if you like, and share the recipe with friends — buon appetito!
Garlic Rosemary Green Beans
Ingredients
Method
- Trim the ends of the green beans and rinse them. Pat dry so oil can cling to them.
- Place green beans in a microwave-safe bowl with 1-2 tablespoons of water. Microwave for 1 minute, toss, and then microwave for another minute. Drain well.
- Heat a 10-inch cast iron skillet over medium heat. Add 1 tablespoon of olive oil (or butter) to the pan.
- Add chopped garlic and rosemary to the pan. Sauté for 1-2 minutes, until garlic turns golden and fragrant, but not burnt.
- Add the steamed green beans to the skillet and toss them with the garlic and rosemary for 2 minutes, until they get a nice sear. Season with salt and pepper. Finish with a squeeze of lemon for extra brightness, if desired.
- Serve immediately with your choice of main dish, or store leftovers for later.
Notes
- If using frozen beans, cook directly from frozen to avoid them becoming too soft.
- For a richer flavor, you can finish the dish with butter instead of olive oil.
- The lemon is optional but adds a refreshing, bright contrast to the savory flavors.