
Jump to Recipe
There’s a particular warmth that fills a kitchen when baking for the holidays. It’s in the scent of citrus and spice mingling in the air, a promise of something special coming from the oven.
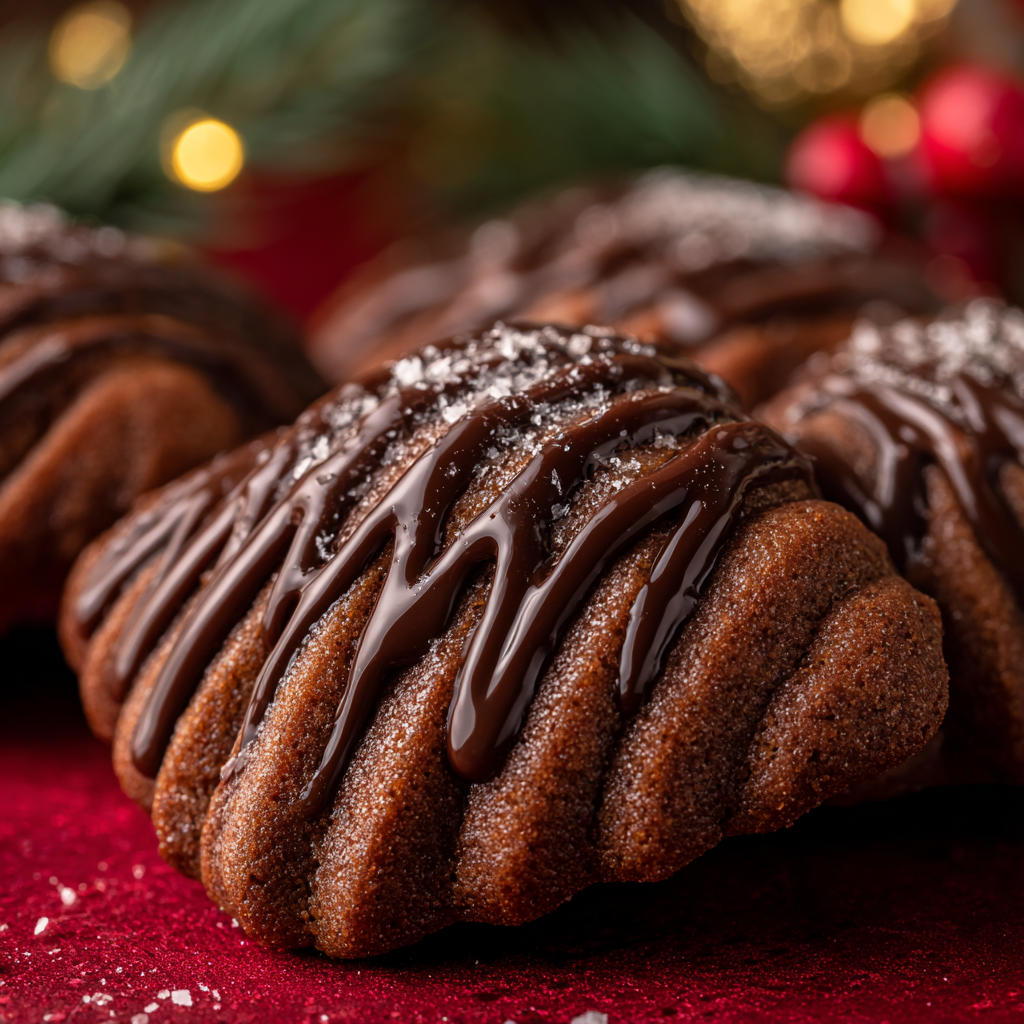
This feeling is at the heart of many Italian traditions, especially around Christmas. In Naples, one cherished treat embodies this spirit perfectly. These diamond-shaped delights are a study in beautiful contrasts.
Their name, mostaccioli, hints at a deep history, originating from “mosto,” or grape must. This was the original sweetener used long before sugar was common. Today, the combination of cocoa and a traditional spice blend called pisto creates a deeply fragrant dough.
Chopped almonds provide a subtle crunch. After a brief bake, each piece is dipped in bittersweet chocolate. The result is a tender, almost cake-like interior encased in a crisp coating.
While variations exist across Southern Italy, the Neapolitan version is renowned for its perfect balance. This guide will walk you through creating these treasures in your own kitchen. The process is straightforward, relying on simple ingredients and a bit of care.
Key Takeaways
- These are traditional Christmas cookies from Naples with a rich history.
- They feature a distinctive diamond shape and a unique texture contrast.
- The name comes from “mosto,” reflecting the use of grape must as an ancient sweetener.
- A soft, fragrant interior is complemented by a crisp chocolate coating.
- Flavors include cocoa, orange zest, almonds, and a special spice blend.
- This version is known for its specific balance of warmth and chocolate intensity.
- The method uses pantry staples but benefits from careful handling and resting time.
Exploring the Rich Heritage of Italian Holiday Cookies
Among Naples’ celebrated holiday confections, one particular diamond-shaped delight stands out for its unique history. The city’s Christmas table overflows with treasures like struffoli, roccocò, and zeppole, but these spiced treats hold a special place. Their distinctive chocolate-spice profile has earned them a permanent spot in Neapolitan holiday traditions.
The cultural significance behind these festive treats
Christmas baking in Italy connects present generations to their culinary ancestry. Families preserve recipes that become living heirlooms. The ritual of preparing these sweets creates bonds across time.
The origin of these delights dates back centuries, with some claiming roots 300 years before Christ. Originally sweetened with grape must (mosto) when sugar was scarce, they demonstrate Italian resourcefulness. Historical versions featured elaborate patterns depicting animals or baskets, sometimes created for charitable auctions.
How tradition inspires modern recipes
As ingredients like cocoa and spices became accessible, the treats evolved into their current form. The clove and cinnamon-scented version emerged centuries later. Today, most families have their unique approach to the recipe.
Each household adapts proportions and techniques based on personal preference. Understanding this heritage enriches the baking experience. You’re not just following instructions but participating in a living tradition.
Our approach respects traditional Neapolitan methods while accommodating modern kitchens. This makes authentic preparation accessible to contemporary bakers. The method shares similarities with preparing traditional almond biscotti, another Italian classic.
Essential Ingredients and Signature Flavors
Quality ingredients transform simple baking into an authentic culinary experience. Each component contributes to the distinctive texture and balanced flavor profile that defines this traditional preparation.
Unpacking the spice mix and natural flavor enhancers
The characteristic warmth comes from pisto, a traditional Neapolitan spice blend. Equal parts ground cinnamon, cloves, and nutmeg form the foundation.
Some versions include star anise, coriander, or black pepper for complexity. If pisto is unavailable, pumpkin spice makes a suitable substitute.
Unsweetened cocoa powder provides deep chocolate flavor throughout the dough. Dutch-processed cocoa offers a smoother, less acidic taste.
Honey adds moisture and floral sweetness that sugar cannot replicate. Orange blossom honey beautifully complements the citrus notes.
The role of fresh almonds and citrus zest
Raw, unsalted whole almonds provide essential texture and nutty flavor. Briefly toasting them in a dry skillet revives their natural oils if needed.
Chop the almonds finely but avoid grinding them into flour. Small pieces create pleasant pockets of crunch against the soft dough.
Fresh orange zest brightens the rich chocolate and warm spices with aromatic oils. Lemon zest or a combination works equally well for variation.
| Spice Blend | Traditional Composition | Common Substitutes |
|---|---|---|
| Pisto (Traditional) | Equal parts cinnamon, cloves, nutmeg | Pumpkin spice blend |
| Enhanced Pisto | Base spices plus star anise, pepper | Chinese five-spice powder |
| Simple Variation | Cinnamon and cloves only | Apple pie spice mix |
| Modern Adaptation | Custom ratios of preferred spices | Allspice or ginger blends |
For the coating, use high-quality baking chocolate rather than chips. Bittersweet or semi-sweet varieties set reliably without tempering.
Baking powder creates the characteristic soft, cake-like texture. This distinguishes these treats from harder regional variations.
Step-by-Step Guide to Crafting the Perfect Dough
Working with this particular dough reveals its forgiving nature when handled correctly. The process requires patience rather than specialized equipment, making it accessible to home bakers of all skill levels.
Mixing techniques for a soft, pliable dough
Begin by finely chopping the almonds in a food processor. They should retain some texture rather than becoming powder. This creates pleasant crunch throughout the finished treats.
Combine all dry ingredients in a large bowl. Whisk thoroughly to distribute everything evenly. Then add the wet ingredients—honey, oil, and orange juice.
Gradually incorporate water until the mixture forms a cohesive dough. It should feel soft and slightly sticky but not wet. This dough doesn’t require extensive kneading or a stand mixer.
Tips for handling sticky dough and achieving ideal texture
Wrap the dough in plastic and refrigerate for at least one hour. This resting period allows the flour to fully hydrate. The dough may become stickier after chilling, which is normal.
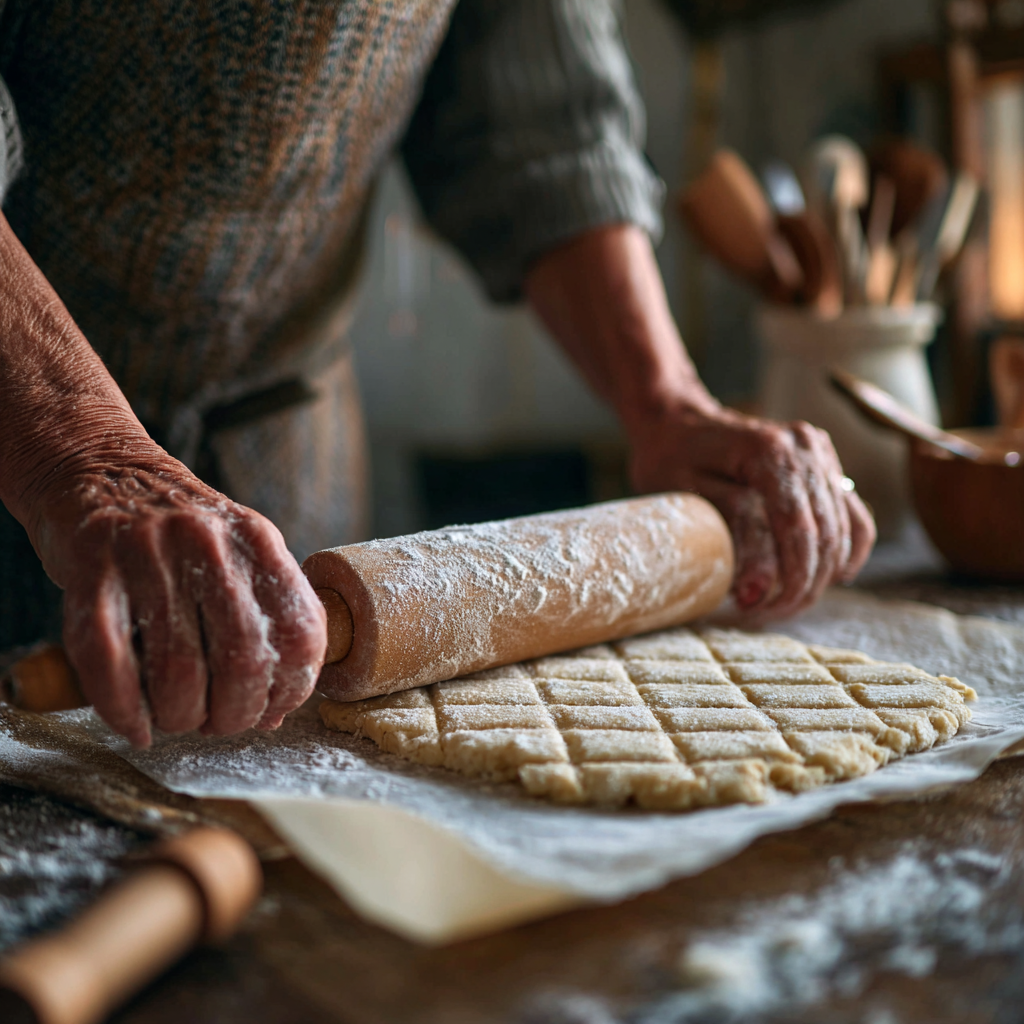
Work with one quarter of the dough at a time. Keep the remainder refrigerated. Lightly flour the dough ball and roll it between two sheets of parchment paper.
Roll to approximately 3/8 inch thickness. This creates treats substantial enough to remain tender after baking. Use a floured cookie cutter or knife for the traditional diamond shapes.
Re-roll scraps gently once. Additional handling may make the dough slightly tougher. Remember that the sticky texture is correct—adding excess flour would create dry results.
mostaccioli soft chocolate cookies recipe
Let’s gather our ingredients and begin the hands-on process of creating these treats. The following measurements yield approximately 15 pieces, depending on your preferred size and thickness.
| Ingredient | Metric | Imperial |
|---|---|---|
| Type 00 Flour | 250g | 1/2 lb |
| Raw Almonds | 75g | 3 oz |
| Granulated Sugar | 150g | 5 oz |
| Unsweetened Cocoa Powder | 25g | 3 Tbsp |
| Spice Mix (cinnamon, cloves, nutmeg) | 1 tsp | 1 tsp |
| Baking Powder | 1 tsp | 1 tsp |
| Orange (zest and juice) | 1 medium | 1 medium |
| Olive Oil | drizzle | drizzle |
| Water | ~100ml | ~3 fl oz |
| Bittersweet Chocolate (for coating) | 500g | 1 lb |
Start by placing almonds in a food processor. Process until finely chopped but not ground into powder. Combine all dry ingredients, including orange zest, in a large mixing bowl.
Add the fresh orange juice and a drizzle of oil. Gradually incorporate water until the mixture forms a pliable, slightly sticky dough. Wrap it in plastic and refrigerate for at least one hour.
Lightly flour the chilled dough. Roll it out between two sheets of parchment paper to about 3/8 inch thickness. Cut into diamond shapes approximately 2-3 inches long.
Place pieces on a baking sheet. Bake at 350°F (180°C) for 12 minutes for a tender result, or 15 minutes for a crisper texture. Let them cool completely before coating.
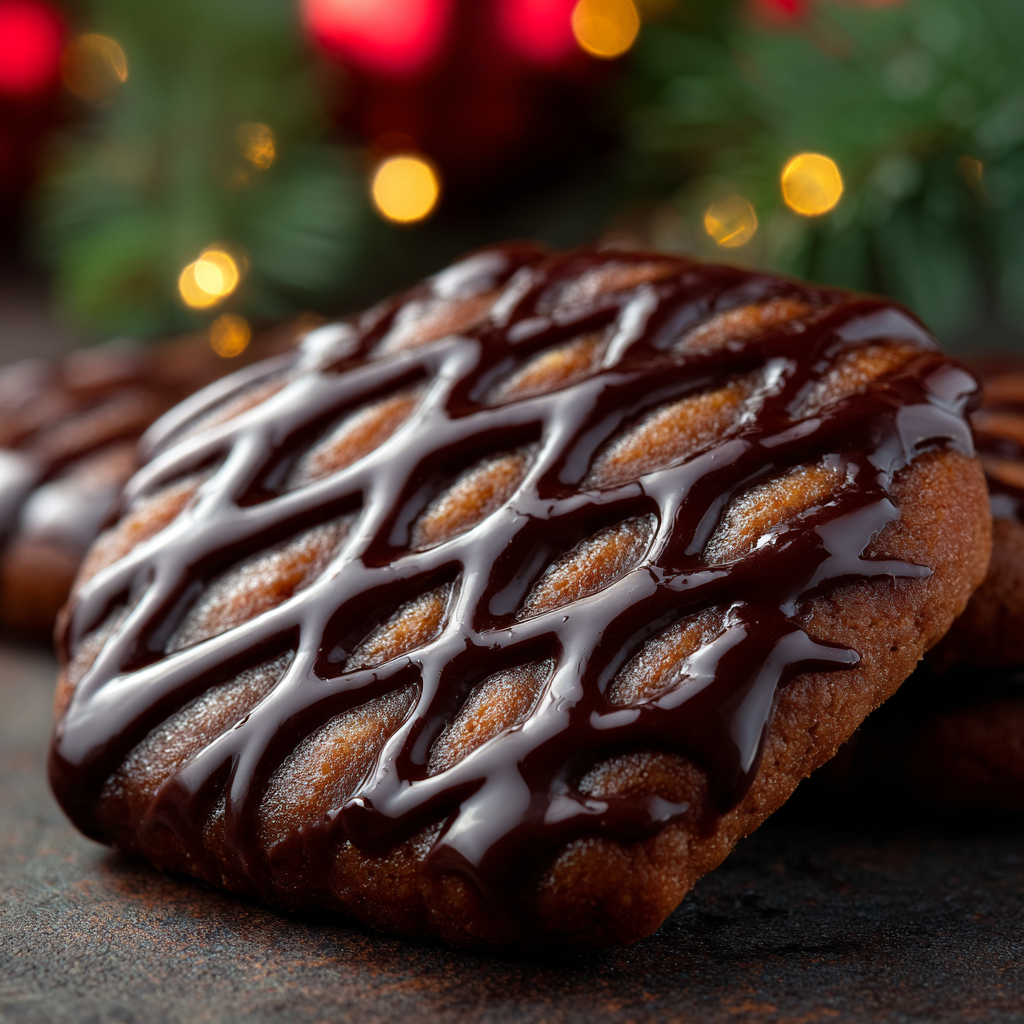
Melt the bittersweet chocolate over very gentle heat. Dip each piece to cover both sides, allowing excess to drip off. Place on a rack until the coating sets, about one hour.
Baking Secrets for Soft, Flavorful Cookies
The final stage of creating these Italian treats is where precision truly pays off. Careful attention to heat and timing ensures the signature texture that makes them so special.
Optimal oven settings and precise baking times
Preheat your oven to 350°F (180°C). This moderate heat is crucial. It allows the interior to bake through without the exterior becoming too crisp too quickly.
For a tender, cake-like result, bake the pieces for about 12 minutes. If you prefer a firmer texture, extend the time to 15 minutes. Ovens can vary, so I recommend baking a single piece first to test.
Look for edges that are set and a center that yields slightly to a gentle touch. They will firm up as they cool on the sheet. This resting period is essential before the next step.
Let the baked goods cool completely on a rack. Any residual warmth will prevent the coating from setting correctly. Patience here guarantees a perfect finish.
Melt bittersweet or dark chocolate over the gentlest heat possible. A double boiler works best to avoid seizing. You want it just fluid enough for dipping.
Use two forks for a smooth coating. Lower a piece into the melted chocolate, flip it, then lift it from underneath. Let excess drip back into the bowl.
Place each dipped piece on a parchment-lined rack. Allow the chocolate to set fully at room temperature, which takes about an hour. Rushing this by refrigerating can cause bloom, though the flavor remains fine.
Innovative Variations and Regional Twists
Italian baking traditions thrive on regional diversity, creating countless variations of beloved treats. Family recipes often reflect local ingredients and generations of subtle adaptation.
Traditional versions were quite substantial, measuring 10-12 cm across. Modern interpretations typically range from 6-7 cm for practical baking. Thickness also varies significantly between households.
Substituting ingredients to match your taste
You can adjust thickness from 6-7 mm for crisper results to 1.5 cm for cake-like texture. The standard 1 cm offers a balanced experience most enjoy.
Ingredient swaps maintain authenticity while personalizing flavor. Replace orange zest with lemon for brighter citrus notes. Some add rum or espresso for depth.
Nut content varies widely—some omit almonds entirely while others use hazelnuts. The preparation method shares similarities with making traditional almond biscotti regarding nut incorporation.
Regional adaptations that add unique flair
Different Italian regions have developed distinctive approaches to this classic treat. Each variation reflects local traditions and ingredient availability.
| Region | Distinctive Features | Baking Characteristics |
|---|---|---|
| Molise | Hazelnuts with almonds, grape must | Connects to historical origins |
| Sicily | Vino cotto dough, crushed almond coating | No chocolate glaze |
| Puglia | Vino cotto inclusion | Uncoated spiced dough |
| Calabria | Flour, honey, spices only | Minimalist approach |
Roman versions feature hazelnuts with pepper and honey. Umbrian interpretations sometimes use bread dough base. These regional differences showcase beautiful adaptability.
Delicious Serving Ideas and Storage Tips
The final step in your baking journey involves sharing and preserving these Italian delights. Proper presentation and storage ensure they remain fresh and beautiful throughout your holiday celebrations.
Creative presentation for holiday gatherings
These treats pair wonderfully with espresso or strong coffee. The bitter notes complement their sweetness perfectly. Their chocolate coating means they don’t require dunking like harder biscotti.
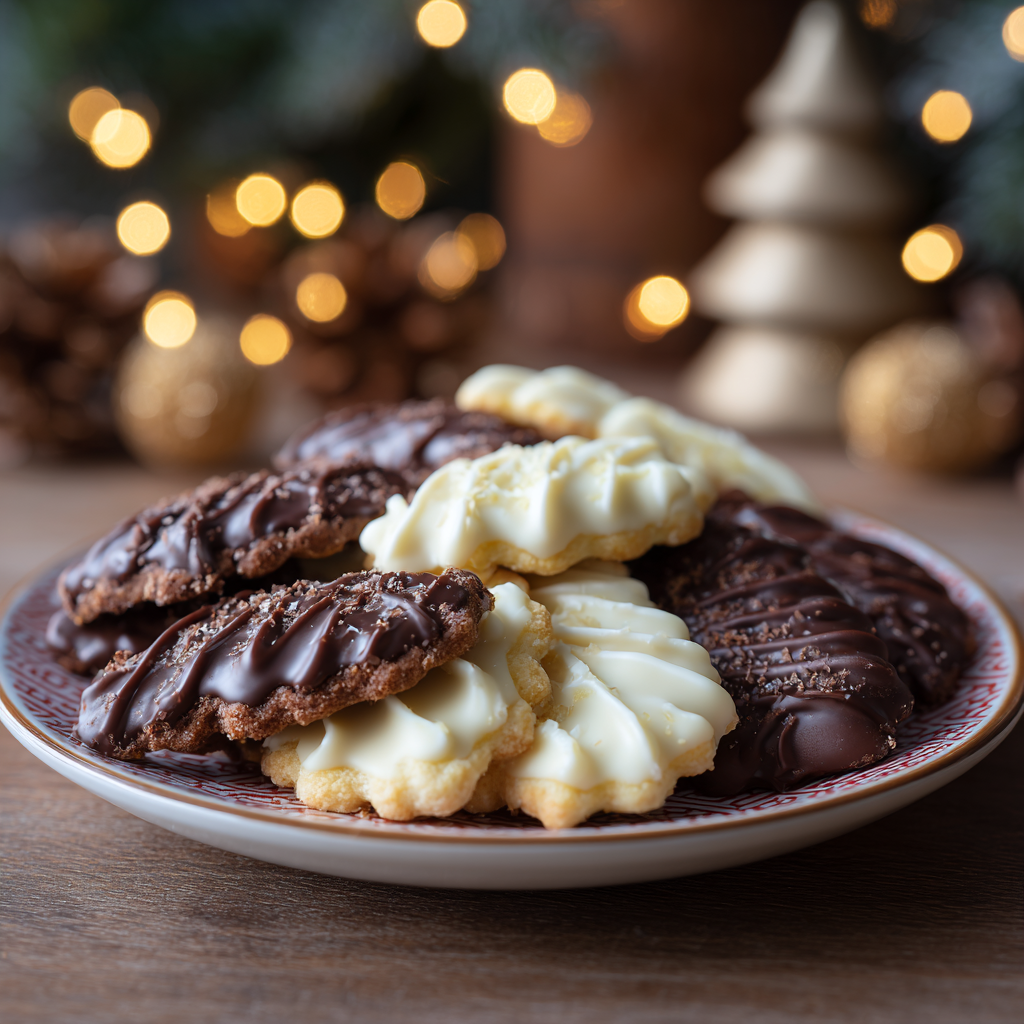
For serving, arrange the diamond-shaped pieces in overlapping rows on a platter. If you’ve made both dark and white chocolate versions, alternate them for an attractive pattern. This creates a visually striking display.
They make excellent edible gifts. Wrap several in clear cellophane tied with festive ribbon. Their sturdy chocolate coating protects them during transport better than more delicate alternatives.
Keeping your baked goods fresh
For room temperature storage, place them in an airtight container. Separate layers with parchment paper. They will keep well for up to one week.
For longer storage, freezing works beautifully. You have several options:
- Freeze the unbaked dough, wrapped tightly, for up to three months
- Bake the treats but leave them unglazed, then freeze
- For chocolate-coated versions, place parchment paper between layers before freezing
When ready to serve, thaw frozen pieces at room temperature on a sheet. If the chocolate needs to set quickly, place the rack in the refrigerator for about twenty minutes. This practical approach fits perfectly into busy holiday schedules.
A Heartfelt Farewell to Your Italian Cookie Adventure
There’s a special kind of satisfaction that comes from mastering a time-honored baking technique. When you create these traditional mostaccioli in your own kitchen, you join generations of Italian bakers who have shaped and dipped these same diamond-shaped treats.
Trust the process even if the dough feels sticky or the technique seems unfamiliar. These small challenges lead to authentic texture and flavor you cannot buy. Feel confident adjusting spices or citrus to match your family’s tastes while honoring the recipe’s essential character.
Once mastered, these cookies become an anticipated part of your holiday traditions. Their distinctive aroma will mark the season as reliably as any decoration. The real reward comes from sharing them with loved ones, whether on a festive platter or with afternoon coffee.
Mostaccioli (Neapolitan Chocolate-Spiced Cookies)
Ingredients
Method
- Place raw almonds in a food processor and chop them finely but not into powder. The texture should still have some small chunks.
- In a large bowl, combine the flour, sugar, cocoa powder, spice mix, and baking powder. Whisk them thoroughly.
- Add orange zest, orange juice, and a drizzle of olive oil. Gradually mix in water until a soft, slightly sticky dough forms.
- Wrap the dough in plastic wrap and refrigerate for at least 1 hour. This resting period allows the dough to firm up and the flavors to blend.
- Once chilled, lightly flour the dough and roll it between two sheets of parchment paper to about 3/8 inch thickness.
- Cut the dough into diamond shapes (approximately 2-3 inches long) using a floured cookie cutter or knife.
- Preheat your oven to 350°F (180°C). Bake the cookies on a lined baking sheet for 12 minutes for a tender result, or 15 minutes for a crisper texture. Let them cool completely.
- Melt the bittersweet chocolate over low heat. Use a double boiler to avoid seizing.
- Dip each cookie in the melted chocolate, ensuring both sides are covered. Let the excess chocolate drip off, then place them on a parchment-lined rack to cool and set (about 1 hour).
Notes
- For a firmer texture, bake the cookies longer.
- The dough can be quite sticky, but chilling it helps. Use parchment paper to avoid adding too much flour.
- The chocolate coating should be allowed to set at room temperature, not in the fridge, to prevent texture issues.
- Store the cookies in an airtight container for up to one week or freeze them for long-term storage.