

Jump to Recipe
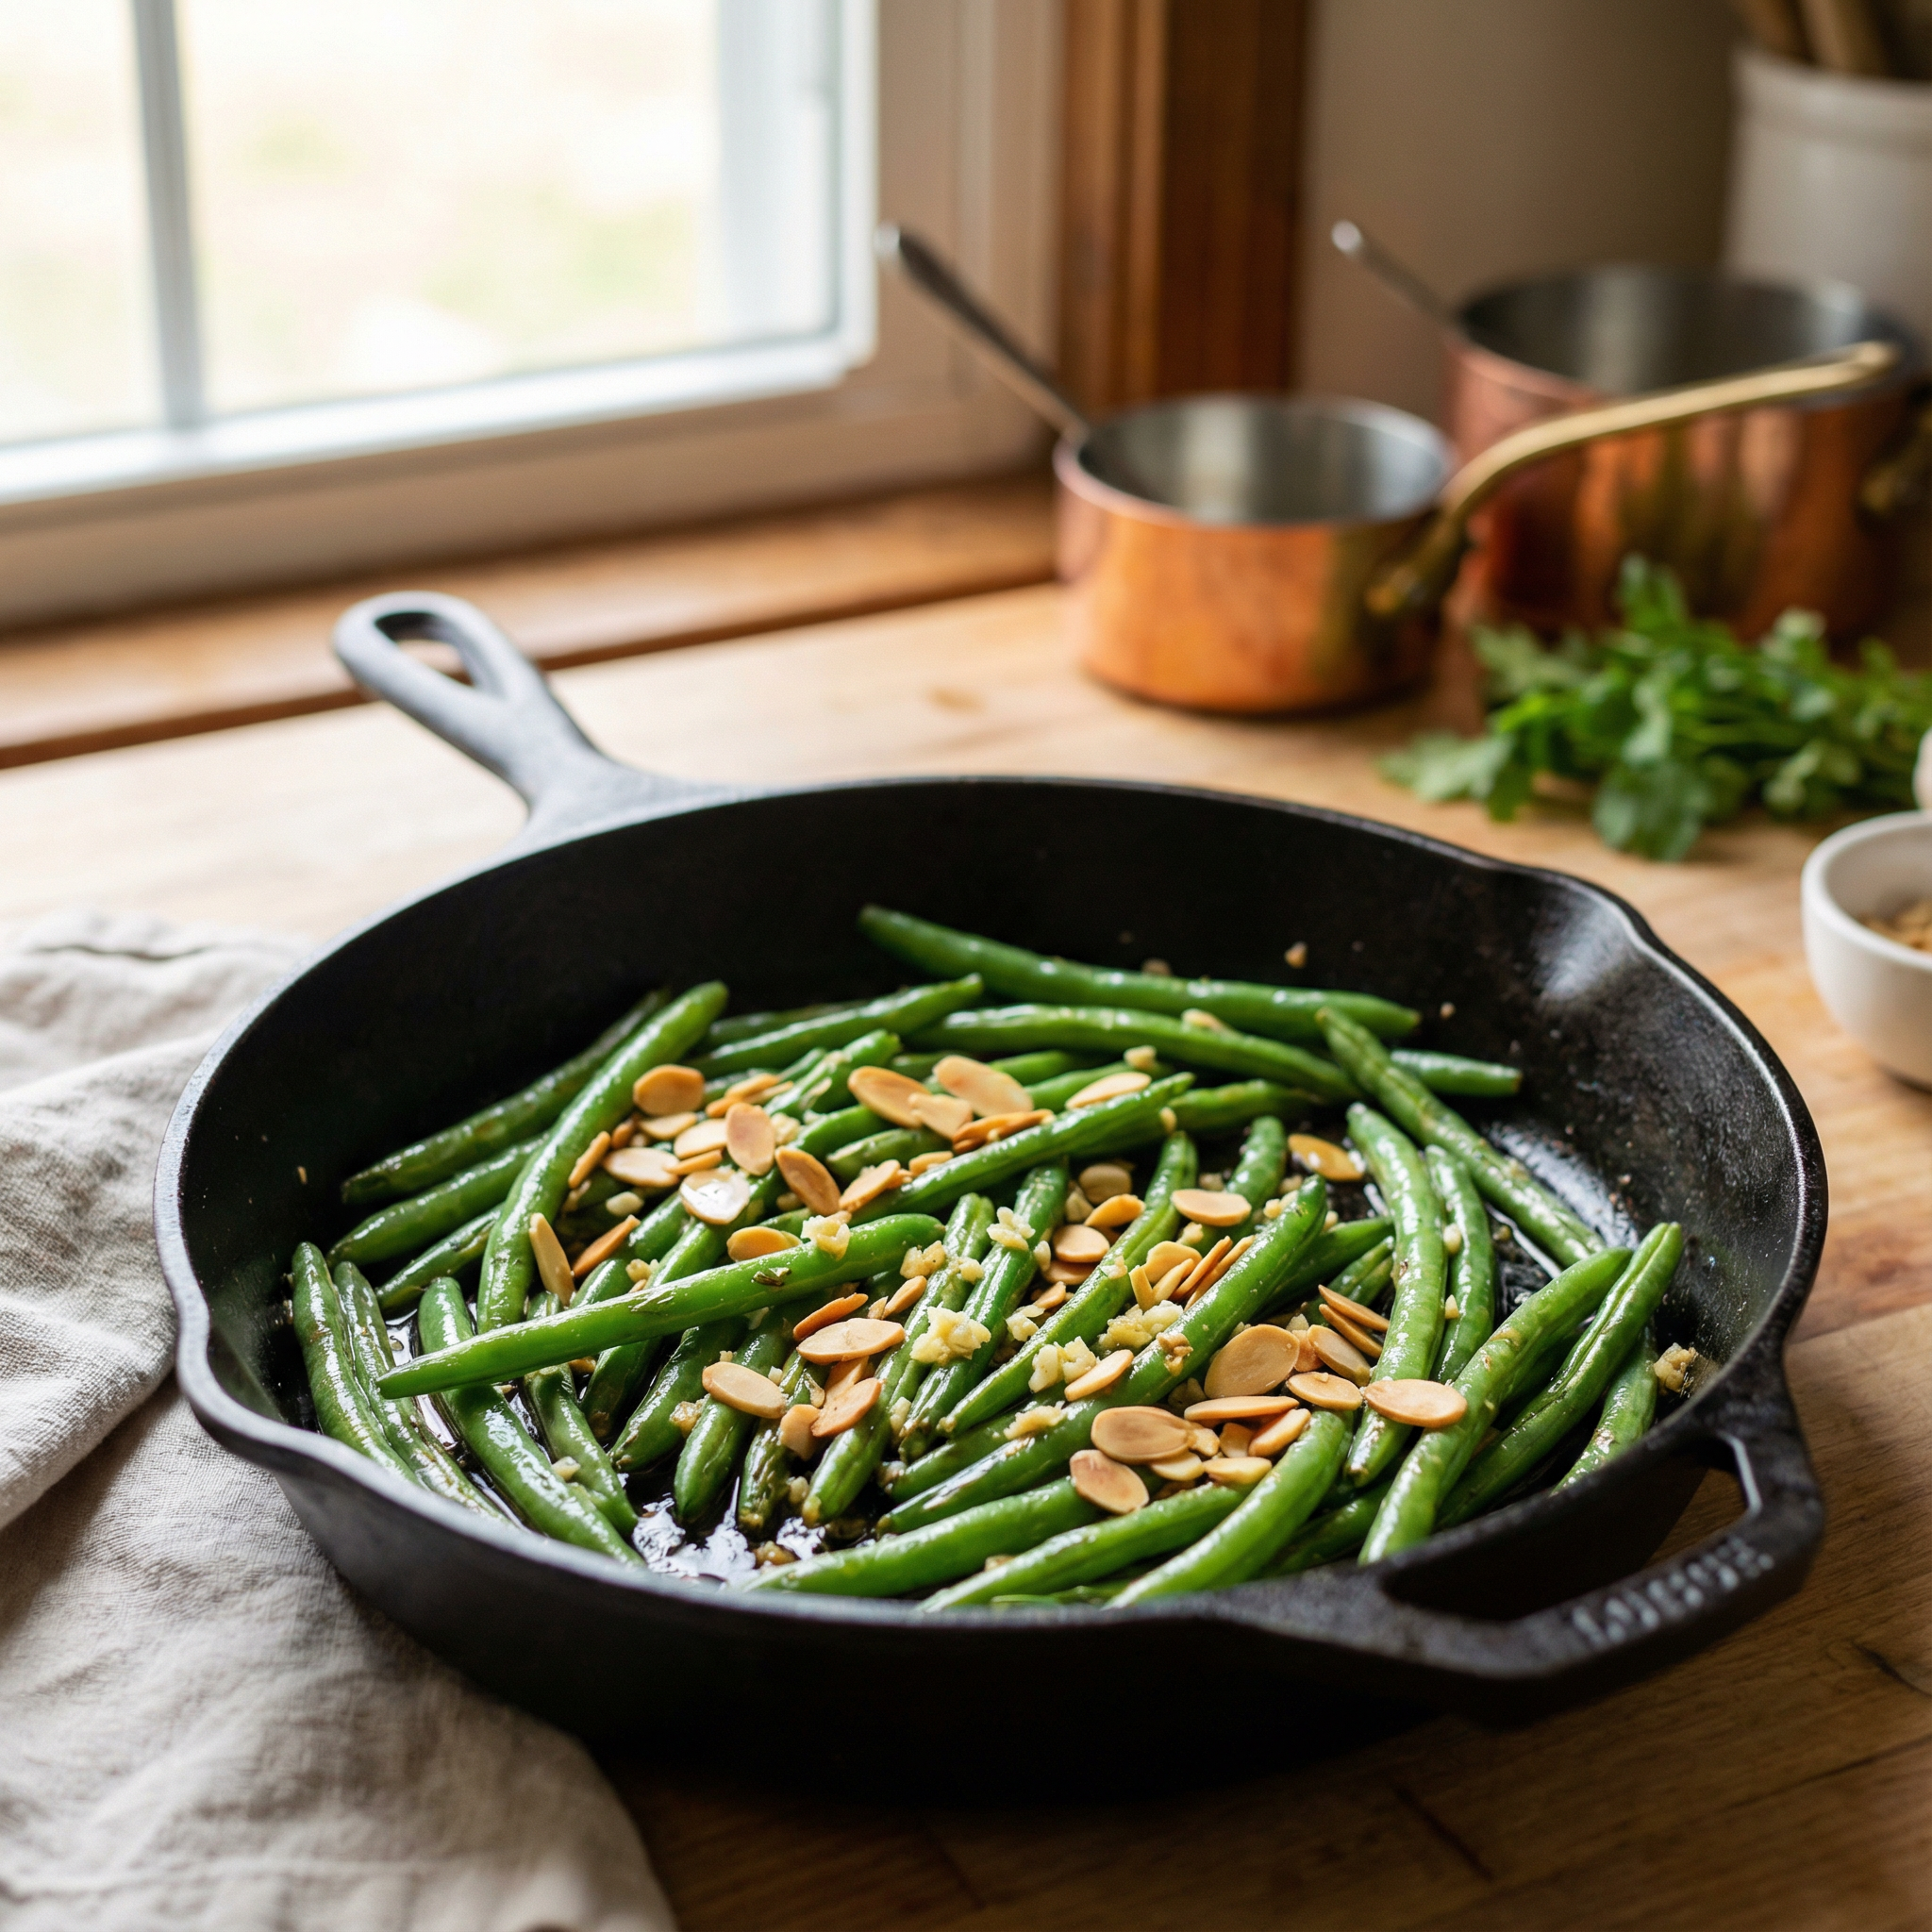
I pull a skillet from the rack and let it warm until it whispers; the smell of toasted nuts and bright herbs fills the kitchen. My hands work quickly—drying the pods, sliding a handful into the hot pan, and listening for that tiny blister that tells me they are nearly there.
This is the kind of simple dish I bring to both weeknight tables and holiday spreads. It comes together in minutes, stays crisp-tender, and keeps the nuts golden, never oily. For a full walk-through and a few variations, see my step-by-step post: fagiolini al pomodoro.
Key Takeaways
- Use a heavy skillet and tongs for best control over heat and browning.
- Blister the pods about 3 minutes, then add aromatics and nuts for a short finish.
- Oven option: high heat gives fast, even roasting—time varies by thickness.
- Dry the pods first and toast nuts separately to avoid sogginess.
- This side fits weeknights and special meals; adjust time for your preferred bite.
A family-favorite green bean side that’s fast, vibrant, and dinner-ready in minutes
I reach for a heavy skillet, a splash of good oil, and a pile of fresh green pods when I need a reliable vegetable. The stovetop version takes about 12–15 minutes total; the oven is hands-off at 425°F for 13–20 minutes. Fresh, local produce gives the best texture and that bright, slightly sweet snap.
Why this Italian-leaning classic always lands on our holiday table
My nonna taught me to toast the nuts first, then blister the pods quick and finish with a gentle hit of aromatic garlic. This order keeps flavors clear: toasted nuts stay crunchy, the aromatic stays fragrant, and the vegetables stay tender-crisp.
- I return to these beans every festa because they balance rich roasts with lively crunch and a fresh aroma that feels like home.
- The method is forgiving—ideal when oven space is tight and dinner needs a vegetable ready in minutes.
- Use a heavy skillet or cast iron for even browning; a good olive oil gives gloss without excess fat.
Quick snapshot: time, yield, and what to expect on the stovetop
Start by heating a large skillet until it gives off a steady, even warmth a few inches above the rim. This pan-first approach sets the stage for fast searing and bright color.
Total time and texture at a glance
Plan on roughly 12–15 minutes from stove to table, with active work concentrated in the last 5–7 minutes. Preheat the pan over medium-high so you blister the pods for about 3 minutes, then add the aromatics and nuts for 2 more minutes.
What “crisp-tender” looks and tastes like
When the pods turn vivid green and show tiny blisters, they should bend and gently spring back—juicy at the center but not raw. Haricots verts reach al dente near 5 minutes; thicker varieties may need an extra 2 minutes.
- Use tongs to toss; flipping keeps each surface kissing the heat.
- Toast the nuts after the initial sear so they brown without burning.
- Cook in batches if the pan gets crowded; steaming ruins the sear.
| Bean Type | Active Cook Time (minutes) | Doneness Cue | Pan Tip |
|---|---|---|---|
| Haricots verts (thin) | 4–6 | Bright color, slight bend, juicy center | Single layer in large skillet |
| Regular fresh green beans | 6–8 | Light char, tender center that springs back | Give each bean room to blister |
| Thicker heirloom pods | 8–10 | Deep color, tender through without mush | Finish a minute with lid off if needed |
Ingredients you’ll need (and smart substitutions)
I shop for pods that still snap when bent, because texture makes the dish sing. For six to seven servings plan on about 2 pounds of fresh green beans. Trim the stem ends and pat them dry—surface water fights oil and causes spatter.
I use roughly 1 tablespoon minced garlic (about 3 cloves) for a bright, balanced punch. Extra-virgin olive oil—about 2 tablespoons—keeps the flavor light. If you prefer richness, add a pat of butter or blend the two.
Almonds and toasting
Use 1/2 cup slivered almonds or sliced nuts. Slivered nuts brown evenly; sliced ones are delicate and pretty. Toast them in the pan after the beans get a quick sear so they stay golden and crisp.
Seasonings and swaps
- 1/2 teaspoon coarse sea salt and fresh ground pepper, plus a pinch of red pepper flakes.
- Lean on olive if you watch saturated fat—flavor and sheen remain excellent.
- Small tweaks: add lemon zest, a splash of vinegar, or a bit more garlic to taste.
These simple choices make shopping and prep fast, so the stove work stays joyful and foolproof. Keep the ingredients honest and the technique will follow—this recipe rewards good produce.
Step-by-step: sautéed green beans with garlic and almonds on the stovetop
I set a heavy pan on the stove and wait until it hums; that steady heat is the backbone of a quick, bright side. Gather trimmed ends, pat them very dry, and measure cloves, slivered almonds, salt, and pepper so the cook flows without pause.
Prep first: trim, dry, and measure for a quick cook
Trim the stem ends and spread the pods on a towel. Dry well—surface water causes spatter and steals heat. Have minced cloves and slivered nuts ready before you turn on the flame.
Heat the large skillet or cast iron and blister the beans
Preheat a large skillet over medium-high until it radiates. Swirl in a little olive oil, add the pods in a single layer, and let them sit about 1 minute before the first toss. Leave undisturbed near 3 minutes to form blisters and bright color.
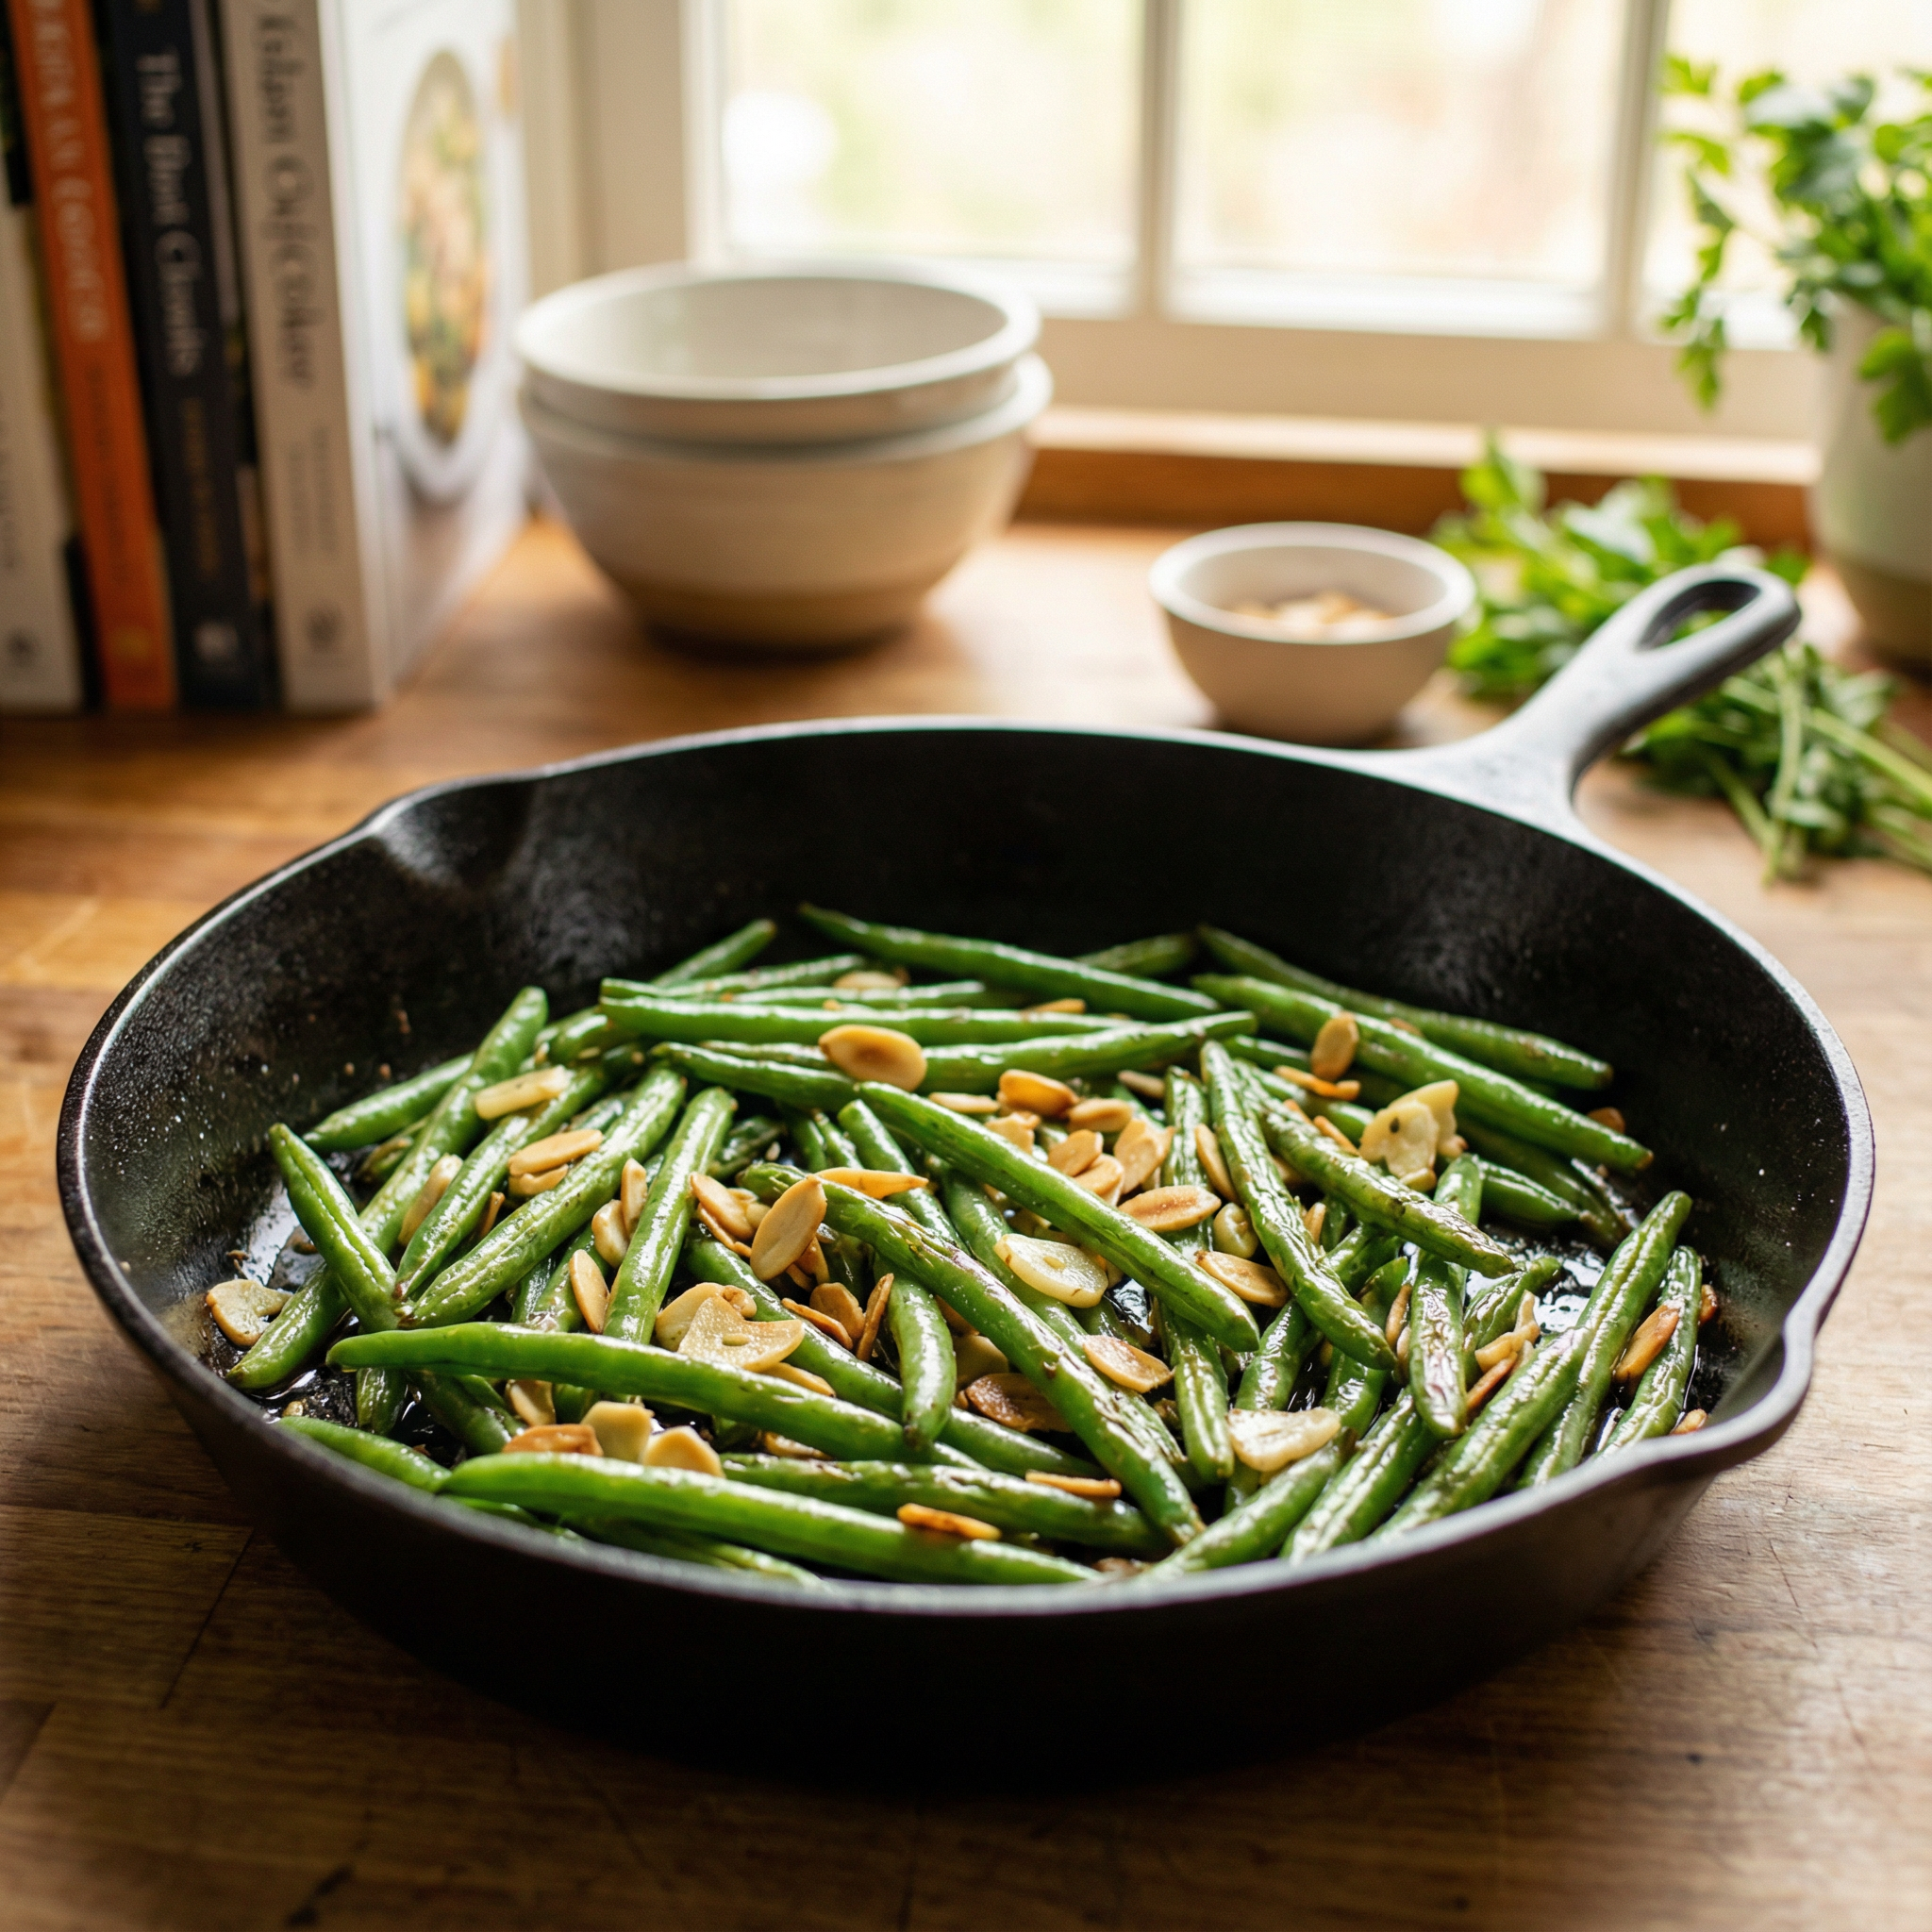
Add garlic and slivered almonds; toss until fragrant and golden
Once blistered, season with salt and crushed red pepper. Add slivered almonds and the minced cloves, tossing every 30–45 seconds so nuts toast and the aromatics perfume without burning. Cook about 2 more minutes until the nuts are golden.
Dial in doneness: al dente French beans vs. thicker green beans
Taste at about 5 minutes; haricots verts will be crisp-tender. Thicker pods may need another minute or two. For a softer bite, add 1 tablespoon water, cover for a minute to steam, then uncover to let excess moisture evaporate.
- Keep heat lively but below smoking; if the cloves brown too fast, pull the pan off briefly.
- Finish when nuts are golden and the pods bend yet still snap. Serve immediately for best texture.
| Pod Type | Active Cook Time (minutes) | Doneness Cue |
|---|---|---|
| Haricots verts | 4–6 | Bright color, slight bend, crisp-tender |
| Regular thick pods | 6–8 | Light char, tender center that springs back |
| Softer finish (steam assist) | +1 minute covered | Even tenderness throughout without losing snap |
Oven method for hands-off cooking (when stovetop space is tight)
Sliding a heavy pan into a hot oven gives me perfect browning without constant babysitting. This is my go-to when the range is full and I need a dependable side that won’t steal attention.
Preheat to 425°F and use a heavy sheet pan or a cast iron skillet so the pods roast rather than steam. Toss them on the pan with oil, salt, pepper, and the slivered nuts for even coating.
Sheet pan setup, timing, and when to add the garlic
Roast for 5 minutes, then scatter the minced cloves and toss gently. Continue roasting 8–10 minutes more, checking at about 13 minutes for al dente; extend up to 20 minutes for a softer finish.
- Spread in a single layer with space between pieces so edges caramelize.
- If the pan looks dry, add a small drizzle of oil — do not add water, which softens edges.
- Shake or stir once halfway through so the nuts brown evenly.
- Use oven mitts and transfer to a warm platter or skillet to keep heat on the way to the table.
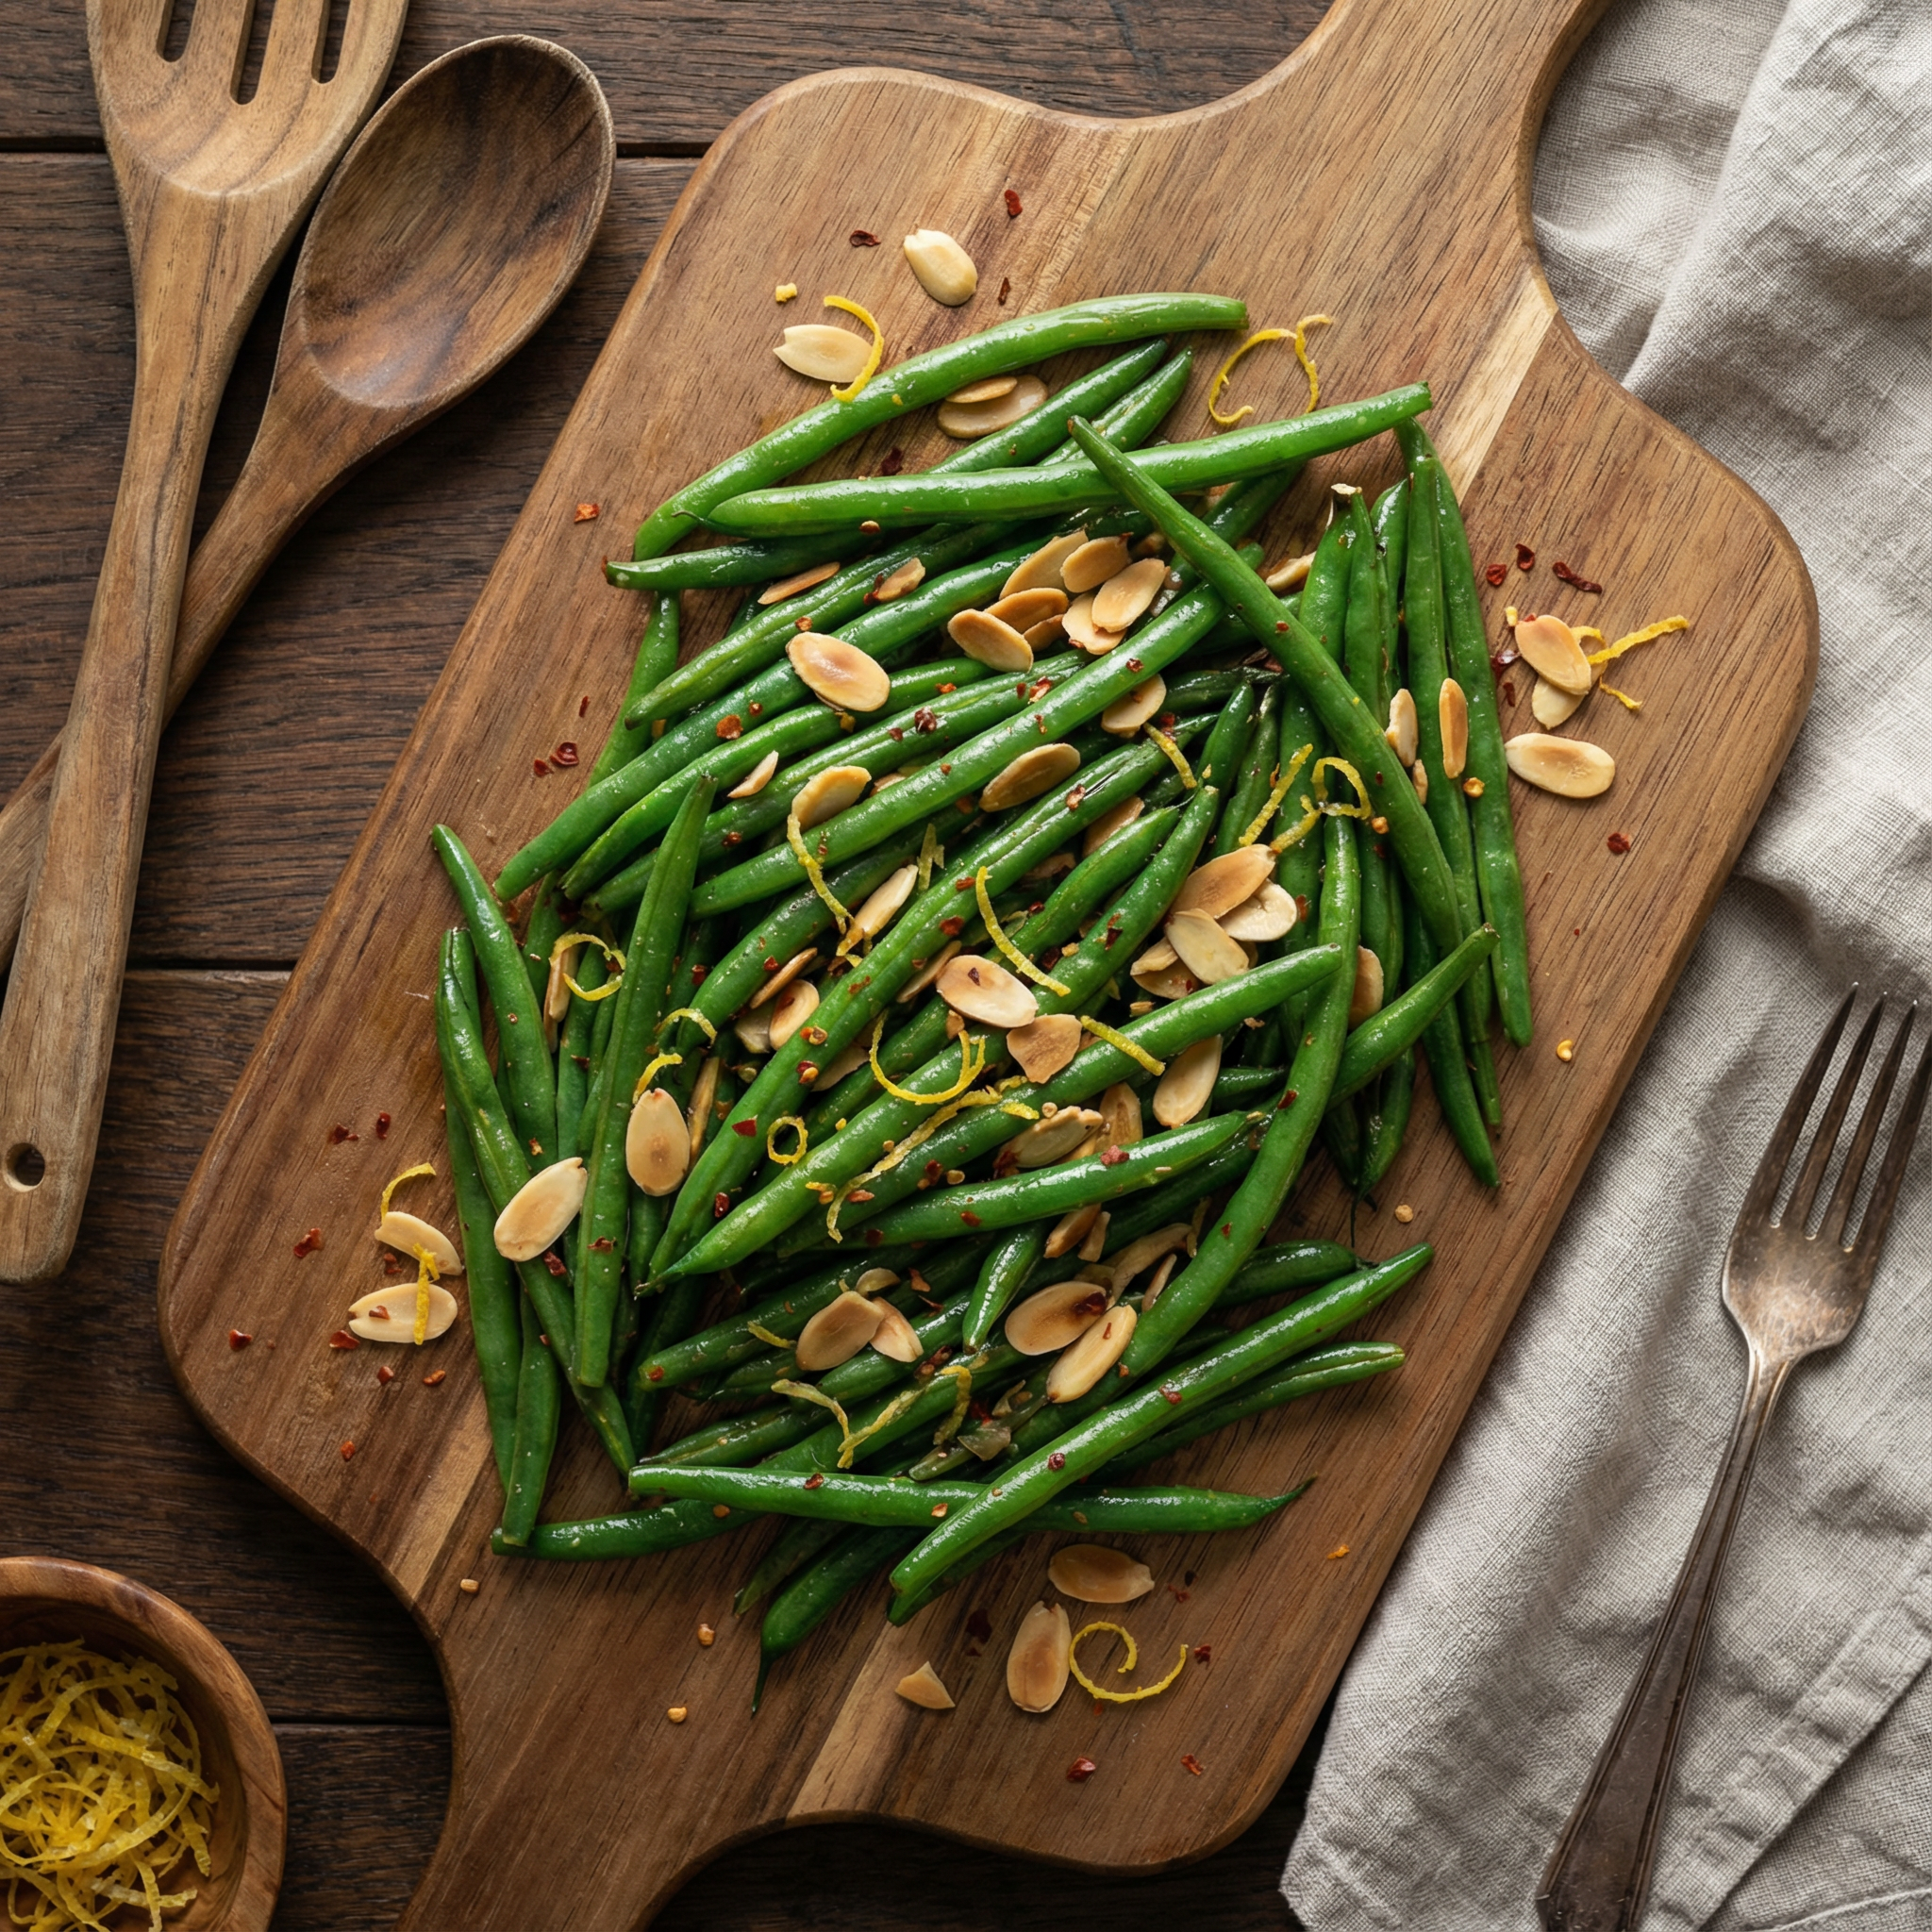
- Finish with lemon zest and a squeeze of juice at the table for brightness, if you like.
| Step | Time (minutes) | Tip |
|---|---|---|
| Initial roast | 5 | Roast nuts and start browning before adding aromatics |
| Garlic in, finish roast | 8–10 | Check at 13 for al dente; up to 20 for softer |
| Rest and serve | 1–2 | Transfer to warm dish; add zest or juice after roasting |
Flavor upgrades and variations
A quick tweak at the end—zest, a squeeze, or a drizzle of melted butter—turns the simple into the memorable. These small moves keep texture bright and let the toasted nuts stay crunchy.
Bright lemon finish: zest and juice for freshness
Add zest off heat so the citrus oils stay fragrant. Squeeze fresh juice just before serving to avoid any bitter edge.
Butter-kissed almonds for a rich, nutty edge
Melt a knob of butter, toast the slivered almonds until golden, then toss in the beans for a warm, nutty lift. If you want richness without heavy fat, finish with a splash of olive oil to balance the saturated fat.
Turn up the heat with red pepper flakes
A pinch of pepperoncino added with the garlic wakes the plate. Adjust the level and finish with a touch more salt if needed.
Dairy-free and vegan swaps that keep the flavor
Use all olive oil for a glossy finish and clean flavor. Keep finishers brief; bright herb or lemon belong on the plate seconds before serving, not while it cooks.
- Make these tweaks in the final few minutes so color and snap remain intact.
- This side adapts easily to grilled fish or roast meat.
green beans with garlic and almonds recipe: pro tips, doneness, and troubleshooting
For steady results in this simple cooking I start with a bold sear, then ease back to finish gently. This keeps the exterior blistered while the center stays juicy and bright.
No-blanch method that stays crisp-tender
Skip blanching. Heat a large skillet until lively, add oil, then spread the pods in a single layer to sear. Toss after a minute and aim for tiny blisters; that signals you can finish in a short sauté.
Steam assist: a tablespoon of water if you like them softer
If you prefer a softer bite, add 1 tablespoon of water, cover for one to two minutes, then uncover to let steam escape. Watch closely—add plain water sparingly so you don’t lose the snap.
Using frozen beans or Instant Pot Sauté without mush
Frozen produce is pre-blanched; rinse quickly to separate, shake dry, then sauté straight from the bag on high heat. In an Instant Pot, choose Sauté only—pressure mode, even at zero minutes, overcooks.
How to avoid burned garlic and nuts
- Add garlic and almonds after the initial sear so they brown gently, not darken to bitter.
- Keep the heat lively but controlled; if the aromatics threaten to brown, lift the pan off heat, toss, then return at a lower flame.
- If nuts darken too soon, remove them, finish the vegetables, then fold the toasted nuts back in.
| Issue | Likely cause | Fix | Time impact |
|---|---|---|---|
| Bitter cloves or nuts | Aromatics added too early or too hot | Add after sear; lower flame | -1 to +1 minutes |
| Soggy texture | Pan overcrowded or excess water | Cook in batches; avoid adding water unless steaming briefly | +2–3 minutes |
| Mushy finish | Pressure cooking or over-steaming | Use Sauté only; steam 1–2 minutes max | +0–2 minutes |
Taste the bean for doneness; it should bend and release a little juice with a clean snap. Follow these tips and this green beans recipe will be foolproof every time.
Nutrition, equipment, and make-ahead notes
This serving is a light, nutritious side that gives meaningful vitamins and honest fiber without heavy calories. I count it as a bright counterpoint to richer mains—modest protein and a touch of iron round out the plate.
Light side benefits
One portion supplies fiber and vitamins A and C, plus modest protein and iron for balance. Choosing olive oil instead of butter lowers saturated fat while keeping flavor and sheen.
Best pans for blistering and sear
I favor a heavy skillet or cast iron pan. Even heat lets edges brown without steaming, so you get crisp-tender texture every time.
Storage and quick reheating
- Keep leftovers in an airtight container for up to 3-4 days in the fridge.
- To revive: hot pan for 60–90 seconds restores snap; add a teaspoon of oil or a splash of water if dry, then evaporate quickly.
- Serve cold in salads—chop, squeeze lemon, and finish with a pinch of pepper.
| Item | Benefit | Tip |
|---|---|---|
| Fiber & vitamins | Satiety, bright flavor | Serve soon after cooking for best texture |
| Cast iron / skillet | Even heat, better sear | Preheat well before adding oil |
| Leftovers (3-4 days) | Easy make-ahead | Refresh quickly in pan; season after reheating |
What to serve this with and a friendly nudge to make it tonight
Pairing this dish with roast chicken or a simple grilled steak highlights its bright snap. It also sings next to holiday ham or turkey and stands up to pork chops or skillet chicken parmesan—warm or room temperature both work.
I like to bring it to the table in a warm cast iron or heavy skillet so the side stays cozy. Finish with a quick squeeze of lemon off the heat, a pinch of salt and pepper, and a final drizzle of olive oil.
Keep a cup of toasted nuts for garnish and don’t forget those tidy ends you trimmed. If this post helped, pin it and try the green beans recipe tonight—you’ll be glad you did. For a great chicken pairing, see skillet chicken parmesan.
Sautéed Green Beans with Garlic and Almonds
Ingredients
Method
- Trim the stem ends of the green beans.
- Pat the beans dry to prevent splatter when cooking.
- Mince the garlic and measure out the slivered almonds.
- Prepare salt, pepper, and red pepper flakes.
- Preheat a large skillet or cast iron pan over medium-high heat.
- Add a swirl of olive oil and wait until the pan is warm and radiating even heat.
- Add the green beans in a single layer, let them sit for 1 minute before tossing.
- Let the beans blister for about 3 minutes, until they show bright color and tiny blisters.
- Once the beans are blistered, add the minced garlic and slivered almonds.
- Toss every 30-45 seconds to ensure the garlic doesn't burn, and the almonds toast evenly.
- Cook for another 2 minutes, allowing the garlic to become fragrant and the almonds to turn golden.
- Taste for doneness. The beans should be crisp-tender.
- If you want them softer, add a tablespoon of water and cover the pan for 1 minute, then uncover to let moisture evaporate.
- Once the beans are golden and tender, transfer to a serving dish.
- Finish with a squeeze of lemon juice and zest, if desired. Serve immediately for best texture.
Notes
- If you're using thicker green beans, they may need a little more time to cook, about 8–10 minutes.
- For a richer flavor, you can use butter instead of olive oil, or a mix of both.
- You can add a pinch of red pepper flakes for a slight heat, or even some lemon zest for a fresh twist.
- For a vegan version, simply use olive oil and skip the butter.