
Jump to Recipe
There’s something deeply comforting about the aromas that fill a kitchen when Italian cooking is underway. The gentle sizzle, the rich tomato scent mingling with herbs, the golden cheese bubbling – it feels like home.
Traditional versions of this beloved dish often require significant time and effort. The process can feel daunting on busy weeknights when you crave that satisfying comfort without the lengthy preparation.
This approach transforms the classic into something remarkably approachable. I’ve tested this method thoroughly, adjusting temperatures until achieving perfect texture. The result is tender inside with a genuinely crispy exterior.
What makes this preparation work so well is how it respects the soul of Italian cooking while adapting to modern kitchens. Quality ingredients and proper seasoning remain essential. The technique simply fits how we cook today.
Whether you’re preparing a quick Tuesday dinner or a weekend meal that feels special, this version delivers impressive results. It tastes like you put in far more effort than you actually did.
Key Takeaways
- Transforms a traditional dish into a quick weeknight option
- Uses significantly less oil than classic preparation methods
- Delivers crispy texture without stovetop splattering
- Ready in under 30 minutes from start to finish
- Maintains authentic flavors while simplifying the process
- Works equally well for small or larger gatherings
- Converts even those skeptical about this vegetable
Finding the Perfect Eggplant for Your Italian Recipe
The foundation of any great vegetable dish begins with choosing quality ingredients from the start. Your selection at the market directly impacts the final texture and flavor of your creation.
How to Choose a Firm, Shiny Eggplant
Look for specimens with taut, glossy skin that feels heavy for its size. This indicates dense, moist flesh rather than dried-out interior. The vegetable should spring back when gently pressed.
Examine the skin for smoothness and lack of blemishes. A fresh green cap at the top signals recent harvesting. These visual cues ensure optimal quality for breading and cooking.
Why Medium-Sized Eggplants Stand Out
Select pieces weighing one to one and a half pounds for ideal results. This size offers the best balance between tender flesh and manageable seed content. Larger varieties often develop bitter seeds.
Uniform diameter from top to bottom creates consistent slices. Even thickness matters tremendously when cooking multiple pieces simultaneously. Your rounds will cook more evenly this way.
Preparing Your Eggplant: Salting and Slicing Techniques
Proper preparation transforms this vegetable into its best possible version. These initial steps are simple but make a significant difference in the final texture.
They ensure a tender interior and a surface ready for a crisp coating.
Simple Steps to Salt Away Excess Moisture
Salting is not an old ritual. It genuinely pulls out water and bitter notes. This changes a potentially watery vegetable into something tender and sweet.
I slice the vegetable into rounds about half an inch thick. I arrange them on a wire rack over a sheet pan. Then, I sprinkle both sides generously with salt.
Let the slices rest for a full 30 minutes. You will see small beads of moisture form. This is exactly what you want to happen.
Some guides suggest 20 minutes, but I find the extra time is worth it. It works especially well for larger pieces. After the time is up, pat each slice firmly with a paper towel.
This removes the liquid and extra salt. Press gently to avoid crushing the structure. This step helps the breading stick and prevents steaming.
Achieving Even ½ Inch Slices for Uniform Cooking
Consistent thickness matters more than you might think. A small difference can lead to uneven results. Some pieces may be done several minutes before others.
I measure the first few slices with my fingers. Then I use them as a guide for the rest. This ensures everything cooks at the same rate.
Aim for a uniform half-inch for all your slices. This is key for a batch where every piece is perfectly cooked. It avoids a mix of crispy and rubbery textures.
For a different take on this vegetable, consider a grilled preparation. It offers another wonderful way to enjoy its flavor.
Essential Ingredients That Elevate the Dish
The right ingredients transform this dish from simple to spectacular. While the method is straightforward, component quality matters enormously. Your choices here determine the final result’s authenticity and depth.
Quality Marinara Sauce and Cheese Selections
Your tomato sauce carries significant flavor weight. I consistently use Rao’s Homemade Marinara for its bright, properly seasoned taste. Generic brands often contain added sugar that alters the balance.
For the cheese component, freshly grated Parmigiano Reggiano adds nutty complexity. Pre-grated varieties cannot match its flavor. Pecorino Romano works beautifully if that’s what you have available.
The melted mozzarella topping should come from a block you shred yourself. Whole-milk varieties melt more smoothly than pre-shredded options. Provolone or fontina make excellent alternatives for different flavor profiles.
Panko breadcrumbs create a lighter, crispier coating than regular crumbs. Their flaky texture stays crunchy even after adding sauce and cheese. This prevents a pasty, dense result.
Season the breading with garlic powder and Italian seasoning. Use good olive oil in a mister bottle for even coating. Eggs with a splash of milk help the seasoned panko adhere properly to each slice.
Air Fryer vs. Oven: Exploring Cooking Methods for Crispiness

When it comes to creating a crispy coating, the cooking appliance you select plays a crucial role in the final outcome. Both methods deliver excellent results, but they serve different kitchen scenarios.
Countertop appliances excel for smaller batches and faster cooking times. Traditional ovens work better when feeding a crowd. Understanding these differences helps you choose the right tool.
Adjusting Time and Temperature for Best Results
I’ve tested this recipe extensively across different models. The ideal temperature balance falls around 380°F for most countertop units. This setting creates golden-brown perfection without burning the delicate coating.
Thicker slices may need an extra minute or two. Watch for that deep golden color and tender texture when pressed gently. These visual cues signal perfect doneness.
| Method | Temperature | Cooking Time | Best For |
|---|---|---|---|
| Countertop Appliance | 380°F | 8-10 minutes | Small batches, quick meals |
| Conventional Oven | 425°F | 27-30 minutes | Family dinners, larger quantities |
| High-Heat Countertop | 375°F | 6-8 minutes per side | Models that run hotter |
The final cheese-melting stage requires careful attention. Just 1-2 minutes creates bubbly, perfectly melted topping. Overcooking by mere seconds can lead to rubbery results.
Your first attempt with this recipe should include some observation. Note how your specific model performs and adjust accordingly for future batches.
air fryer eggplant parmesan italian: A Modern Twist on a Classic
The evolution of classic recipes often brings welcome changes to our kitchens. This contemporary preparation maintains the soul of the original while fitting modern lifestyles.
It delivers the same comforting flavors with significantly less effort and cleanup.
Marrying Traditional Italian Flavors with Air Fryer Ease
Traditional preparations typically involve pan-frying breaded slices in generous oil. This creates delicious results but demands considerable time and attention. The countertop appliance approach honors the essential character while simplifying the process.
I’ve prepared the classic method many times over the years. While I cherish the results, I appreciate the cleaner, quicker alternative. This version uses about one-tenth the fat of traditional frying.
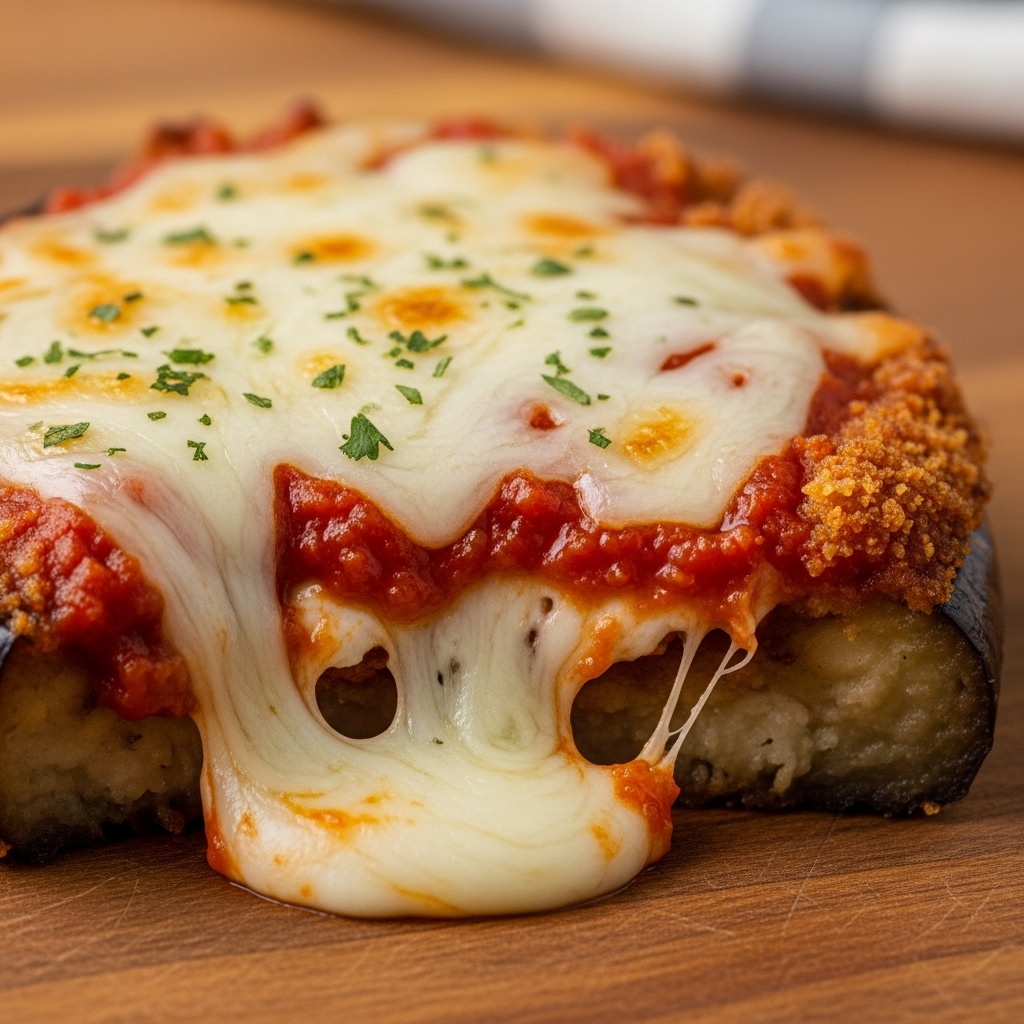
The hot circulation creates genuine crispiness with minimal oil. You achieve remarkably similar texture to deep-frying without the heavy feeling. The flavors remain thoroughly authentic—the technique simply adapts to contemporary preferences.
This dish tastes exactly as it should: savory and satisfying with distinct layers. Yet you can prepare it on busy weeknights without dedicating your entire evening. It’s a practical update that respects tradition while embracing modern convenience.
Mastering the Breading and Seasoning Process
A well-executed coating makes all the difference between ordinary and extraordinary results. This step requires careful attention but delivers remarkable texture.
Set up your workspace with two shallow bowls. The first bowl holds the binding agent. The second contains the crispy coating blend.
For the wet mixture, whisk two eggs with a tablespoon of milk. This creates a thin, even layer that helps the breading adhere properly. Let excess drip back into the bowl before moving to the next step.
The dry mixture combines panko breadcrumbs with freshly grated cheese, flour, and seasonings. Press each slice firmly into this blend to ensure complete coverage. Thick, even coating prevents soggy spots.
| Component | Purpose | Key Tips |
|---|---|---|
| Egg Wash | Binding agent | Let excess drip off |
| Panko Blend | Crispy coating | Press firmly for adhesion |
| Seasoning Mix | Flavor enhancement | Distribute evenly |
Handle breaded pieces gently at this stage. The coating can easily slide off if handled roughly. Transfer them carefully to a clean tray.
Let the coated slices rest for five minutes before cooking. This allows the breading to set properly. The result is a crisp, golden exterior that holds its texture beautifully.
Step-by-Step Instructions for Air Fryer Success
The final stage of preparation brings together all the elements for a truly satisfying result. Following these precise steps ensures each component reaches its full potential.
Begin by preheating your appliance to 380°F for about two minutes. This ensures the cooking chamber reaches proper temperature before the vegetable slices go in.
Layering Marinara and Melting Mozzarella to Perfection
Spray the basket generously with oil, then arrange your breaded slices in a single layer without overlapping. I use avocado oil spray for even coverage.
Cook the first batch for 8 minutes without opening the basket. The heat circulation creates that essential crispy texture we’re aiming for.
After 8 minutes, carefully top each slice with about two tablespoons of marinara sauce. Sprinkle generously with shredded mozzarella cheese. Return to the appliance for just 1-2 more minutes until the cheese melts completely.
Maintaining a Delicate, Crispy Texture
Resist the temptation to check the slices early. Opening the appliance releases heat and disrupts the cooking process. This can add extra minutes to your total time.
Watch closely during the final cheese-melting stage. The mozzarella should bubble and brown lightly at the edges. This happens quickly, so don’t walk away.
Repeat the process with remaining slices, maintaining the same careful attention to spacing and timing. Consistency between batches ensures every piece is equally delicious.
Creative Serving Ideas and Perfect Pairings
Once your main component is ready, thoughtful pairings elevate the entire meal. I find this preparation works beautifully as a complete light dinner when served with crisp greens. A simple green salad dressed with bright vinaigrette provides refreshing contrast to the rich, cheesy flavors.
This dish also makes an excellent side for pasta nights or protein-focused meals. It complements shrimp linguine wonderfully and adds vegetable content to grilled chicken dinners. The Italian character shines through without overwhelming other components.
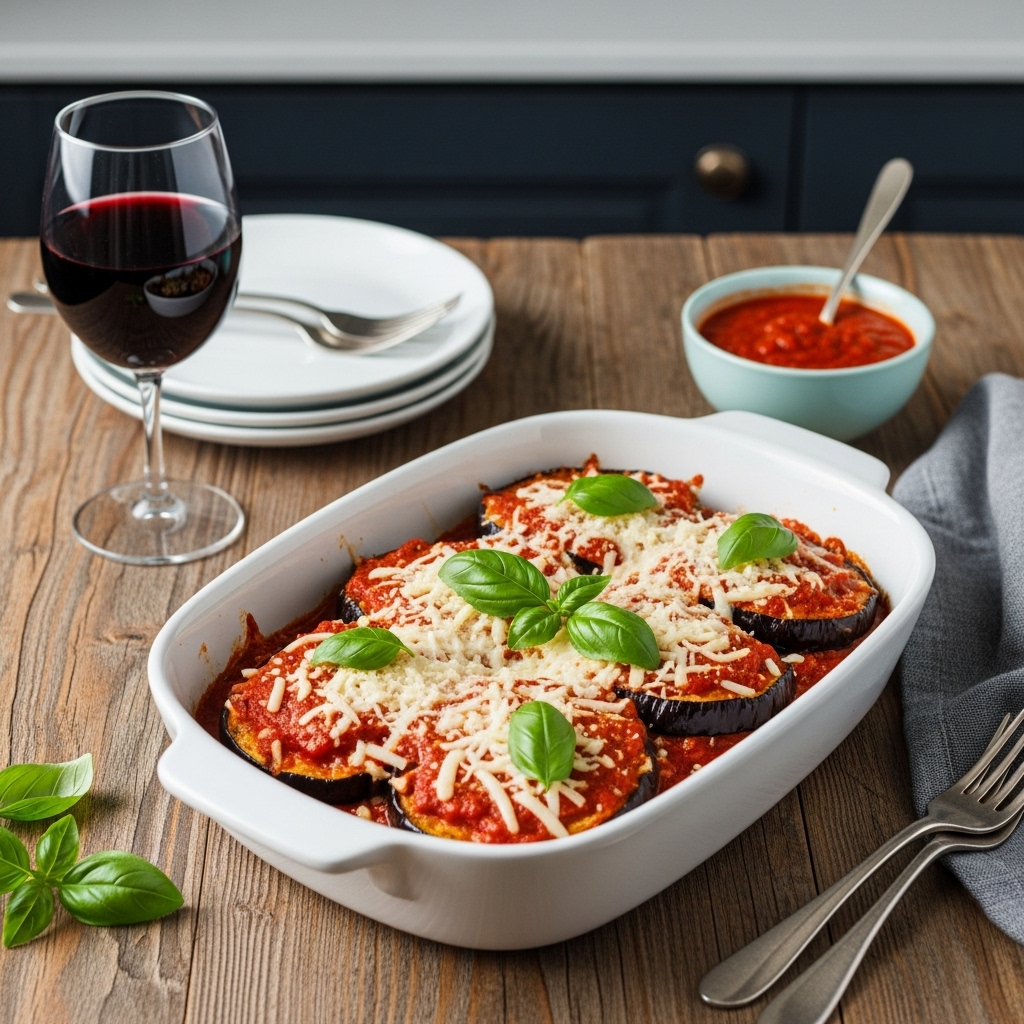
For heartier occasions, try serving it with creamy mashed potatoes or roasted potatoes. This creates a satisfying vegetarian plate that pleases everyone at the table. Fresh basil leaves torn over the top just before serving add color and aromatic notes.
Keep extra marinara sauce available for those who prefer saucier presentations. Crusty bread for dipping and a medium-bodied red wine round out the experience. These combinations transform a simple recipe into something special for any occasion.
Expert Tips for Reheating and Storing Leftovers
Having a reliable method for storing and reheating means you can enjoy this meal throughout the week. Proper handling preserves both flavor and texture, turning leftovers into welcome meals rather than compromises.
Allow your cooked slices to cool completely before storing. This prevents condensation that would make the coating soggy. I find room temperature cooling works best for maintaining quality.
Retaining Crispiness with Quick Air Fryer Reheat
The countertop appliance excels at bringing back that desirable crunch. Just two to three minutes at 350°F restores the crispy exterior while heating the interior evenly.
Microwave reheating works when you’re short on time. Expect about ninety seconds for thorough warming. The trade-off is softer breading versus the convenience of speed.
Best Practices for Airtight Storage
Use a quality airtight container to maintain freshness. Layer slices with parchment paper between them if stacking. This prevents sticking and makes individual portions easy to retrieve.
Your stored creation will keep well for up to five days. For longer preservation, freezing works beautifully. Wrap portions tightly and they’ll maintain quality for two months.
I’ve discovered these slices make a wonderful breakfast when topped with a fried egg. The runny yolk creates a rich, savory combination that feels indulgent yet practical.
Final Thoughts on a Delicious, Healthy Italian Dish
What makes this preparation so valuable is how it bridges the gap between time-honored recipes and contemporary cooking realities. This eggplant parmesan maintains the soul of traditional Italian cooking while fitting modern lifestyles.
I’ve found this version earns a permanent spot in my weekly rotation. It delivers authentic flavor and texture with significantly less effort. The method proves you can honor classic dishes while adapting to today’s preferences for lighter, faster cooking.
This approach removes barriers that might intimidate home cooks. It makes the dish accessible for any skill level. The result consistently satisfies both family dinners and guest meals.
These recipes demonstrate how we can preserve culinary traditions while embracing practical improvements. They maintain essential character while fitting real kitchen workflows.

Air Fryer Eggplant Parmesan
Ingredients
Method
- Slice the eggplant into ½-inch thick rounds.
- Place the slices on a wire rack over a sheet pan and sprinkle both sides generously with salt.
- Let the eggplant rest for 30 minutes to draw out moisture. You will notice small beads of moisture form on the surface.
- After 30 minutes, gently pat each slice with a paper towel to remove excess moisture and salt.
- In a shallow bowl, whisk together 2 eggs and 1 tablespoon of milk.
- In another shallow bowl, combine panko breadcrumbs, grated Parmigiano Reggiano, garlic powder, and Italian seasoning.
- Dip each eggplant slice into the egg mixture, allowing excess to drip off, then press into the breadcrumb mixture to coat evenly.
- Place the breaded slices on a clean tray and let them rest for 5 minutes to set the breading.
- Preheat the air fryer to 380°F for 2 minutes.
- Spray the air fryer basket with olive oil spray, then arrange the breaded eggplant slices in a single layer. Avoid overlapping.
- Cook the first batch for 8-10 minutes without opening the basket, until crispy and golden brown.
- After 8-10 minutes, carefully top each eggplant slice with about 2 tablespoons of marinara sauce.
- Sprinkle a generous amount of shredded mozzarella on each slice.
- Return the slices to the air fryer and cook for 1-2 more minutes until the cheese is bubbly and lightly browned at the edges.
- Repeat steps 4 and 5 with the remaining eggplant slices.
- Serve the Air Fryer Eggplant Parmesan immediately with a side of salad, pasta, or as a light main dish. Optionally, garnish with fresh basil leaves.
Notes
- Make sure to choose medium-sized, firm eggplants for the best texture.
- Use freshly grated cheese for a more flavorful result.
- Adjust cooking time based on your air fryer model and eggplant slice thickness.
- To reheat, place leftovers in the air fryer for 2-3 minutes at 350°F to restore crispiness.