
Jump to Recipe
There’s a particular joy in making a recipe that feels like a story. You can almost picture the Sardinian countryside, where cooks created something truly special from what they had on hand.
This dish balances rich, savory notes with a touch of natural sweetness. It’s a testament to tradition, transforming simple, honest ingredients into a memorable experience.
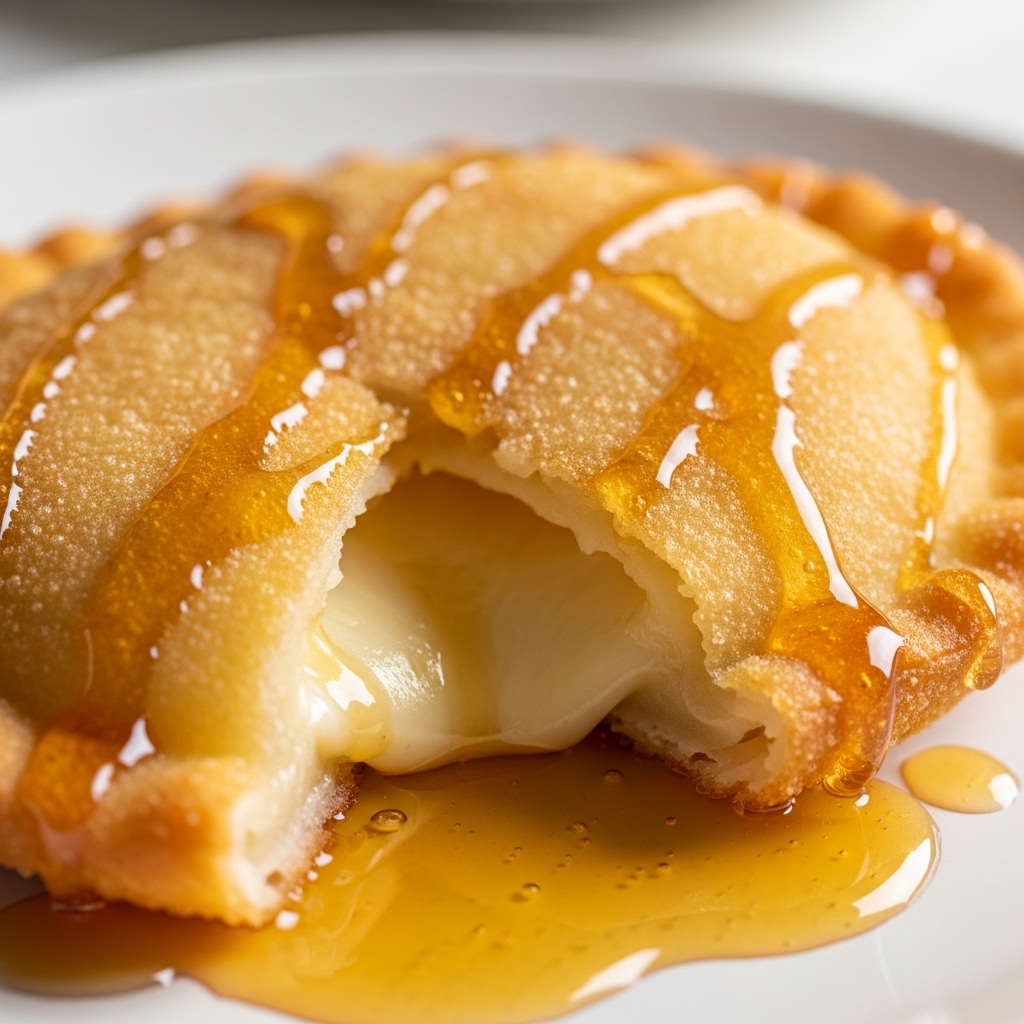
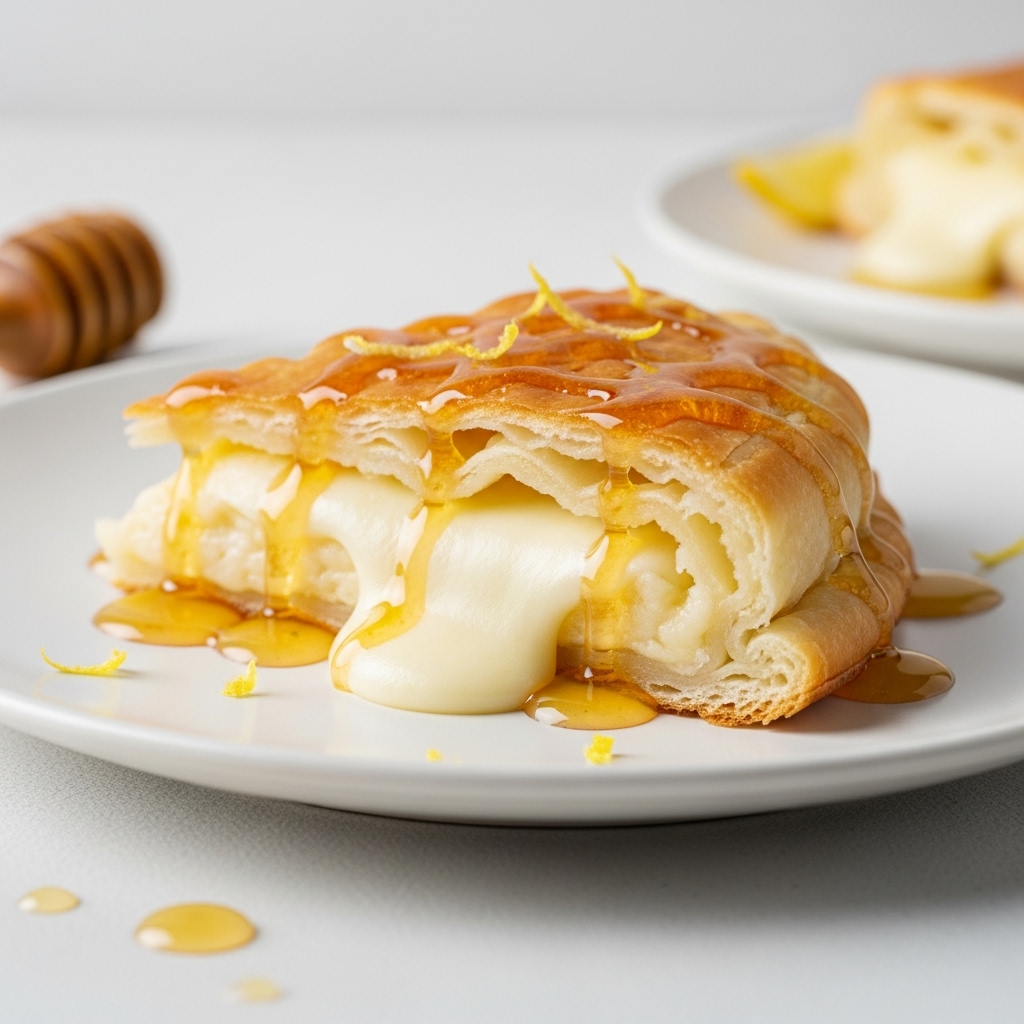
I love how the golden, crisp exterior gives way to a soft, melting center. The final drizzle of honey brings everything together in a beautiful, harmonious way.
This recipe stays true to its roots while being completely achievable in a modern home kitchen. Let’s explore how to make these delightful pastries.
Key Takeaways
- This recipe has deep roots in pastoral Sardinian tradition.
- It features a unique combination of savory and sweet flavors.
- The dough fries to a satisfying, golden crispness.
- A soft, melted cheese filling is the heart of the dish.
- A finish of floral honey creates a perfect balance.
- While celebratory in origin, it’s now enjoyed as a sweet course.
- The method is straightforward and designed for home cooks.
Exploring the Heritage of Seadas
Understanding the origins of this dish helps us appreciate why certain techniques matter. The preparation comes from central Sardinia’s pastoral regions where sheep farming dominated the landscape.
Families in these communities had abundant access to fresh pecorino and local honey. These ingredients formed the foundation of their celebratory cooking.
Originally, this kind of food served as a substantial main course rather than a sweet ending. Women prepared it to mark special homecomings and occasions.
| Aspect | Traditional Practice | Modern Adaptation |
|---|---|---|
| Primary Role | Main course for celebrations | Sweet course or dessert |
| Cheese Used | Young sheep’s milk pecorino | Various fresh cheeses |
| Occasion | Special homecomings and events | Everyday meals and gatherings |
| Preparation Time | Labor-intensive, celebratory effort | Streamlined for home kitchens |
The name itself varies across the island—you might hear seadas or sebadas depending on the region. What remains consistent is the fundamental approach.
Encasing cheese in pastry and frying it to golden perfection creates a wonderful texture. The final honey drizzle completes the balance that has satisfied generations.
This way of cooking demonstrates practical wisdom. It shows how simple ingredients can become extraordinary through careful technique.
Gathering the Ingredients: Key Components of Your Seadas
Success with this dish starts long before the stove is on. Choosing the right components makes all the difference between a good result and an exceptional one.
We will focus on the elements that create the signature taste and texture. Paying close attention here ensures your final pastries are authentic and delicious.
Dough Essentials and Textural Secrets
The foundation is a simple, sturdy dough. Its job is to encase the filling and become wonderfully crisp when cooked.
Semolina flour often gives the best structure. It provides a slight graininess that contrasts beautifully with the soft interior.
Cheese & Honey Harmony
The filling’s heart is a young, fresh pecorino. You need a soft cheese, often called primosale, that is slightly tangy but not salty.
Press it with your finger; it should give slightly. Avoid the hard, aged Pecorino Romano used for grating.
If you cannot find this pecorino cheese, Dolce Sardo is a perfect substitute. Low-moisture mozzarella also works well, melting beautifully.
Never use cream cheese. It behaves differently when heated and will not provide the right texture.
Grated lemon zest brightens the filling. Use only the yellow part of an organic lemon, avoiding the bitter white pith.
The final touch is the honey drizzle. Corbezzolo honey is traditional, offering a unique bittersweet flavor.
Chestnut honey is robust, while acacia honey is milder and floral. Warm your chosen honey slightly before drizzling for the best results. For more detailed steps, see the complete recipe.
Step-by-Step: Crafting the seadas sardinian fried cheese dessert
Assembling the pastries is where careful preparation pays off, transforming simple dough and filling into a cohesive whole. This step requires a gentle touch and focus on technique to ensure a perfect result.
Rolling Out the Dough and Forming Wrappers
Begin by rolling your rested dough to a thickness of about two millimeters. Use a round pastry cutter to create uniform circles, typically four to five inches across.
This consistency helps them cook evenly. Keep the unused dough covered to prevent it from drying out while you work.
Artful Sealing With a Fork for a Perfect Finish
Place a small portion of your chopped cheese cubes in the center of one dough circle. Leave a clear border of about an inch. Add a tiny pinch of lemon zest right on top.
Carefully place a second dough circle over the first. Gently press around the filling with your fingertips to remove air pockets.
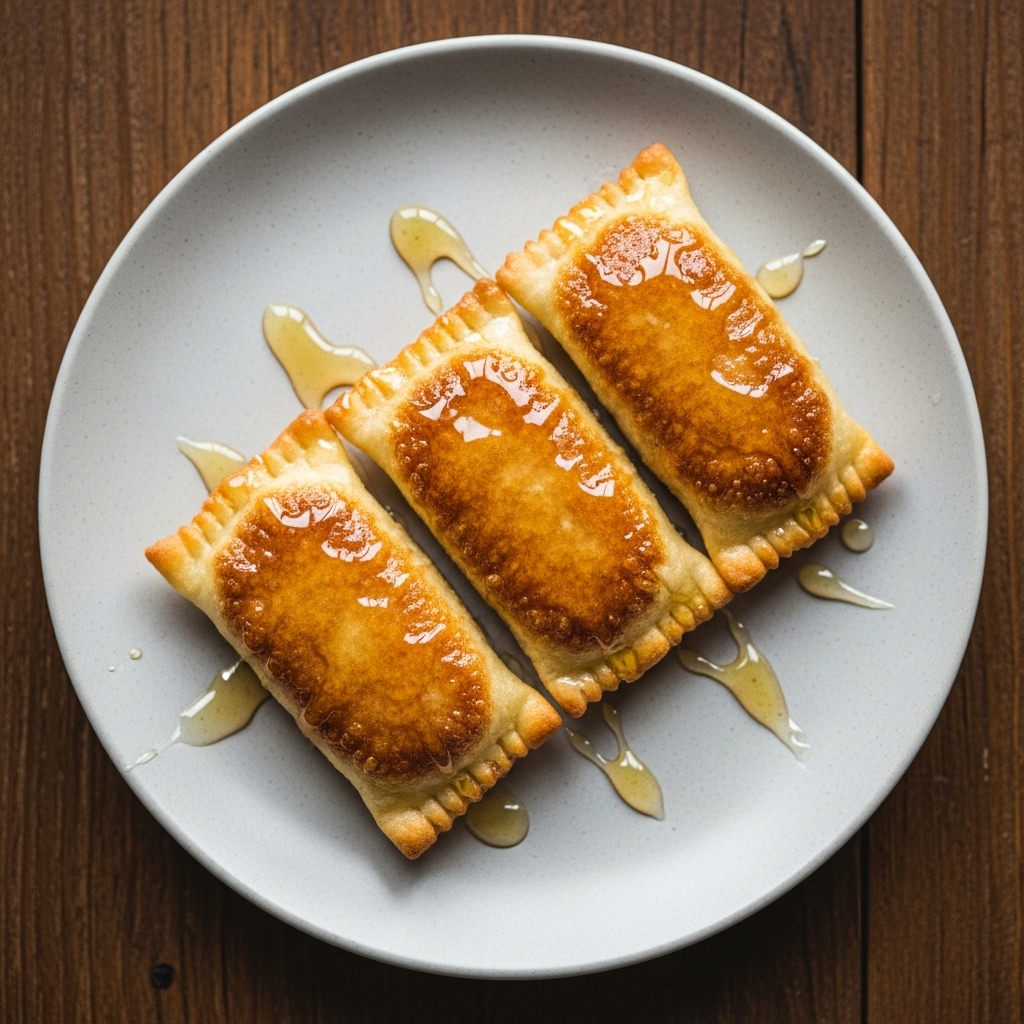
Now, take a fork and press firmly all around the edges. This creates a tight, ridged seal that is both functional and traditional. I recommend going around the perimeter twice for security.
A proper seal is crucial. It contains the molten cheese filling during cooking, giving you that perfect, crisp bite.
Achieving the Perfect Fry: Techniques and Temperature Tips
Proper frying technique makes all the difference between a good result and an exceptional one. This stage requires careful attention to temperature control and timing.
We’ll focus on two key aspects: ensuring your oil is ready and maintaining that ideal golden exterior throughout the cooking process.
Oil Readiness and Temperature Checks
Begin by heating your oil over medium to low heat. The right temperature is crucial for proper cooking.
Test the oil’s readiness before adding your pastries. You should hear a gentle sizzle when a small piece of dough touches the surface. If it’s silent, wait a few more minutes.
Use a thermometer if available. The ideal range is 350-365°F for consistent results.
Maintaining That Crispy, Golden Exterior
Cook one or two pastries at a time. Crowding the pan lowers the oil temperature and creates uneven cooking.
Each side needs about three minutes to develop that rich golden color. Watch carefully as the dough transforms from pale to perfectly cooked.
Flip them gently with a slotted spoon. Avoid piercing the pastry to keep the filling intact.
The total cooking time per pastry is approximately six minutes. Serve immediately while hot for the best texture.
| Frying Stage | Time Required | Visual Cue | Action Needed |
|---|---|---|---|
| Oil Heating | 5-7 minutes | Gentle shimmer on surface | Test with dough piece |
| First Side | 3 minutes | Light golden color | Monitor color change |
| Second Side | 3 minutes | Even golden brown | Gentle flipping |
| Final Drain | 1-2 minutes | Oil stops dripping | Transfer to paper towels |
Following these steps ensures each pastry cooks evenly and develops that signature crisp texture. The careful timing prevents overcooking while achieving perfect results.
Customization Ideas: Enhancing the Flavor Profile>
Personalizing your serving approach allows you to tailor this traditional dish to your taste. The final touches you choose can transform the experience from classic to uniquely yours.
Creative Toppings and Honey Drizzle Variations
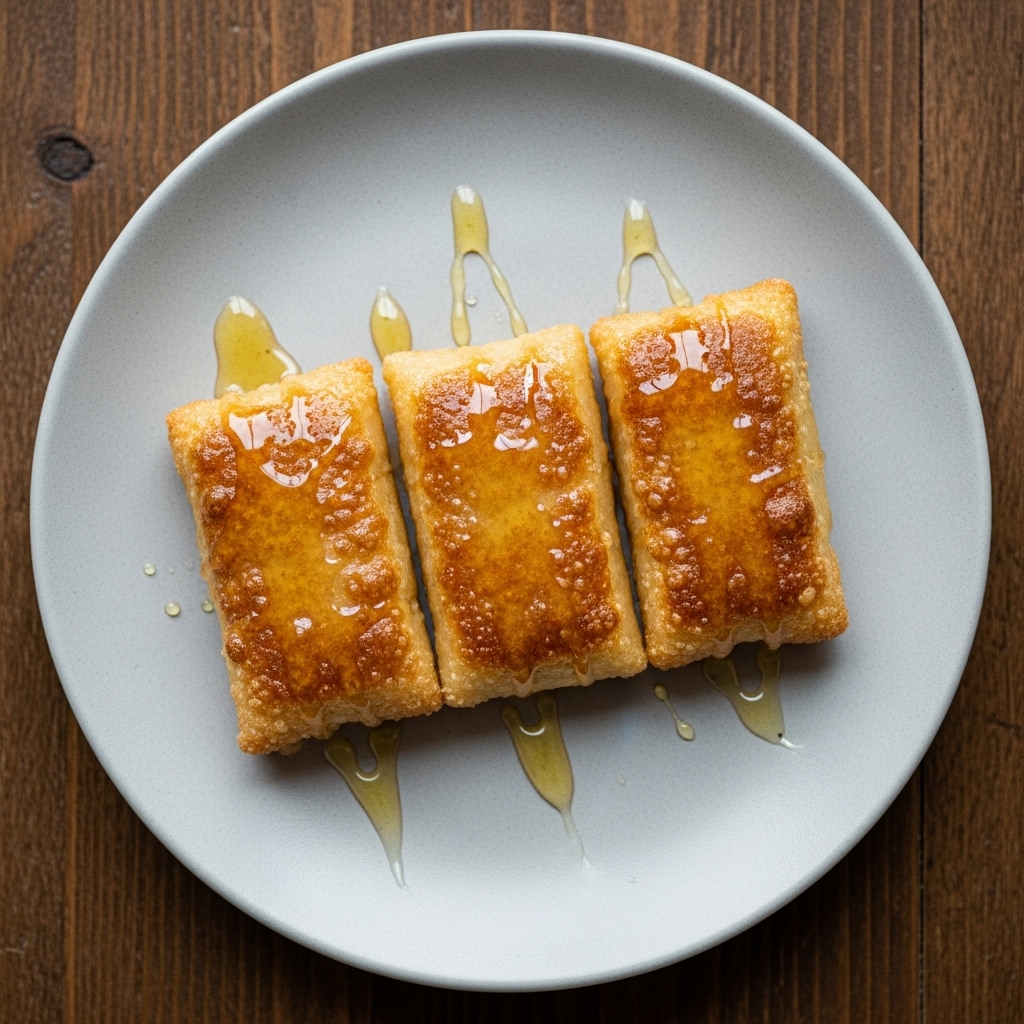
The classic way to serve these pastries involves a generous drizzle of warm honey. This golden liquid soaks into the crisp exterior, creating a beautiful balance with the rich filling.
Different types of honey offer distinct flavor profiles. Corbezzolo honey brings a bittersweet quality that traditional cooks favor. Chestnut honey provides a robust, earthy character, while acacia honey offers a lighter, floral sweetness.
| Honey Type | Flavor Profile | Best For | Intensity |
|---|---|---|---|
| Corbezzolo | Bittersweet, complex | Traditional experience | Medium-high |
| Chestnut | Earthy, robust | Bold flavor lovers | High |
| Acacia | Light, floral | Delicate palates | Low-medium |
| Wildflower | Varied, seasonal | Local character | Medium |
For a simpler approach, some prefer a light dusting of powdered sugar. You might even explore savory directions with pepper cream or tomato preserves.
A tiny pinch of fresh lemon zest over the top brightens the flavors beautifully. Whatever topping you choose, apply it while the pastries are hot for optimal integration. For complete guidance on preparation methods, consult the detailed recipe instructions.
These pastries welcome experimentation. Adjust the sweetness to match your preference and discover your perfect combination.
Sardinian Traditions Reflected in Every Bite
Making regional specialties accessible means finding smart substitutions that preserve essential qualities. We can honor tradition while working with ingredients available in our kitchens.
Authentic Cheese Varieties and Regional Twists
The heart of these pastries lies in the filling’s texture and flavor. Traditional recipes call for young pecorino that melts beautifully when heated.
Different areas of the island have their own preferred cheese varieties. Some use a slightly aged version for more complex flavor notes.
| Ingredient | Traditional Choice | Modern Substitute | Key Consideration |
|---|---|---|---|
| Fat in Dough | Lard | Butter or Olive Oil | Butter offers richness; oil keeps it authentic |
| Flour Type | Semolina | All-Purpose Flour | Texture differs but still works well |
| Primary Cheese | Young Pecorino | Dolce Sardo or Low-Moisture Mozzarella | Must melt smoothly without graininess |
| Flavor Enhancer | Lemon Zest | Orange Zest (alternative) | Brightens the rich filling effectively |
Ingredient Substitutes and Historical Insights
Understanding the original purpose of this dish helps guide our adaptations. It began as celebratory main courses in farming communities.
The prominent cheese flavor makes sense when we consider its savory origins. Honey was added at the end rather than mixed into the filling.
For best results, serve these pastries fresh and hot. The dough maintains its wonderful crispness when enjoyed soon after preparation.
Traditional recipes can be complex, but simplified versions capture the essential character beautifully. They work wonderfully in modern home kitchens.
Wrapping Up: Enjoying Your Homemade Seadas Journey
The final stage of your cooking project brings everything together in a satisfying way. Your total prep time of about forty minutes yields three to six beautiful pastries.
Serve them immediately while the exterior remains crisp and the cheese filling is molten. I recommend drizzling warm honey generously over the top for that perfect sweet touch.
These treats pair wonderfully with sweet Sardinian wines if you want an authentic experience. Even your first attempt will taste delicious thanks to the forgiving nature of the dough.
Keep this reliable recipe for times when you want something both impressive and grounded in real tradition. The combination of textures and flavors makes each bite memorable.
Seadas (Sardinian Fried Cheese Pastry)
Ingredients
Method
- In a large bowl, mix semolina flour, salt, and butter (or olive oil).
- Gradually add warm water to form a smooth dough. Knead for about 5 minutes until soft.
- Cover the dough with a cloth and let it rest for 30 minutes.
- Crumble or chop fresh pecorino cheese into small cubes.
- Mix in grated lemon zest for a fresh, bright flavor.
- Roll the dough into a thin sheet (about 2 mm thick).
- Use a round pastry cutter to cut circles, around 4-5 inches in diameter.
- Place a small portion of cheese filling in the center of each dough circle, leaving about 1 inch border.
- Place another dough circle over the filled one. Press the edges with your fingers to remove air pockets.
- Use a fork to press down firmly along the edges, creating a ridged seal.
- Heat oil in a frying pan over medium-low heat (350-365°F).
- Fry 1-2 pastries at a time, turning gently every 3 minutes until golden brown.
- Drain on paper towels to remove excess oil.
- Warm your choice of honey slightly, then drizzle generously over the hot pastries for a sweet finish.
Notes
- Ensure the oil is at the right temperature to prevent pastries from absorbing excess oil.
- Use fresh, young pecorino for the best melting texture. If not available, substitutes like Dolce Sardo or low-moisture mozzarella work well.
- Experiment with different types of honey to suit your taste: Corbezzolo for bittersweet, chestnut for robust flavor, or acacia for a lighter touch.
- Seadas are best served fresh and hot for the perfect crispness.