
Jump to Recipe
I welcome you to a kitchen that remembers the slow heat of an oven and the soft scent of butter warming the air. I reach for a simple pasta frolla, rub the fat until the dough looks like tiny crumbs, and feel the comfort of hands that have made this for family gatherings.
We make a family-style tart that trusts few ingredients and honest technique. The shortcrust base gains tenderness from a pinch of baking powder and careful handling. I roll the dough between parchment for easy transfer, dock the shell to avoid puffing, and chill before baking in a 9.5-inch pan at 350°F until golden—about 32–34 minutes.
Keep lattice strips near ¾ inch or choose a plain edge for a quicker finish. A brief chill after assembly sharpens the look, and a baking sheet under the pan stops drips. Chill the baked pastry for cleaner slices; wrap and refrigerate up to five days or freeze up to three months.
Key Takeaways
- Use pasta frolla handled cold for a tender, flaky dough.
- Roll between parchment and dock the shell to prevent puffing.
- Chill assembled tart 10 minutes before baking for defined edges.
- Bake at 350°F in a 9.5-inch pan about 32–34 minutes until golden.
- Refrigerate for clean slices; store wrapped up to 5 days or freeze 3 months.
What makes this savory crostata authentically Italian—and irresistibly simple
This savory version honors home kitchens—warm, forgiving, and built for sharing. It keeps the spirit of a rustic pastry while letting the filling lead. The result is less polish and more personality than a formal tart, and that is the point.
Crostata vs. tart: rustic roots, two shapes
A free-form crostata folds the edge over a loose filling and bakes on a sheet for a homey look. A fluted pan gives a neater edge and helps hold wetter fillings. Choose the pan that suits your mood and the ingredients you plan to use.
Sweet vs. savory pasta frolla: how the dough changes
Pasta frolla salata trims or omits sugar and adds a whisper of salt. You can fold in a spoon of finely grated cheese or a crack of black pepper to underline savory notes. A pinch of baking powder keeps the crumb light without losing that short, crumbly bite.
- Flour: all-purpose works well when kept cold and handled quickly.
- When to lattice: use strips for dryer fillings; choose a crimped edge to guard juicy vegetables and cheeses.
- Balance flavors with herbs, zest, and a touch of acid so the dough complements the filling.
Ingredients that build flavor, texture, and that signature flaky base
I like to start with the ingredients on the counter, each one chosen for how it will shape texture and flavor.
The dough: core components and why they matter
For a reliable shortcrust use 2 cups all-purpose flour, 1 cup unsalted butter (cold, cut into small pieces), 1 teaspoon fine salt, and 1 teaspoon baking powder. Add 1 large egg for binding and color, plus 2–3 tablespoons ice water if needed.
Butter gives richness and flake. The baking powder softens the crumb without making it cake-like. Lemon zest (½ teaspoon) brightens savory fillings. Chill the dough before rolling to keep structure and make handling easier.
Savory filling ideas by season
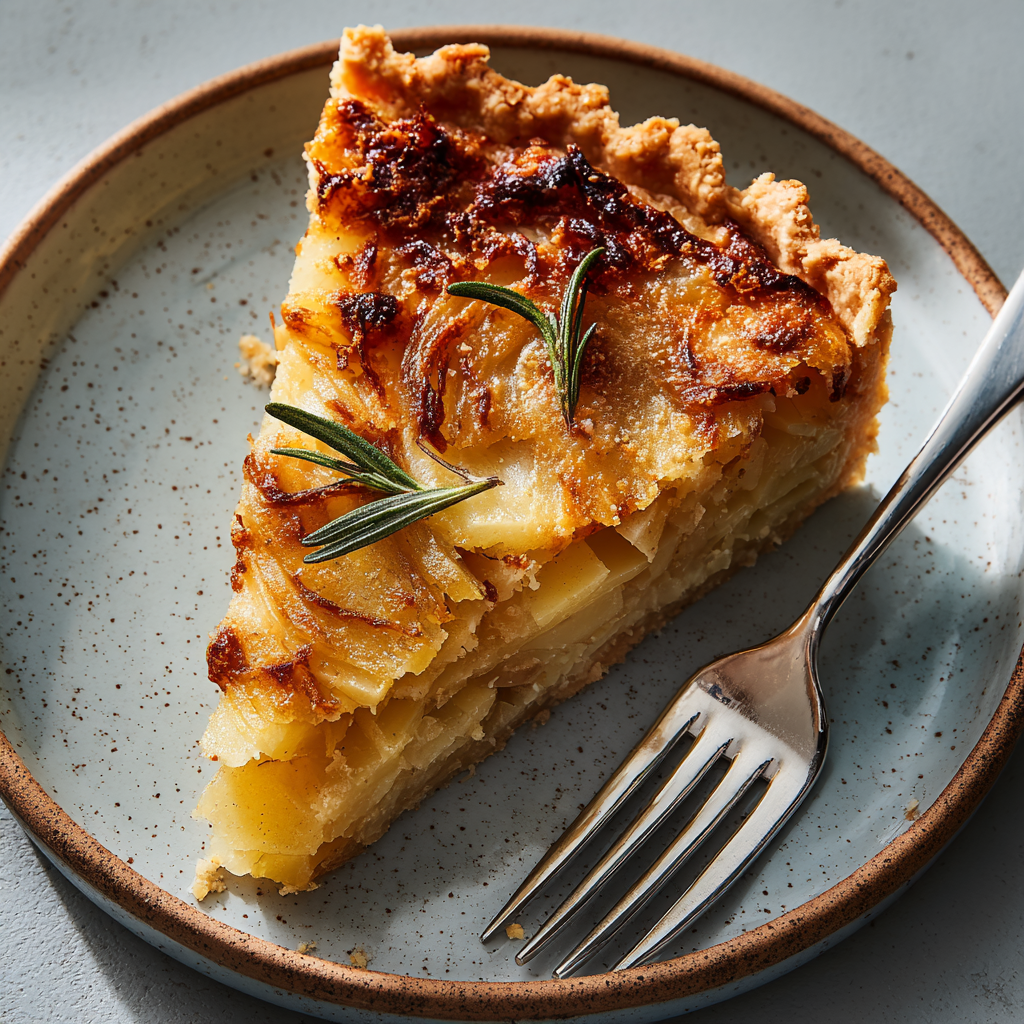
Spring: blanched asparagus, ricotta, mint. Summer: thin zucchini, cherry tomatoes, basil. Fall: roasted mushrooms, fontina, thyme. Winter: caramelized onion, potato, rosemary.
To protect the base, roast or sauté vegetables and drain soft cheeses. Thin layers of cheese act as a moisture barrier so the pastry stays crisp.
Smart pantry swaps for US kitchens
- Use all-purpose flour in place of 00 for the same structure.
- Unsalted butter keeps salt control—adjust seasoning later.
- Microplane lemon zest adds aroma without extra liquid.
| Component | Purpose | US Swap | Quick Note |
|---|---|---|---|
| All-purpose flour | Structure and crumb | 00 flour (optional) | Measure by weight for consistency |
| Unsalted butter | Richness and flake | European-style butter (for flavor) | Keep cold until chilling the dough |
| Baking powder (1 tsp) | Lightens texture | None — do not omit | Gives a tender crumb without cakeiness |
| Lemon zest | Brightens savory fillings | Grated lemon peel | Use sparingly—½ tsp in dough |
Tools and prep: set yourself up for success before you roll dough
Before we roll, let’s set up a tidy station so every step flows. A calm workspace keeps the dough cool and speeds baking. Take a few minutes now and save time later.
The right pan, parchment, and rolling pin
I favor a 9.5-inch tart pan with a removable base for neat edges and easy unmolding. Place that pan on a half sheet pan to protect the oven and limit bottom browning.
Roll between two sheets of parchment to avoid excess flour and to transfer the sheet of dough cleanly into the pan. Use a steady rolling pin and even pressure so the thickness stays uniform; this helps the pastry bake evenly.
- Dock the base with a fork to let steam escape and prevent puffing.
- Wrap dough discs in plastic wrap for at least 30 minutes to rest and firm up the butter.
- A brief freezer chill (about 10 minutes) before baking sharpens edges and keeps lattice or crimped details defined.
| Tool | Why it matters | Quick tip | When to use |
|---|---|---|---|
| 9.5-inch tart pan | Clean edges, easy release | Set on a baking sheet for even heat | Line and chill before baking |
| Parchment sheets | Prevents sticking, eases transfer | Roll dough between two sheets | During rolling and transfer |
| Rolling pin | Controls thickness for even bake | Use long strokes and turn dough | While you roll dough |
| Plastic wrap | Keeps dough from drying | Wrap discs for at least 30 minutes | During resting time |
Step-by-step crostata salata italian tart recipe you can trust
Let’s walk through each step so your shortcrust comes out tender, defined, and reliable every time.
Make the pastry dough: stand mixer or by hand for a tender crumb
Cream cold unsalted butter with a bit of sugar just until combined. Add a teaspoon of lemon zest, then work in flour, salt, and baking powder until the mix looks sandy.
Drop in one egg and bring the dough together without overworking. Use a stand mixer or your fingers—the aim is a cohesive dough with visible butter flecks for flake.
Chill, wrap, and rest: why plastic wrap and timing matter
Divide the dough: two-thirds for the shell, one-third for strips. Wrap each piece in plastic wrap and chill at least 30 minutes so the butter firms and gluten relaxes.
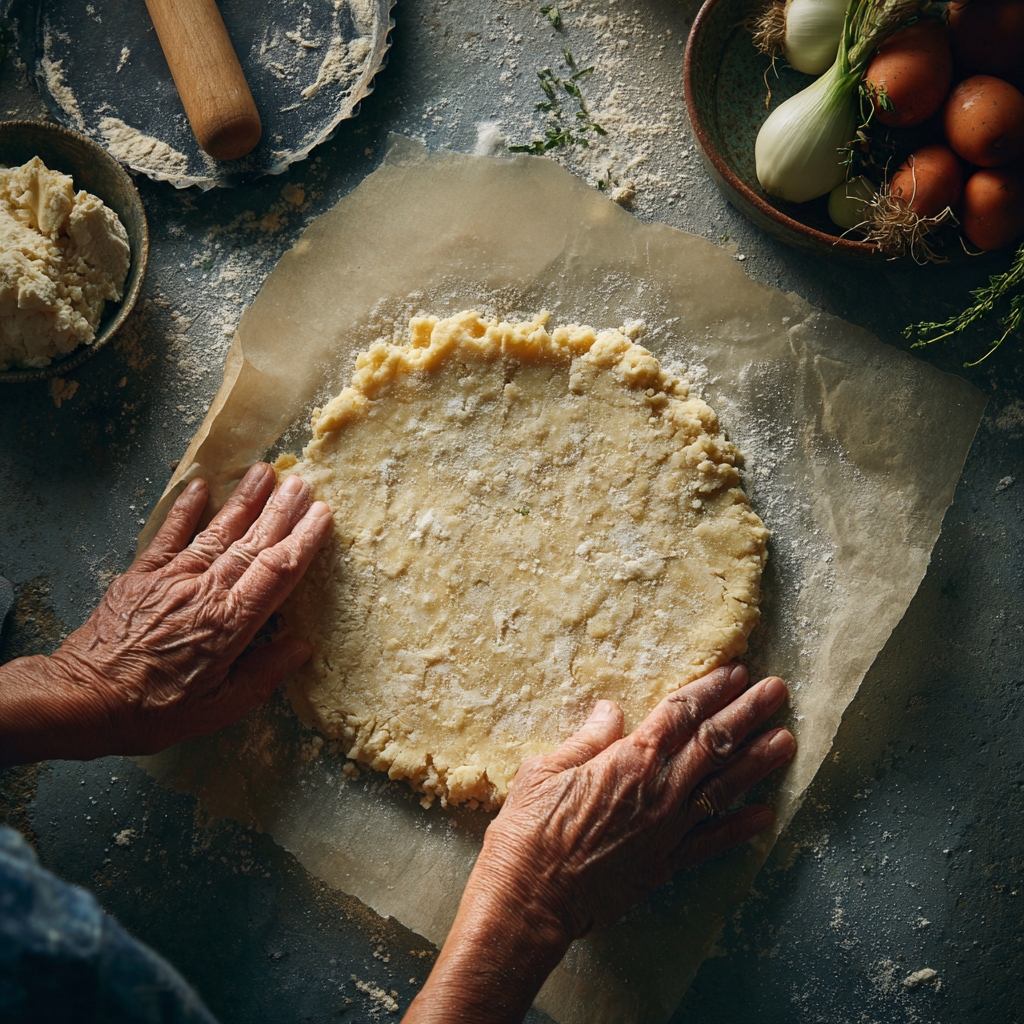
Roll between parchment: even thickness and easy transfer to the tart pan
Roll dough between two sheets to about 1/8 inch. Roll the sheet onto your rolling pin, then ease it into a 9.5-inch tart pan without stretching.
Line, dock, and chill the base: preventing puffing and soggy bottoms
Trim edges, dock the base all over with a fork, then chill the lined pan 30 minutes on a baking sheet. This stops puffing and protects the base from excess moisture.
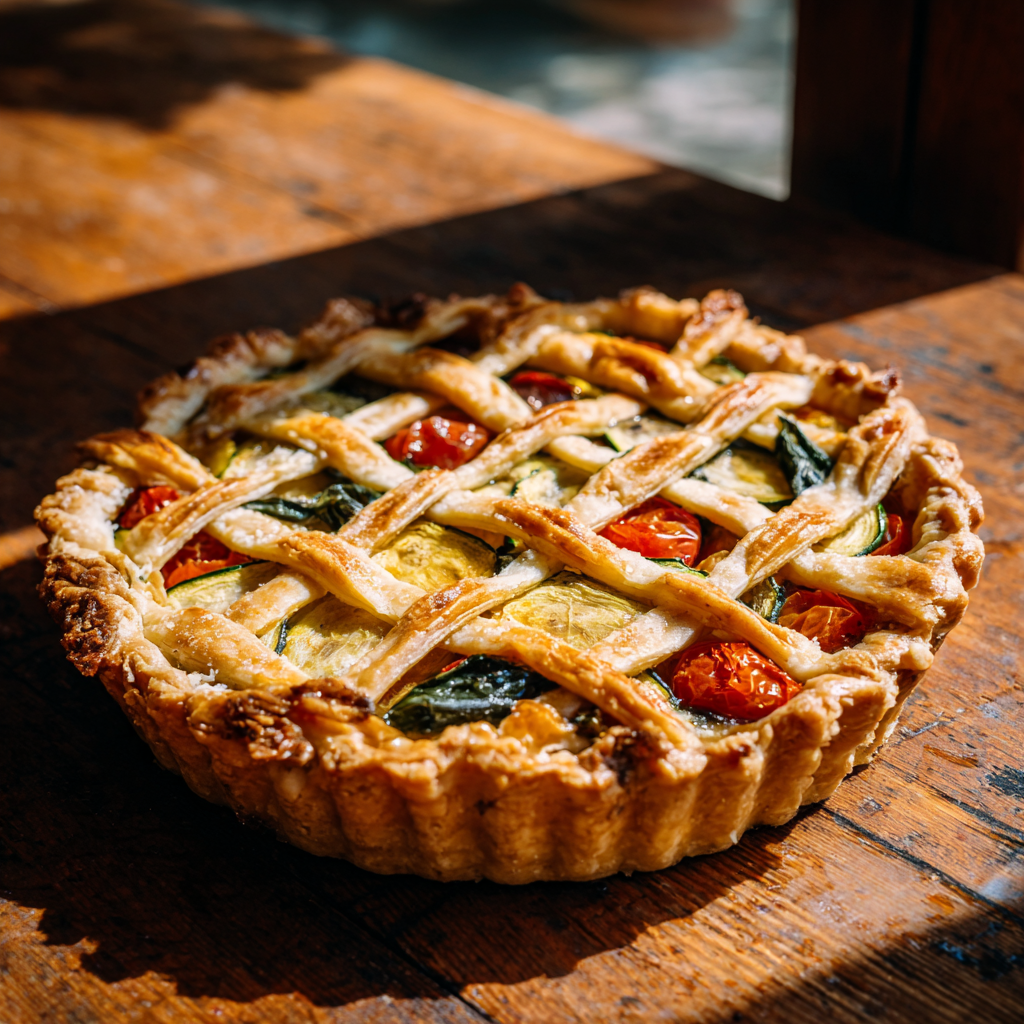
Add the savory filling and choose a lattice or simple crimped edge
Spread a thin, even layer of filling. Cut lattice strips about 3/4 inch wide or press a neat crimped edge for a cleaner finish. Chill the assembled pan 10 minutes to set details.
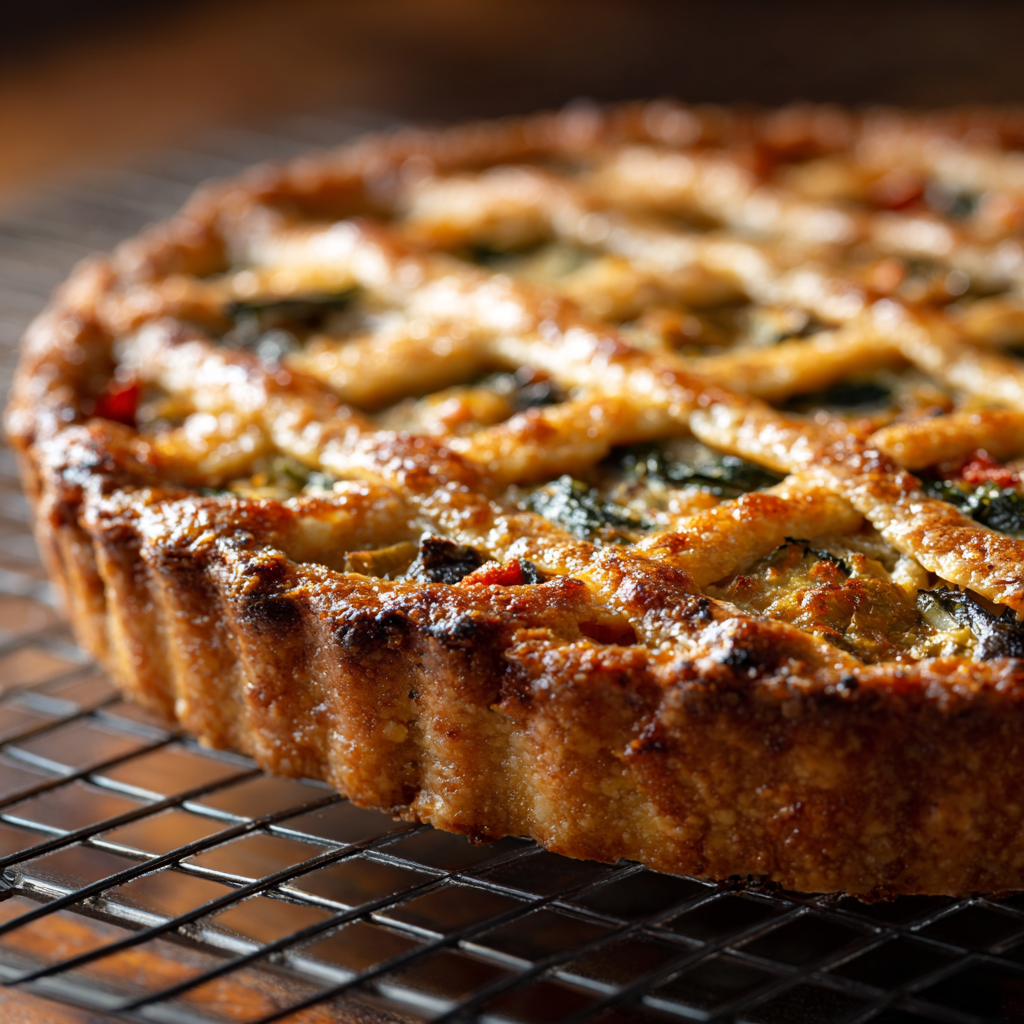
Bake, cool, and slice: oven temperature, minutes, and clean cuts
Heat the oven to 350°F. Bake the pan on a sheet for 32–34 minutes until the crust is golden and the filling bubbles. Cool on a rack until warm, then refrigerate about an hour for the cleanest slices.
- If dough softens while working, return it to the fridge for 5–10 minutes.
- Use a baking sheet under the pan to catch drips and encourage even bottom browning.
| Step | Time | Why it matters |
|---|---|---|
| Chill dough | 30 minutes | Firms butter and relaxes gluten for a tender pastry |
| Chill assembled pan | 10 minutes | Sets edges and lattice for sharp detail during baking |
| Bake | 32–34 minutes | Golden crust with hot, set filling |
Flavor upgrades and pro tips from Italian kitchens
I keep a short list of flavor moves that turn a simple dough into something you want to serve again. These are fast, repeatable steps I use when I build a savory crostata or a classic tart.
Herb-and-cheese combinations that elevate the filling
Try roasted zucchini with goat cheese and basil, or leek with taleggio and thyme for savory depth.
Spinach with ricotta and a pinch of nutmeg or mushroom with fontina and parsley also layer well. Add a teaspoon of lemon juice to richer cheeses or a bit of red pepper flakes for warmth.
Lattice strips, fluted edges, and other finishing touches
Chill lattice strips before cutting and again after shaping to keep edges neat. Lightly brush strips with milk or olive oil for color and sheen.
Use a removable-bottom tart pan and place the pan on a baking sheet to catch drips and prevent over-browning under the base.
Make-ahead, storing, and freezing without losing texture
Bake at 350°F until golden, cool on a rack, then chill for cleaner slices. Store wrapped in the refrigerator up to 5 days.
To freeze, wrap tightly and place in an airtight container for up to 3 months. Thaw in the fridge to avoid condensation, and reheat on a baking sheet at 325°F to revive crisp texture.
- Plan time: bake earlier, chill, then rewarm gently for best texture.
- If the dough softens, return it to the fridge a few minutes before shaping.
| Finish | Benefit | Quick Tip |
|---|---|---|
| Lattice strips | Clean, crisp edges | Chill before cutting and again after shaping |
| Crimped edge | Even bake, rustic look | Press gently with fingers; chill 10 minutes |
| Brushing | Color and sheen | Use milk or olive oil sparingly |
Troubleshooting: flaky pastry, crisp bottom, and bubbling fillings
When a dough softens while you work, I return the pan of dough or strips to the fridge for 5–10 minutes. Short rests firm butter and restore structure so the shell bakes without shrinking.
Dock the base before chilling the lined pan for at least 30 minutes. Docking and that chill cut puffing and give clean edges when the crust meets the oven.
Bake at 350°F. I place the tart pan on a sheet pan to control bottom browning and encourage even heat beneath the base.
- If the dough tears: press a thin patch of dough over the hole, smooth gently, and re-chill to relax gluten and stop shrinkage.
- Soggy bottom? Pre-cook watery vegetables, add a thin cheese layer as a moisture barrier, and avoid overfilling; bake on a sheet for steadier heat under the pan.
- Edges browning too fast? Tent loosely with foil in the last minutes while the center finishes setting.
- Lattice strips warming? Slide them back into the fridge; chilled strips stay flat and bake evenly.
- Center bubbling aggressively signals excess moisture—spread fillings thinner or sauté vegetables ahead next time.
- For cleaner slices, cool on a rack, then chill until firm; slice with a sharp, thin knife, wiping between cuts.
| Problem | Likely Cause | Quick Fix | Why it works |
|---|---|---|---|
| Soft, sticky dough | Warm butter or long handling | Chill 5–10 minutes; use cold hands | Re-firms butter and slows gluten development |
| Soggy bottom | Watery filling or overfilling | Pre-cook vegetables; add thin cheese layer; bake on sheet pan | Reduces moisture reaching the flour base and evens heat |
| Edges darken first | High edge exposure to oven heat | Tent with foil late in baking | Protects edges while center reaches proper temperature |
| Center bubbles | Excess moisture in filling | Thin the layer; sauté filling ingredients | Less trapped steam and more even set |
Conclusion
A few careful steps turn simple dough and butter into a savory crostata you can bring to the table with pride. The pastry holds flavor when handled cold and with a light touch.
After baking at 350°F until golden, cool the pan, then chill for clean slices—about 30 minutes of rest makes slicing easier. Use a 9.5-inch tart pan and roll between parchment for smooth transfer and neat edges.
Wrap leftovers well and store in the fridge up to five days, or freeze for up to three months; thaw in the refrigerator before serving. Try lemon zest for brightness, swap fillings by season, and enjoy this recipe as a weeknight main or casual dessert.
Keep practicing the step-by-step method and the dough will feel right in your hands. Thank you for cooking with me—share a slice and keep the tradition alive.
Savory Crostata (Italian Savory Tart)
Ingredients
Method
- In a bowl or stand mixer, cream the cold butter just until combined.
- Add lemon zest, flour, salt, and baking powder. Mix until the mixture looks sandy with visible butter bits.
- Add the egg and mix until the dough comes together in soft clumps. Add a little ice water only if it's too dry.
- Divide the dough: about 2/3 for the base and 1/3 for lattice/edges.
- Wrap both pieces tightly in plastic wrap and chill for at least 30 minutes.
- Cook vegetables to remove excess moisture (roast, sauté, or blanch).
- Drain soft cheeses if needed.
- Season with herbs, salt, pepper, and a touch of lemon juice.
- Roll each dough piece between two sheets of parchment until about 1/8 inch thick.
- Peel off the top sheet and flip the base dough into a 9.5-inch tart pan.
- Press into the corners gently without stretching. Trim extra.
- Dock the base with a fork all over.
- Chill the lined pan for 30 minutes on a baking sheet.
- Spread a thin layer of cheese to protect the crust.
- Add the pre-cooked vegetables evenly.
- Use lattice strips (¾ inch wide) or crimp the edge for a clean finish.
- Chill the assembled tart again for 10 minutes to set the shape.
- Heat oven to 350°F (175°C).
- Bake on a baking sheet for 32–34 minutes, or until golden and the filling is bubbling slightly.
- Cool on a rack until warm.
- Refrigerate for 1 hour for the cleanest slices.
- Serve warm or at room temperature.
Notes
- Keep the dough cold at all times for a flaky crust. If it softens, chill it for 5–10 minutes.
- Use parchment to roll the dough to avoid sticking and stretching.
- A thin layer of cheese (ricotta, mozzarella, or fontina) on the base helps prevent soggy bottoms.
- A baking sheet under the tart protects from drips and helps brown the bottom evenly.
- This crostata freezes well; thaw in the fridge and reheat at 325°F to crisp it up.