
Jump to Recipe
My grandmother’s kitchen whispered stories through her desserts. Each spoonful held delicate memories of generations past. Simple ingredients transformed into something magical in those intimate moments.
Coffee and cream aromas danced through our home. These scents created connections deeper than spoken words. Her desserts breathed life into our family’s culinary traditions.
These individual tiramisu cups capture that special essence. This simple Italian dessert recipe feels both elegant and deeply personal. They’re more than just a sweet treat.
They invite you to pause, savor, and celebrate. Italian cuisine’s beautiful simplicity shines through every layer.
Key Takeaways
- No-bake dessert perfect for home cooks
- Quick 15-minute preparation time
- Individual portions ideal for entertaining
- Safe eggless recipe version
- Make-ahead friendly dessert option
- Authentic Italian culinary tradition
- Restaurant-quality presentation at home
Tiramisu Cups Easy Recipe: A No-Bake Dessert That Impresses Every Time
Picture creating a stunning dessert that looks like it came from an Italian café. You won’t spend hours in the kitchen. Our homemade tiramisu dessert cups work perfectly for home cooks wanting an elegant, simple treat.
No-bake tiramisu in cups has changed how we think about this classic Italian dessert. Complicated preparation and raw egg worries are gone. These easy mascarpone dessert cups offer a foolproof method anyone can master.
Why Individual Tiramisu Cups Are Perfect for Entertaining
Hosting a dinner party becomes simple with these individual servings. Check out why these cups are a game-changer:
- Portion control for guests with different appetites
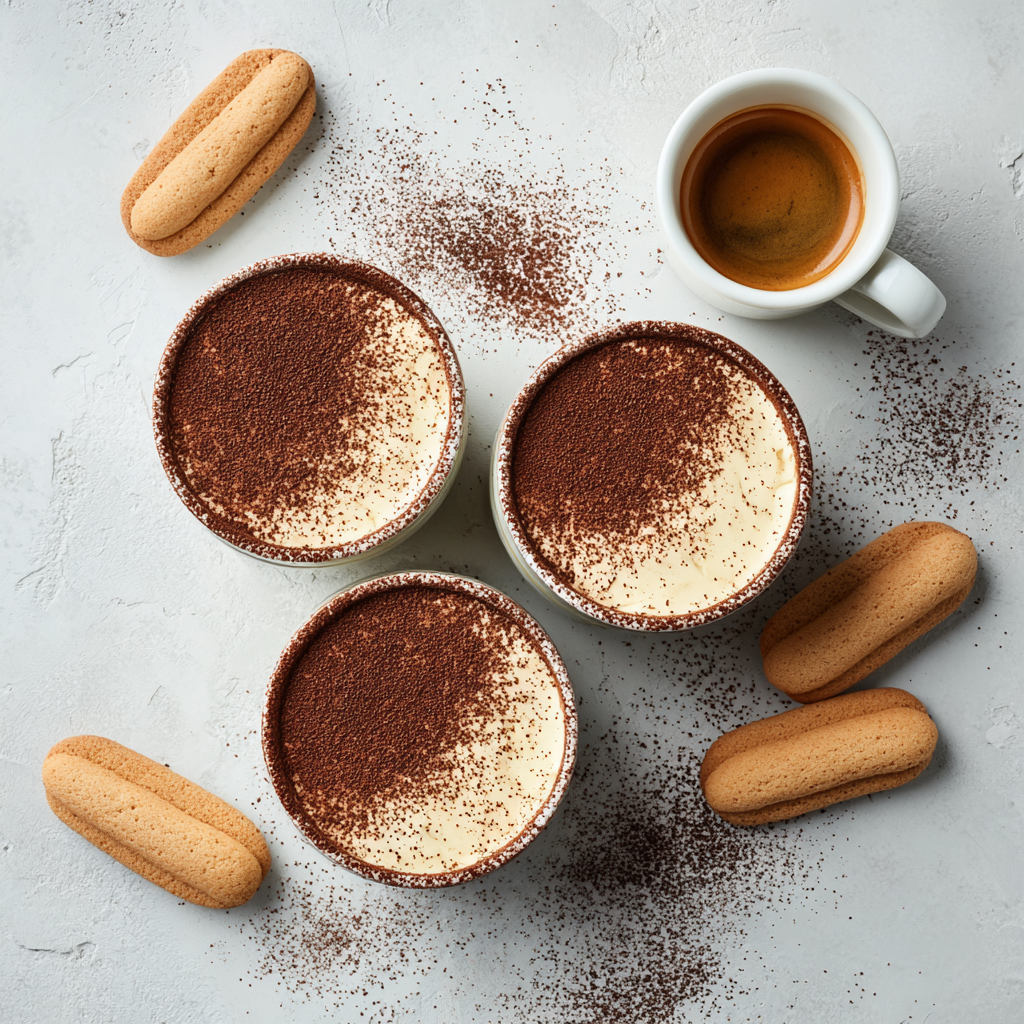
- Stunning visual presentation in clear glasses
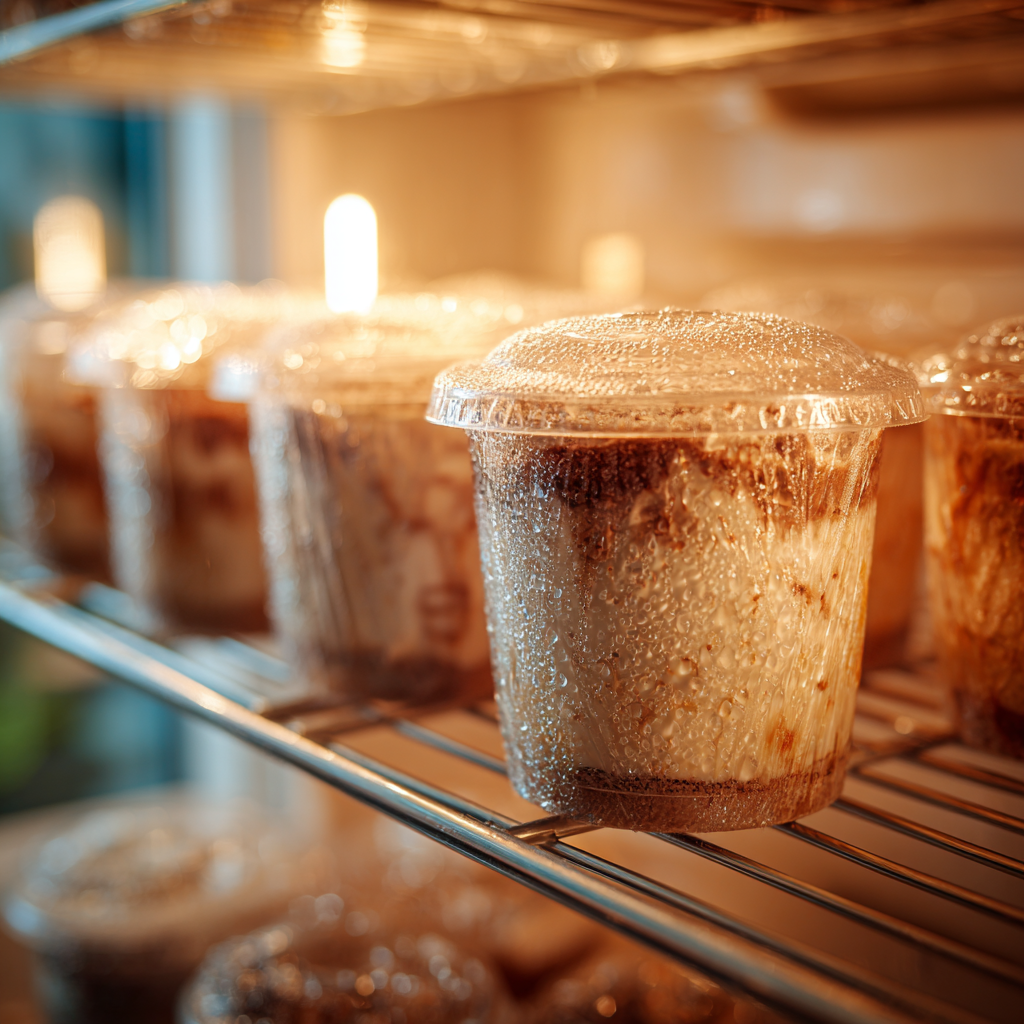
- Can be prepared up to two days in advance
- No messy cutting or plating during the party
- Allows guests to see beautiful layers of cream and coffee-soaked ladyfingers
The Secret to Making Tiramisu Without Raw Eggs
We’ve cracked the code to creating creamy, luxurious tiramisu without raw eggs. Our method uses whipped heavy cream and mascarpone cheese for that signature rich texture. This approach makes the dessert safer and more accessible to everyone, including children and pregnant guests.
The result? A luscious, smooth dessert that captures the essence of traditional tiramisu. It offers a modern, worry-free twist. Your guests will be impressed by these delightful individual treats.
Essential Ingredients for Homemade Tiramisu Dessert Cups
Creating perfect coffee-flavored tiramisu cups requires carefully selected ingredients. These components bring authentic Italian flavor to your dessert. Let me guide you through what transforms simple ladyfinger tiramisu parfaits into a culinary masterpiece.
The foundation of any exceptional tiramisu starts with high-quality ingredients. Here are the key elements you’ll need:
- Heavy whipping cream (36% fat, ultra-fresh)
- Cold mascarpone cheese
- Powdered or caster sugar
- Pure vanilla extract
- Strong espresso or espresso powder
Mascarpone cheese is the heart of our coffee-flavored tiramisu cups. Unlike regular cream cheese, it’s smoother and more delicate. It feels almost like a thick, velvety cream.
If you can’t find authentic mascarpone, create a substitute. Mix cream cheese with extra heavy cream for similar results.
| Ingredient | Quality Indicators | Recommended Alternative |
|---|---|---|
| Mascarpone | Cold, smooth texture | 50/50 cream cheese and heavy cream |
| Ladyfingers | Savoiardi biscuits | Sponge cake or pound cake |
| Espresso | Strong, freshly brewed | High-quality instant espresso powder |
For authentic ladyfinger tiramisu parfaits, select Savoiardi biscuits. These Italian ladyfingers have a unique dry, spongy texture. They absorb espresso perfectly without falling apart.
Pro tip: choose biscuits with a slightly sugary crust. This adds extra depth of flavor to your dessert.
Your liqueur choice can elevate the coffee-flavored tiramisu cups. Traditional sweet marsala works beautifully for this recipe. Don’t shy away from alternatives like Frangelico or Kahlua that add rich notes.
How to Make Quick Individual Tiramisu Servings in Just 15 Minutes
Creating delightful mini tiramisu desserts doesn’t have to be complicated. Our quick individual tiramisu servings recipe transforms a classic Italian dessert into an easy treat. Anyone can master this impressive dessert in just 15 minutes of preparation time.
The magic of these mini tiramisu desserts lies in their simplicity and elegant presentation. With a few key techniques, you’ll craft restaurant-worthy quick individual tiramisu servings. They look like they took hours to prepare.
Preparing the Espresso Mascarpone Cream
Start by gathering your ingredients for the perfect cream base. You’ll need:
- Cold heavy cream
- Powdered sugar
- Instant espresso powder
- Mascarpone cheese
- Vanilla extract
Whip the cold heavy cream with espresso powder and sugar until soft peaks form. In a separate bowl, gently combine mascarpone and vanilla.
Fold the whipped cream into the mascarpone mixture until you achieve a smooth, rich consistency.
Soaking the Ladyfingers for Maximum Flavor
The secret to authentic tiramisu is perfectly soaked ladyfingers. Prepare a shallow dish with cooled espresso and a splash of marsala wine. Briefly dip each ladyfinger—about 1-2 seconds per side—ensuring they’re moistened but not falling apart.
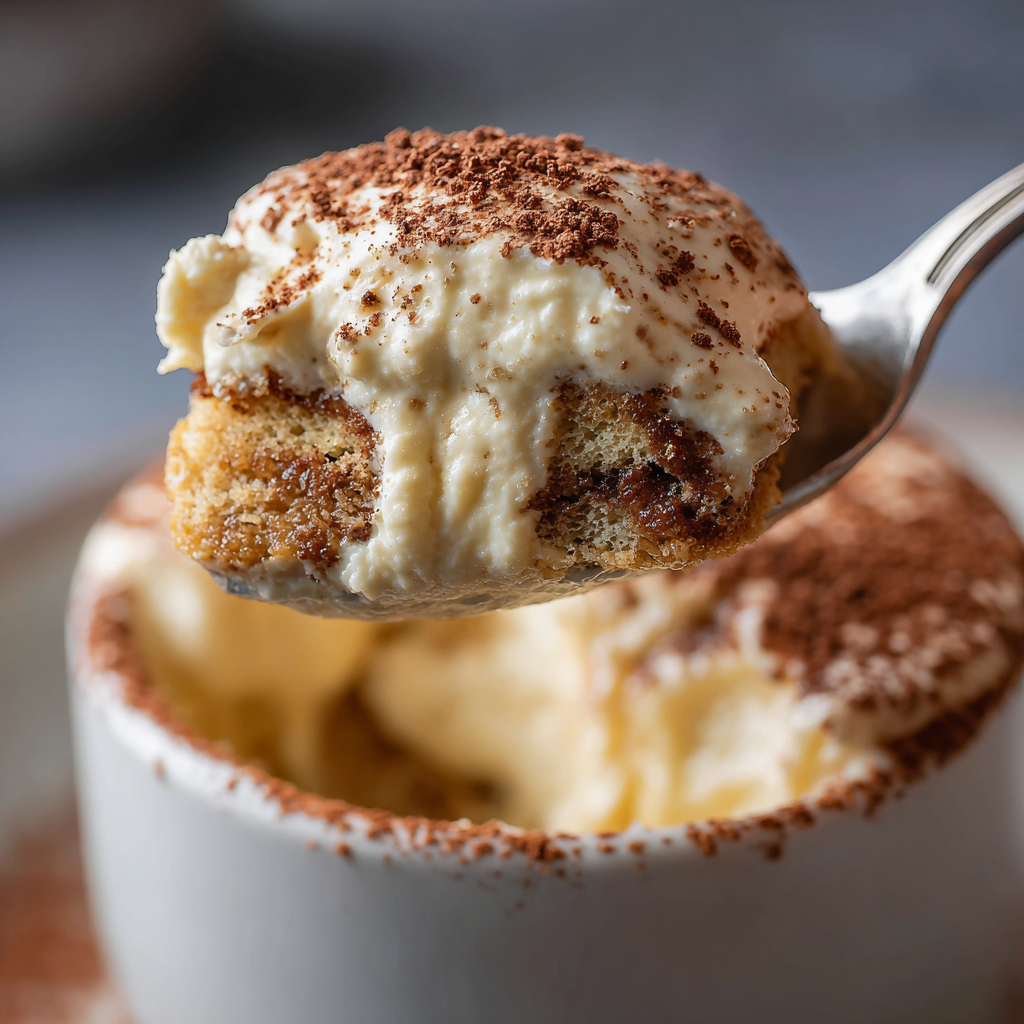
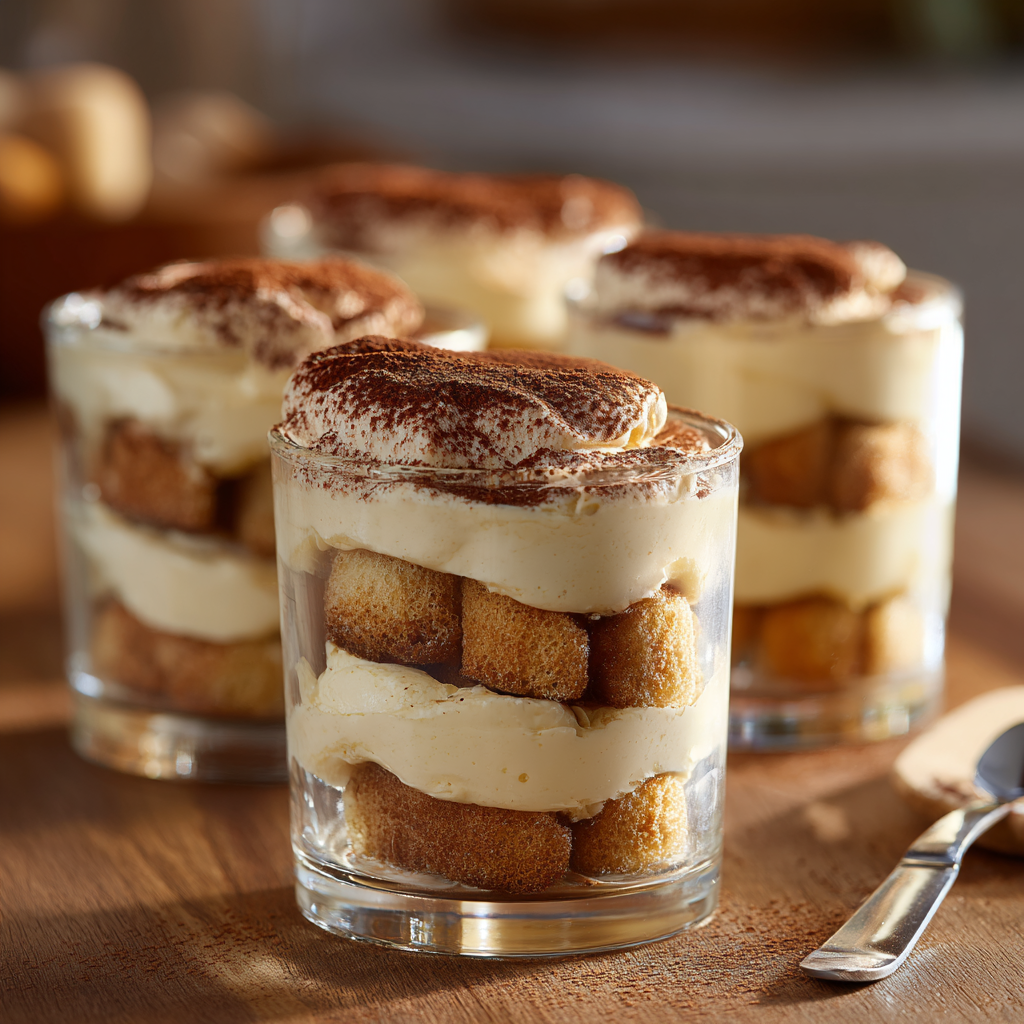
Layering Your Mini Tiramisu Desserts
Select clear glass serving cups to showcase your beautiful layers. Begin with a layer of soaked ladyfingers, followed by a generous spread of cream. Repeat these layers 2-3 times, creating a visually stunning dessert.
| Step | Time Required | Key Technique |
|---|---|---|
| Cream Preparation | 5 minutes | Whip to soft peaks, fold gently |
| Ladyfinger Soaking | 2 minutes | Quick dip, don’t oversaturate |
| Layering | 3 minutes | Use clear glasses, create even layers |
| Chilling | Minimum 2 hours | Refrigerate before serving |
Pro tip: Dust with cocoa powder just before serving to add elegance. Refrigerate for at least 2 hours, allowing flavors to meld beautifully.
Tips for Perfect Coffee-Flavored Tiramisu Cups Every Time
Crafting the ultimate tiramisu cups requires insider techniques that transform good desserts into extraordinary Italian treats. Temperature and timing become your most critical allies with these individual mascarpone dessert cups. Keep your mascarpone cheese cold and handle it gently to prevent curdling.
Select high-quality espresso or strong coffee for the most authentic tiramisu cups easy recipe. Let the liquid cool slightly before dipping ladyfingers to prevent soggy results. Briefly dip each cookie for 1-2 seconds to maintain structure while ensuring rich coffee flavor.
Storage plays a crucial role in developing deep flavors. Prepare your tiramisu cups at least 4-6 hours before serving for best results. Refrigerate covered, and dust with cocoa powder just before presentation to maintain perfect powdery texture.
Pro chefs recommend consuming within 3 days for optimal taste and texture. Each carefully constructed layer tells a story of culinary passion. Simple ingredients transform into an elegant, memorable experience that delights every guest.
Individual Tiramisu Cups (No-Bake, Eggless)
Ingredients
Method
- Add cold heavy cream, powdered sugar, and espresso powder to a mixing bowl.
- Whip until soft peaks form.
- In a separate bowl, gently stir mascarpone with vanilla until smooth.
- Fold the whipped cream into the mascarpone. Go slow so the mixture stays silky and doesn’t curdle.
- Pour cooled espresso into a shallow dish.
- Add marsala or your chosen liqueur (optional).
- Stir gently.
- Dip each ladyfinger for 1–2 seconds per side.
- They should be moist but still hold their shape.
- Add a layer of dipped ladyfingers to the bottom of each glass.
- Spoon a layer of mascarpone cream on top.
- Repeat 2–3 times, ending with cream.
- Smooth the top with a spoon.
- Cover and refrigerate at least 2 hours (4–6 hours is even better).
- Dust lightly with cocoa powder right before serving.
Notes
- Keep everything cold—especially the mascarpone—so the cream stays smooth.
- Don’t oversoak the ladyfingers or they’ll collapse.
- These cups taste even better on day two as the flavors blend.
- Add cocoa powder only before serving so it doesn’t melt into the cream.
- You can make this alcohol-free by skipping the marsala or liqueur.