
Jump to Recipe
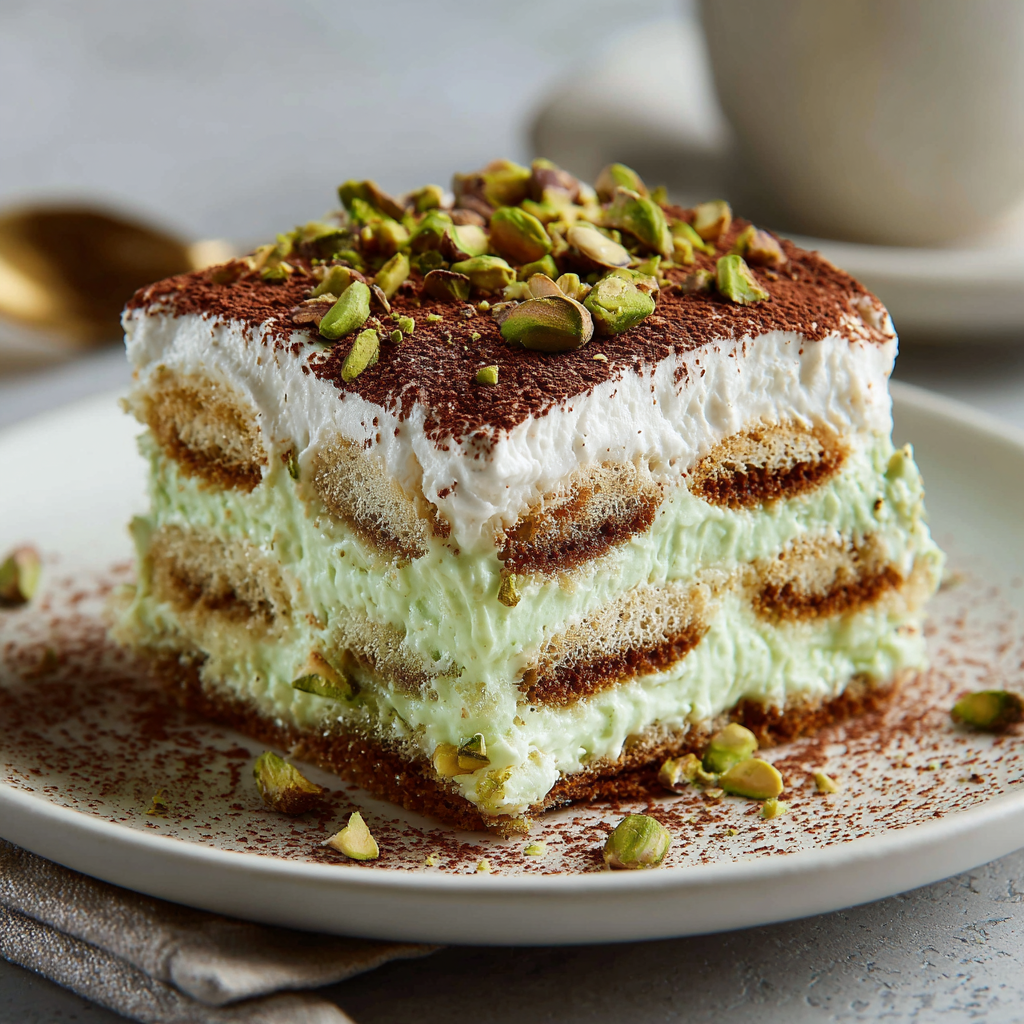
I set out to make a pistachio tiramisu recipe that lets green nutty sweetness meet bold coffee without either stealing the show. The first bite should feel like a soft, creamy hug—silky mascarpone, a whisper of sweet pistachio cream, and the bright lift of cooled espresso.
In my kitchen I use trusted mascarpone brands like Galbani or Vermont Creamery for the most stable cream. I reach for Pisti pistachio cream when I want a smooth, spreadable layer that won’t turn gritty.
A 9×9 pan gives neat layers and a 2.7‑liter lidded dish is perfect for travel. Quick dips in strong coffee keep ladyfingers structured, and an overnight rest deepens the flavor so the dessert slices cleanly the next day.
Key Takeaways
- Use high-quality mascarpone for silky, stable cream.
- Choose a smooth pistachio cream like Pisti to avoid grit.
- Dip ladyfingers briefly in cooled espresso to keep structure.
- Assemble ahead and chill overnight for best flavor.
- Use a 9×9 pan for tidy layers or a 2.7L lidded dish to transport.
- The dessert scales easily; rich portions satisfy with smaller servings.
What makes this pistachio tiramisu stand out right now
The difference starts in the bowl. I fold a sweet pistachio cream into mascarpone so the nutty note stays gentle and integrated. That keeps the coffee edge alive and prevents a cloying finish.
Use strong coffee or a shot of espresso and dip the ladyfingers quickly. A brief bath gives each layer flavor without turning the layers soggy. The pistachio element blooms as the dessert rests, not in the dunking moment.
Why pistachio cream changes the game without overpowering espresso
- The ready-sweet pistachio cream adds a soft, nutty richness that supports the espresso backbone.
- Because it is smooth and mildly sweet, you can cut added sugar and let coffee lead the flavor.
- A light sprinkle of chopped pistachios on top adds aroma and a delicate crunch that frames the creamy layers below.
The make-ahead magic: why it tastes better after an overnight rest
After a night in the fridge the cream sets, ladyfingers relax, and the flavors knit into a cohesive bite. Chill for several hours, but overnight (about 8–12 hours) gives the best texture and clean slices.
Store covered in the fridge up to four days or freeze untopped for longer keeps. If you use eggs, the chilled structure keeps its lift; eggless versions stay luxuriously soft.
Ingredients you’ll need for a flawless pistachio-mascarpone layer
A few thoughtful ingredients make the mascarpone layer sing without fuss. I keep the list short so each item can shine in the final dish.
Mascarpone that stays silky
I buy full-fat mascarpone from trusted brands: Galbani, BelGioioso, or Vermont Creamery. The right cheese blends smoothly and won’t break when folded into the mixture.
Pistachio cream vs. paste
Choose a sweet, spreadable pistachio cream like Pisti, not a savory nut butter. If a jar is labeled pistachio paste, check that it’s sweetened and meant for desserts rather than pesto.
Ladyfingers and coffee
Ladyfingers (savoiardi) are essential for soak-and-structure. Find them in cookie aisles, Italian delis, or online. Use espresso or coffee brewed about twice as strong as your usual cup to keep each layer balanced.
- A touch of vanilla or almond extract brightens the aroma; use pistachio extract sparingly.
- Optional spirits—amaretto, Marsala, or rum—add warmth, but skipping alcohol is fine.
- Mise en place: measure cups and set a small bowl for extracts and a larger bowl for the mascarpone mixture.
Step-by-step: assembling layers like a pro
Good assembly protects the cream and keeps the coffee bright. Work with calm hands and a clear plan. This short guide shows how to whip, dip, and layer for the best finish.
Whip and fold for an airy mascarpone mixture
Whip heavy cream to soft peaks before folding into the mascarpone mixture. Use a large bowl and a spatula so you can fold without losing air.
If using eggs, whip whites to stiff peaks and yolks until pale, then fold in stages to keep volume. Stop as soon as the mixture is glossy and cohesive to avoid grainy cream.
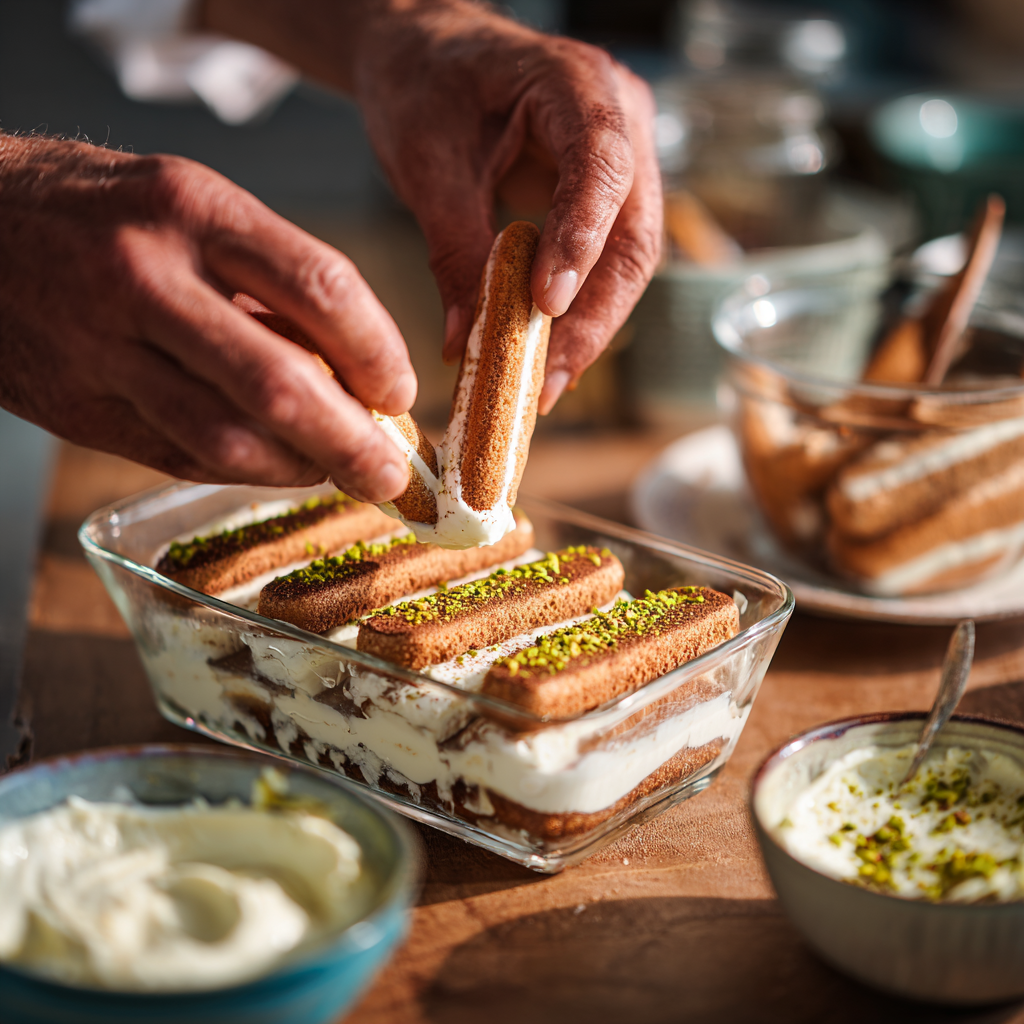
Dip, don’t soak: the quick coffee bath for lady fingers
Dip each finger about one second per side in cooled coffee. Lift and let excess drip; set aside on a plate as you work. This prevents soggy bottoms and preserves structure.
Build clean layers and chill
- Smooth a thin swipe of mascarpone cream across the base, arrange fingers, then spread another layer of cream.
- Repeat the rhythm; even spacing helps with neat slices later.
- Smooth the top with an offset spatula and cover tightly.
| Chill Time | Texture | When to Serve |
|---|---|---|
| 4–6 minutes hours | Set but tender | Same day |
| Overnight (8–12 hours) | Fully fused layers | Best for clean slices |
| Up to 4 days refrigerated | Stable | Serve chilled |
Pro tips for texture, flavor, and those picture-perfect layers
Focus on temperature and timing to keep layers neat, flavors balanced, and the top camera-ready. A few small moves in the final minutes protect your work and make service simple.
Let coffee cool before dipping
Always cool the coffee to lukewarm. Hot liquid collapses ladyfingers and makes the base soggy. A quick one-second dip per side keeps structure and leaves a clear coffee note in each bite.
Fix a slightly grainy mascarpone fast
If your mascarpone mixture looks rough, gently fold in 2–4 tablespoons of unwhipped heavy cream. Work with a spatula and stop as soon as the mix is silky to preserve air and texture.
When to add cocoa powder or chopped pistachios
Dust cocoa powder only right before serving so it stays velvety and does not absorb fridge moisture. Shower the top with chopped pistachios for crunch and color just before you slice.
Portioning and finishing touches
- Keep a clean offset spatula to refresh the surface after chilling; it makes photos and travel neater.
- Serve smaller squares—this rich dessert pleases guests and prevents waste.
- Chill the pan flat in the fridge so layers set level across the whole dish.
- If it tastes too sweet, try a slightly stronger coffee dip next time or a lighter hand with pistachio paste.
| Issue | Quick fix | Best time to act |
|---|---|---|
| Soggy base | Cool coffee; shorter dip | During assembly |
| Grainy cream | Fold in 2–4 tbsp heavy cream | Immediately after mixing |
| Dull top | Refresh with spatula; dust cocoa before serving | Just before serving |
| Overly sweet bite | Stronger coffee dip or less paste next time | Next batch |
pistachio tiramisu recipe with or without eggs
I offer two friendly paths so you can honor tradition or keep things no‑cook and simple. Choose the classic for cloudlike lift or the eggless approach when you want a smooth, safe set.
Classic approach: whipped whites and yolks for lift
Separate the eggs. Whisk whites to stiff peaks and beat yolks with sugar until pale.
Fold mascarpone into the yolk base, then gently fold whites in to keep air. Pasteurized eggs are an option if you prefer volume without raw‑egg concerns.
Eggless option: heavy cream for structure and a no-cook method
Whip heavy cream to soft peaks and fold it into sweetened mascarpone and pistachio cream. No double boiler, no cooking — just gentle folding in a cool bowl.
Both versions rest in the fridge for hours; chilling lets flavors meld and improves the slice.
- The classic yields a light, cloudlike bounce; the eggless version is plush and silky.
- Use the same coffee dip and pan size for either method to keep assembly consistent.
- Taste as you go so the pistachio element enhances but does not overpower the espresso.
| Method | Main Steps | Texture |
|---|---|---|
| Classic tiramisu | Whisk yolks with sugar; fold in mascarpone; fold in stiff whites | Airy, light |
| Eggless | Whip cream to soft peaks; fold into mascarpone and pistachio cream | Plush, creamy |
| Safety note | Use pasteurized eggs to reduce risk | Secure volume with safe eggs |
Smart swaps and variations to match your taste

Small swaps let you shift the dessert’s mood without losing the neat layers we all love.
No coffee? Try a cocoa soak
If you prefer chocolate, whisk a cup of hot cocoa in water and cool it before dipping. The lady fingers keep their shape with a quick one‑second bath, and you get a chocolate‑forward flavor that still sets clean layers.
Pick your spirit or skip alcohol
Amaretto adds an almond roundness that pairs beautifully with pistachio cream. Rum brings gentle heat and depth. Marsala is traditional, but omitting booze is perfectly fine—the nuts and cream carry the dish on their own.
Topping ideas for contrast and shine
For a classic look, dust the top with fine cocoa right before serving. For a glossy finish, warm a thin layer of pistachio cream and spread it across the top, then scatter chopped pistachios for crunch.
- Keep dips quick even with cocoa so the fingers remain light.
- Offer a small cup of extra nuts at the table so guests can add crunch.
- Try half the pan cocoa‑dusted and half pistachio‑topped for two finishes at once.
| Swap | Effect on flavor | When to use |
|---|---|---|
| Coffee → cocoa | Chocolate‑forward, richer top note | For chocolate lovers or children |
| No alcohol | Purer nut and cream notes | Family gatherings, travel |
| Amaretto / Rum | Almond roundness / warm depth | Adult desserts, holiday menus |
Tools & pan sizes that make layering easier
A calm, organized counter and the correct pans let you layer quickly and with confidence. I keep the work area simple so the pistachio mascarpone and cream stay cool and easy to spread.
Pan choice for neat slices or easy transport
For tidy, tall portions I use a 9×9‑inch square pan. It gives even layers and clean edges when you slice. For potlucks, a 2.7‑liter glass dish with a tight lid travels well and fits the full batch.
Must-have tools and a sensible setup
- Set a shallow bowl for dipping and a measuring cup of cooled coffee at your side so you don’t break rhythm.
- Use an offset spatula to smooth each layer; a flexible spatula works best for folding the mixture without deflating it.
- Lay out lady fingers in rows to check spacing before you dunk them — you’ll move faster and cleaner.
- Stand or hand mixer for whipping saves time and keeps a consistent texture.
- Clear a flat shelf in the fridge so the pan chills level and avoids absorbing odors.
| Pan | Best for | Notes |
|---|---|---|
| 9×9‑inch square | Even slices, tall layers | Great for home servings |
| 2.7‑L lidded glass dish | Transport, potlucks | Seal and chill for travel |
| Shallow bowl | Dipping fingers | Keeps coffee shallow for quick dips |
Simple tools, arranged well, make assembly calm and enjoyable. With the right gear, the layers set beautifully and the finished tiramisu travels and slices with confidence.
Make-ahead, storage, and freezing for stress-free entertaining
Plan ahead and your dessert will arrive at the table with calm confidence and perfect layers. I often assemble the pan the day before and chill it so flavors meld and the cream sets evenly.
Refrigerate covered for at least 4–6 hours, but overnight (8–12 hours) gives the best texture and cleaner slices. Keep the pan sealed in the fridge; it will hold up to 4 days, though we aim to enjoy it within 2–3 days for prime structure and aroma.
Freezing and short-term serving tips
- Freeze only untopped: leave off cocoa powder or chopped nuts so the surface stays crisp. Wrap the sealed pan tightly in plastic and foil, label with the date, and freeze up to 3 months.
- Thaw overnight in the fridge—never on the counter—to protect the cream and texture.
- Add cocoa or chopped nuts after thawing so the top looks fresh. If coffee notes mellow after long storage, a light dusting of cocoa powder brightens each slice.
- For parties, portion slices and set aside in airtight containers for easy grab-and-serve convenience.
- If you used eggs, follow the same chill and thaw steps; the guidance does not change.
| Action | Timing | Why it matters |
|---|---|---|
| Chill covered in fridge | 4–6 hours; best overnight | Sets layers and improves slicing |
| Refrigerator window | Up to 4 days (peak 2–3) | Keeps cream fresh and flavors vibrant |
| Freeze untopped | Up to 3 months | Protects texture; add toppings after thaw |
| Thaw | Overnight in the fridge | Maintains even temperature and cream stability |
Bring it to the table: finishing touches and an easy serving plan
When it’s time to serve, small acts make a big impression. Right before you bring the pan out, loosen a cup of pistachio cream for just a few seconds in the microwave so it spreads like silk across the top.
Either cover the top with chopped pistachios for color and crunch or dust cocoa powder at the last minute for a velvety finish. Use an offset spatula or a thin layer of mascarpone cream for a glossy look.
Portion modest squares; a 9×9 pan yields 12 to 16 pieces. Dip a knife in hot water and wipe between cuts for pastry-shop edges. Offer a small bowl of extra nuts and a hint of vanilla at the table. Bring it chilled, admire the layers, and serve with gratitude—this tiramisu made the day easier for us all.

Pistachio Tiramisu
Ingredients
Method
- Brew strong coffee or espresso and let it cool to room temperature.
- Add optional sugar or a splash of Amaretto if using. Keep it shallow in a bowl for easy dipping.
- In a large bowl, whisk mascarpone, pistachio cream, powdered sugar, and vanilla until smooth.
- If you’re making the egg version, whisk yolks with sugar until pale, fold in mascarpone, then gently fold in whipped whites for volume.
- Whip heavy cream to soft peaks. Fold gently into the mascarpone-pistachio mix using a spatula.
- Stop once the mixture is silky and airy—don’t overmix.
- Quickly dip each ladyfinger in the cooled coffee—about one second per side.
- Don’t soak them; they should stay firm enough to hold shape.
- Spread a thin layer of pistachio mascarpone cream on the bottom of a 9x9-inch dish.
- Add a layer of dipped ladyfingers, then spread another layer of cream.
- Repeat until you reach the top, finishing with a smooth cream layer.
- Cover the dish tightly with plastic wrap.
- Refrigerate at least 4–6 hours, but overnight (8–12 hours) gives the best flavor and clean slices.
- Before serving, dust the top with cocoa powder or spread a thin layer of pistachio cream and sprinkle chopped pistachios.
- Slice with a warm knife for neat edges and serve chilled.
Notes
- Use cooled coffee, never hot—it keeps the base from turning soggy.
- Chill overnight for the best flavor and sliceable texture.
- Always add cocoa or chopped pistachios before serving, not before chilling.
- For a nutty twist, drizzle a little melted pistachio cream on top for presentation.
- This dessert travels well in a lidded glass dish—perfect for potlucks or holidays.
- Keeps fresh in the fridge for up to 4 days; freeze untopped portions for up to 3 months.