
Jump to Recipe
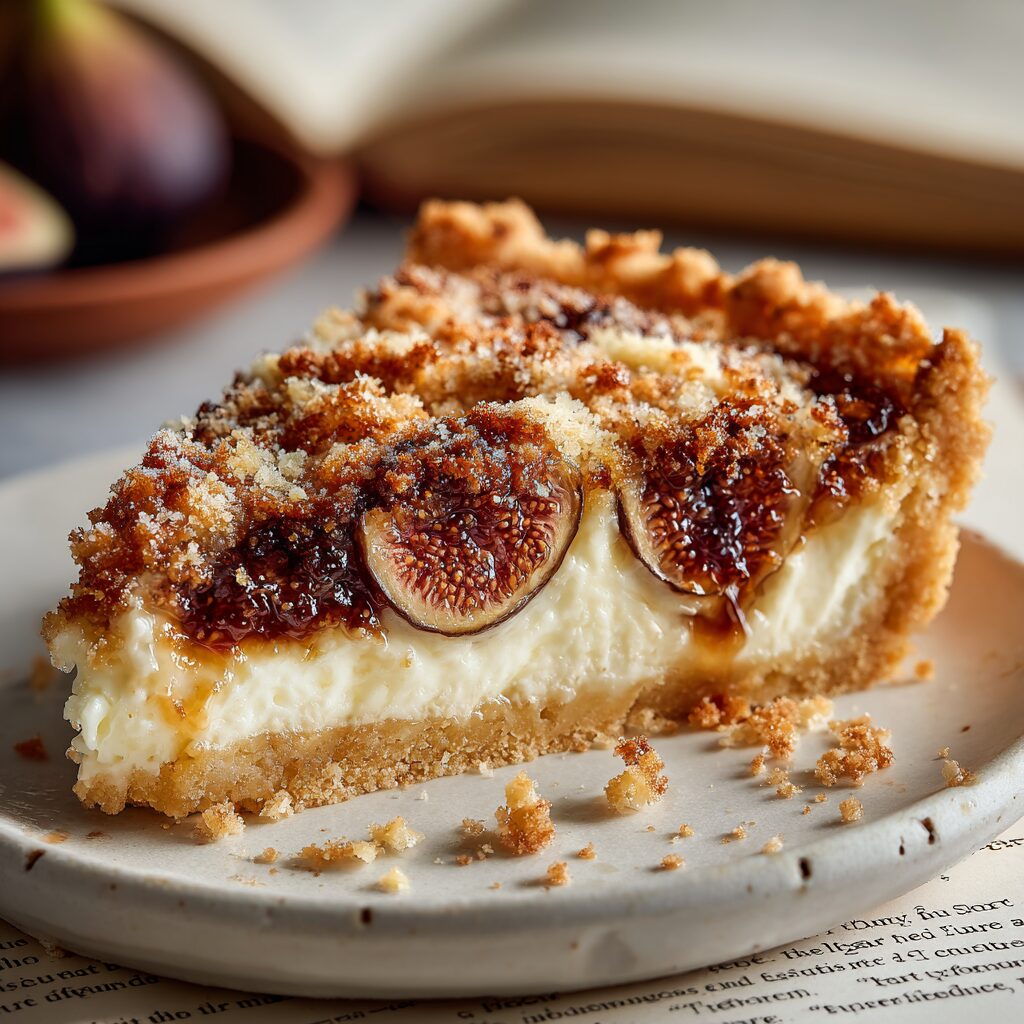
I learned this ricotta & fig crostata italian at my grandmother’s kitchen table, dusted with flour and summer sun. The first bite is creamy, bright with lemon zest, and anchored by a crisp pasta frolla crust that shatters just right.
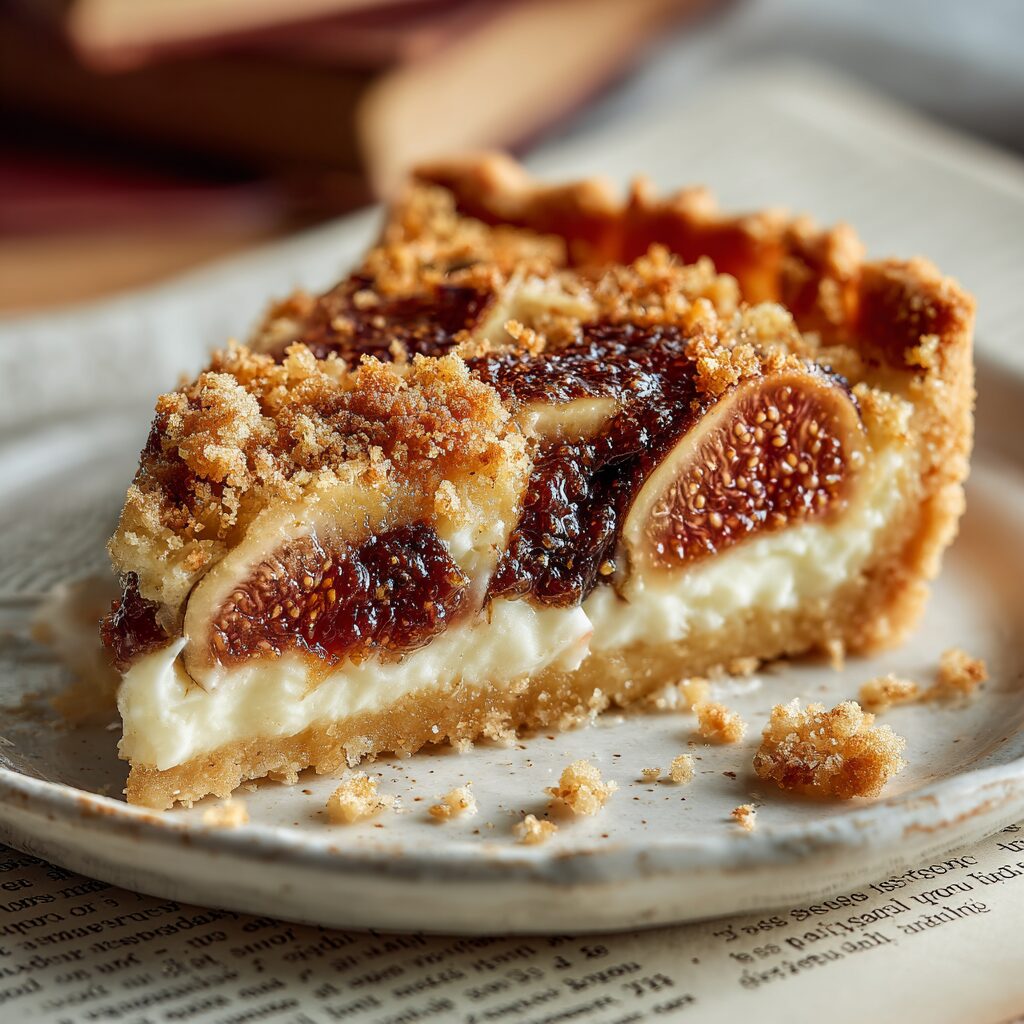
I’ll show the exact steps we use: blind bake the shell at 350°F (180°C) with docking and weights, cool it in a removable-bottom pan, then layer jam, a drained cheese filling, and fresh fig wedges in concentric circles. Almond slivers and a simple glaze finish the tart for a striking look and clean slices.
This recipe balances family tradition with kitchen-tested tips—two crust options (buttery shortcrust or an olive oil shortcut), precise rolling thickness, and make-ahead notes so the dessert fits your schedule. Expect troubleshooting for soggy bottoms and wet filling, plus storage guidance so the tart holds up for 1–2 days in the fridge.
Key Takeaways
- Use docking and pie weights to blind bake at 350°F (180°C) for a flat, golden shell.
- Layer jam, well-drained cheese, and fresh fruit for structure and flavor.
- Choose a removable-bottom pan to release the tart without breaking.
- Two crusts: traditional shortcrust for flavor, olive oil shortcut for speed.
- Keep the finished tart refrigerated 1–2 days; freeze raw dough but not the baked tart.
A cozy Italian dessert story and what makes this crostata special
Every September the market baskets overflowed, and that abundance shaped my favorite family tart. We saved the best for Sunday lunch, when the table filled with relatives and small plates of simple sweets.
The soft, lightly sweet ricotta complements the sugary juiciness of ripe figs. A touch of lemon zest lifts the filling so the fruit sings without becoming heavy.
- I grew up watching purple-black fruit at their peak and slicing them into concentric wedges for a striking top.
- If the fruit is shy, a thin bed of fig jam under the cheese builds a steady, fruity base.
- A sprinkle of almond slivers adds a bakery-style crunch and makes each slice feel finished.
- The crostata format—crisp shell, creamy layer, and fresh fruit—keeps every bite balanced and elegant.
This is a light, celebratory dessert that tastes like late summer. Once you make it, you’ll wait for the first market figs each year.
Ingredients, tools, and smart prep for success
The right ingredients and a few good tools make assembly smooth. I lay everything out first so the kitchen stays calm and the dough behaves.
What you’ll need for the pasta frolla crust
For the crust, use “00” or all-purpose flour, cold unsalted butter, granulated sugar, a whole egg plus an extra yolk, and a pinch of fine salt. Add lemon zest if you like a bright note.
Creamy filling and fruit components
Use high-quality ricotta and a little sugar. Fold in a touch of whipped cream for silkier texture and lemon zest to lift the flavor.
Helpful tools and prep notes
- Removable-bottom tart pan (~9 inches) for clean release.
- Rolling pin for even thickness and a fork to dock the base before blind baking.
- Pie weights or dried beans to hold the shell flat at 350°F (180°C).
- Set out a sturdy bowl, measuring cups, and a microplane for zest.
| Ingredient | Typical Amount | Role | Tip |
|---|---|---|---|
| Flour (“00” or AP) | 1 1/4 cups | Structure for pasta frolla | Measure by weight if possible |
| Butter (cold) | 1/2 cup | Flakiness and flavor | Keep chilled until mixing |
| Egg + yolk | 1 whole + 1 yolk | Binder, richness | Cold from fridge, lightly beaten |
| Ricotta | 1 cup | Creamy filling | Drain if watery; taste for sweetness |
Pasta frolla made easy: buttery classic and olive oil shortcut
When I teach this pastry, I start with how the dough feels in your hands—cool, slightly sandy, and ready to rest. Good rhythm and a few practical steps make the difference.
Butter-based shortcrust: tender, crisp, and traditional
Work cold butter into flour and sugar until the mix looks like coarse sand. Add the egg and a pinch of salt, then bring the dough together quickly. Those tiny cold bits of butter bake into flaky layers and a tender pastry.
Olive oil dough option: no-butter, light, and quick to roll
The olive oil dough skips butter and comes together fast. It rolls easily and makes a delicate, slightly tender base that browns a touch quicker than the butter version.
Chilling and plastic wrap tips to prevent shrinkage
Form a flat disc, wrap tightly in plastic wrap, and chill at least one hour. Resting relaxes gluten and keeps the shell from pulling away in the oven.
- Roll on a lightly floured surface with a steady rolling pin and rotate the disc for an even circle.
- Fit the dough without stretching, trim by rolling the pin over the rim, and dock generously before blind baking with weights.
- If your kitchen feels warm, add ten more minutes of chill time—this simple tip keeps the crust cooperative.
| Method | Texture | Best use |
|---|---|---|
| Butter-based | Flaky, rich | Classic pastry shells |
| Olive oil | Light, tender | Quick rolling and patching |
| Chill tips | Stable dough | Prevents shrinkage, easier handling |
Ricotta filling and fig options: jam layer, fresh figs, or both
The filling decides the slice’s fate; I tune sweetness and texture before anything else. A stable, lightly sweet base keeps the tart clean and bright.
Drain, whisk, and add lemon zest
If your ricotta looks watery, drain it in a sieve for 20–30 minutes so the filling sets creamy, not loose. Put the cheese in a bowl and whisk with a touch of sugar and a little lemon zest until velvety.
Use room temperature ingredients when possible. They combine more smoothly and make a silkier finish.
How to choose: jam, dried jam, or fresh fruit
- A thin layer of jam under the filling amps fruit flavor and stops a soggy base.
- Dried-fig jam is great off-season — deep sweetness and rich color keep the tart lively.
- Fresh figs add texture and freshness; pick fruit that holds a clean cut and arrange in rounds or wedges.
- Use jam alone for simplicity, fresh fruit for a bakery look, or both for layered depth.
| Option | Texture | Sweetness | When to use |
|---|---|---|---|
| Jam under filling | Even, spreadable | Medium | When crust needs protection from moisture |
| Dried-fig jam | Thicker, dense | Higher, caramel notes | Out of season or for bold flavor |
| Fresh figs on top | Juicy, tender | Variable | Peak season for bright freshness |
Step-by-step: from dough to golden crust
Aim for an even sheet about an eighth to a quarter inch thick so the shell bakes through without collapsing. Work quickly with cold hands and a cool surface to keep the butter pockets intact.
Roll and fit the dough
Roll the chilled dough to 1/8–1/4 inch thickness. Lift the sheet into the pan without stretching and press gently into the corners for sharp edges.
Trim the excess by rolling the rolling pin over the rim. Patch any thin spots with trimmings and chill them for later.
Docking and blind baking at 350°F (180°C)
- Dock the base thoroughly to vent steam and prevent bubbles.
- Line the crust with parchment and fill with ceramic or pie weights.
- Bake on the center rack in a preheated oven at 350°F for about 20 minutes.
- Carefully remove parchment and weights, then bake 5 more minutes until the base looks dry and lightly golden.
- If the sides brown too fast, shield them with a foil collar while finishing the base.
Let the crust cool completely before filling
Set the pan on a rack and let cool completely; warmth will soften the crust and ruin a clean slice. A properly baked shell feels firm and releases cleanly once cool.
| Step | Temp | Time (minutes) | Visual Cue |
|---|---|---|---|
| Blind bake with weights | 350°F (180°C) | 20 | Edges set; base looks dry |
| Finish base without weights | 350°F (180°C) | 5 | Light golden base |
| Cooling | Room temp | — | Firm to touch, releases from pan |
Before you remove dough scraps from the counter, gather and chill them for a simple lattice or edge trim. That small step saves waste and gives you a neat finish for your tart or pie.
Assemble and finish: the signature look of a crostata
A tidy assembly turns good pastry into a memorable table centerpiece. Take a moment to plan plate placement and garnish so each slice photographs and tastes great.
Jam-first, ricotta-next, then figs: layering that works
Spread a thin, even swipe of jam across the cooled shell. This seals the crust and keeps moisture at bay.
Spoon or pipe the ricotta gently over the jam. Smooth the surface with a small offset or the back of a spoon to make a stable bed for the fruit.
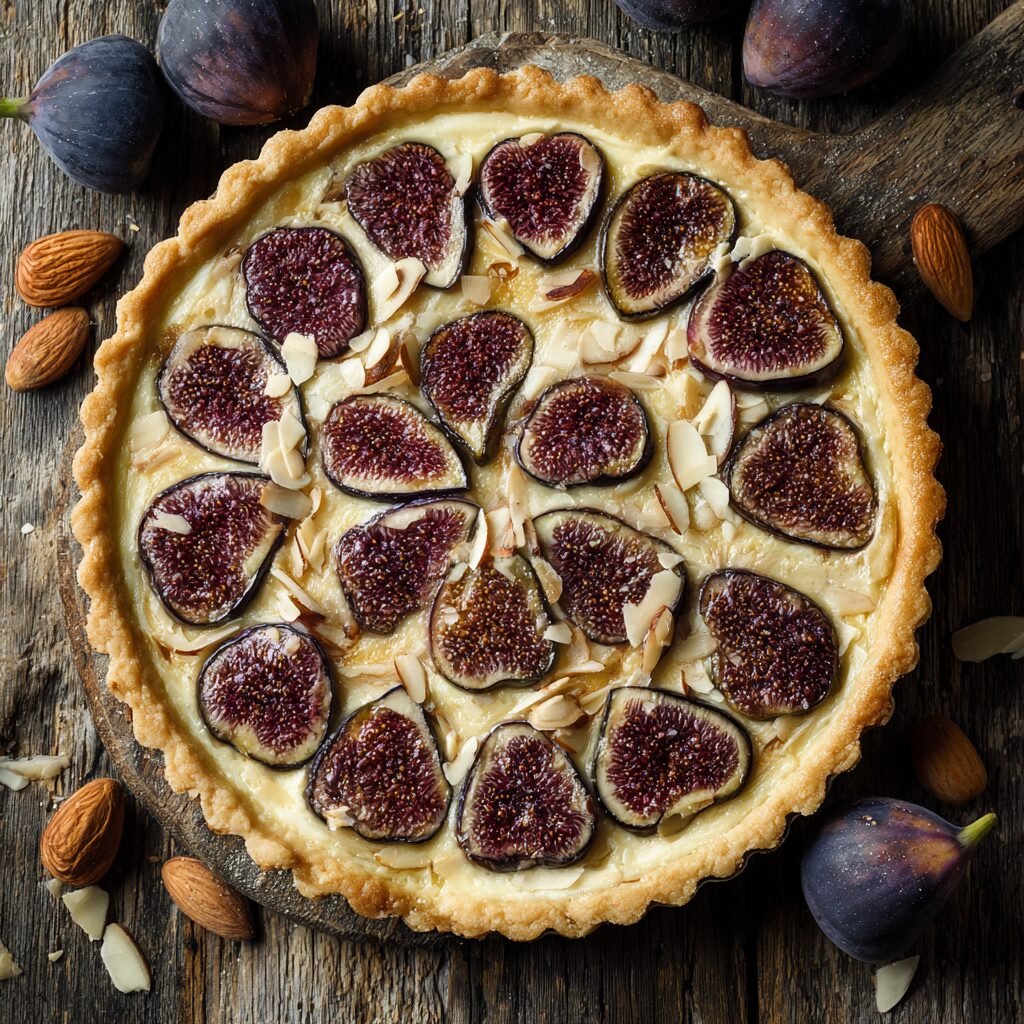
Design ideas: lattice pastry, concentric fig wedges, almond slivers
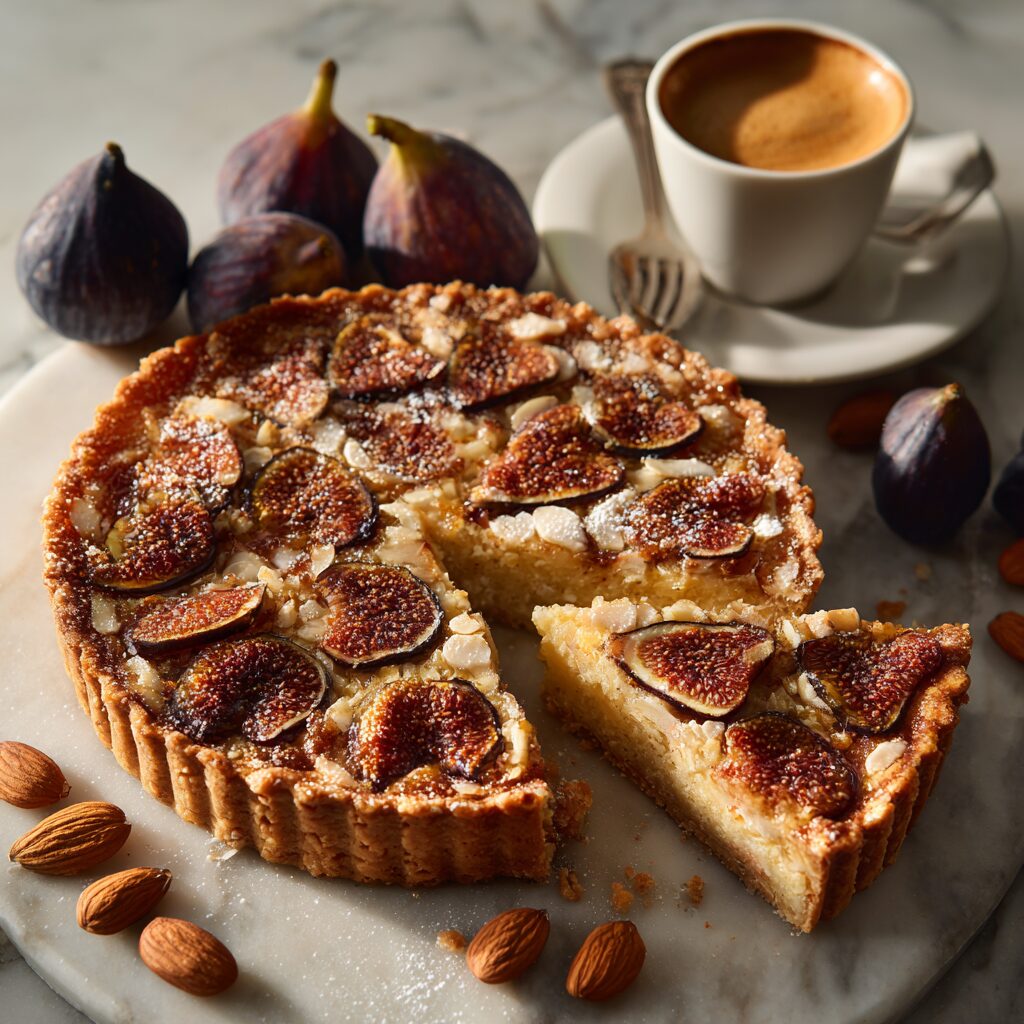
Arrange fig wedges in tight concentric circles, skin side down, for a glossy, bakery look. Add a few almond slivers for crunch and contrast.
- Weave a simple lattice from reserved dough for a classic finish. Brush with milk or a light egg wash for golden color.
- For a refined touch, dust powdered sugar just before serving. It brightens the pattern without hiding the fruit.
Let cool completely, slice cleanly, and serve
Always let the tart cool fully; chilled layers hold their shape and slice cleanly. Wipe the knife between cuts and use a gentle sawing motion to protect the crust edge.
| Step | Why it matters | Quick tip |
|---|---|---|
| Jam layer | Protects crust from moisture | Use a thin, even swipe |
| Ricotta layer | Creates creamy backbone for fruit | Pipe for control, smooth before arranging |
| Fruit & garnish | Defines final look and texture | Concentric wedges and almond slivers |
ricotta & fig crostata italian: timing, storage, and make-ahead
Set aside a clear schedule before you start—the timeline keeps the kitchen calm and the pastry crisp.
Active time and bake time minutes at a glance
Plan for about 20–30 minutes active prep for dough and filling. Blind bake the shell at 350°F for roughly 20 minutes, then 5 more minutes after removing weights so the base dries and firms.
Refrigeration, plastic wrap, and how many days it keeps
Let the shell cool completely before layering. A finished tart keeps best 1–2 days refrigerated when covered.
- Wrap the surface snugly with plastic wrap to block fridge odors.
- If you prefer a longer window, some assembled versions hold 3–4 days; keep dairy fillings cold and monitor texture.
- Never leave slices out at room temperature for extended time once served.
Freezing slices vs. freezing dough; when to let cool
Freeze raw dough discs for quick future bakes; thaw overnight in the fridge before rolling. Freezing baked slices is fine up to 1 month—wrap individual pieces tightly and thaw in the refrigerator.
| Action | Typical time | Notes |
|---|---|---|
| Chill dough | 1 time hour | Longer in warm kitchens |
| Blind bake | 20 + 5 minutes | 350°F; remove weights mid-way |
| Freeze slices | Up to 1 month | Label date; thaw in fridge |
A small cup of espresso and a chilled slice make a low-effort, elegant finish.
Troubleshooting and pro tips from the test kitchen
A few focused fixes will rescue a puffed shell, a weeping filling, or a doughy edge. Read these quick checks and act on what you see. I keep these in mind every time I bake a pie or pasta frolla shell.
Prevent puffing and shrinking
Dock the base well and cover it completely with pie weights or dried beans. Chill the lined pan 15–20 minutes before the oven if the dough feels warm.
When the cheese filling is too wet, sweet, or won’t set
Drain the cheese in a sieve for 20–30 minutes. If it stays loose, whisk in a spoon of granulated sugar to help draw out water, then fold gently in a bowl. Use room temperature egg and cheese when combining for a smooth texture.
Crust too thick or thin: find the right inch
Roll to about 1/8 inch for balance. Mix pasta frolla quickly so butter remains in shards—those bits bake into a flaky pastry.
- If the shell puffs: dock more and cover base edge to edge with weights.
- If figs weep, pat them dry before arranging to avoid extra water on the jam.
- To remove dough trimmings cleanly, chill scraps briefly then cut strips.
| Issue | Likely cause | Quick fix | Minutes |
|---|---|---|---|
| Puffing | Poor docking, no weights | Dock + cover with weights | 0–5 |
| Wet filling | Watery cheese | Drain 20–30; whisk in granulated sugar | 20–30 |
| Dough shrinkage | Warm dough | Chill lined pan 15–20 | 15–20 |
Conclusion
This recipe wraps clear technique and home comfort into a tart you can make with calm confidence. With a well-chilled dough and a blind bake at 350°F, dock the base, weight it, and let the crust cool fully before adding the filling.
Balance sugar so the ricotta remains bright and the fresh figs keep texture. Drain cheese or blot fruit to manage water and prevent a soggy base.
Timing is practical: a few active minutes, then baking, then patience to let cool completely for clean slices. Store wrapped in the fridge for 1–4 days or freeze raw dough and tightly wrapped slices.
Pin this crostata made from simple ingredients—flour, egg, jam, and a cup of love—and make it yours, any night you want an elegant, easy dessert.
Ricotta & Fig Crostata (Italian Tart)
Ingredients
Method
- In a bowl, combine flour, sugar, and salt.
- Cut in the cold butter until the mix looks sandy.
- Add egg and yolk; mix just until dough comes together.
- Form into a disc, wrap in plastic, and chill for at least 1 hour.
- (For olive oil crust: mix oil, egg, and sugar first, then add flour and salt until smooth.)
- Preheat oven to 350°F (180°C).
- Roll chilled dough on a floured surface to ⅛–¼ inch thick.
- Fit into a 9-inch removable-bottom tart pan; trim and dock the base with a fork.
- Line with parchment, add pie weights or dried beans.
- Bake 20 minutes, remove weights, then bake 5 more minutes until golden.
- Cool completely before adding filling.
- Drain ricotta for 20–30 minutes if watery.
- In a bowl, whisk ricotta, sugar, lemon zest, and whipped cream until smooth and creamy.
- Spread a thin, even layer of fig jam over the cooled crust.
- Spoon or pipe the ricotta mixture evenly on top and smooth the surface.
- Arrange fresh fig wedges in concentric circles over the filling.
- Sprinkle with almond slivers and brush with a light glaze or honey for shine.
- For a baked-style finish: bake at 325°F (160°C) for 10–12 minutes just to set the cheese.
- For a no-bake version: skip this and chill 1 hour before serving.
- Let cool completely or chill before slicing.
- Dust with powdered sugar if desired.
- Serve with espresso or a small coffee for a classic Italian touch.
Notes
- Drain ricotta well before mixing—excess moisture makes the filling watery.
- Always let the crust cool completely before layering to prevent sogginess.
- Use a removable-bottom tart pan for easy release and perfect edges.
- Keep refrigerated up to 2 days; it’s best fresh the same day.
- You can freeze raw dough discs for up to one month for future baking.